XJS Heater Core Replacement

(Delanair MkIII)

XJS Main Page
Front Door Speaker Replacement
Heater Core Replacement Project


History


Projects/Reviews

Carl Goldberg Falcon 56 MkII

Colombo Andersson 38% Extra


Hangar 9 33% Cap 232


Hangar 9 1.20 Cap 232 (Bob's)


Hangar 9 1.20 Cap 232 (Bill's)

 
Lanier 31.5% Staudacher S600


Sig Kadet Mk II


Sterling Ringmaster


Thunder Tiger Fun Tiger


Updated!!
Pics of Cool Stuff


Crash Pictures


Car Stuff

Updated!!
1989 Jaguar XJS


Updated!!

Random Thoughts
 

Links

Stuff for Sale


Contact
Bob


Bill


Whiffs of Antifreeze when running the A/C and a strong smell of same when running the heater convinced me that I had a leaky heater core.  Fortunately, the Delanair Mk3, as installed in the XJS, has a reasonably accessible heater core. 

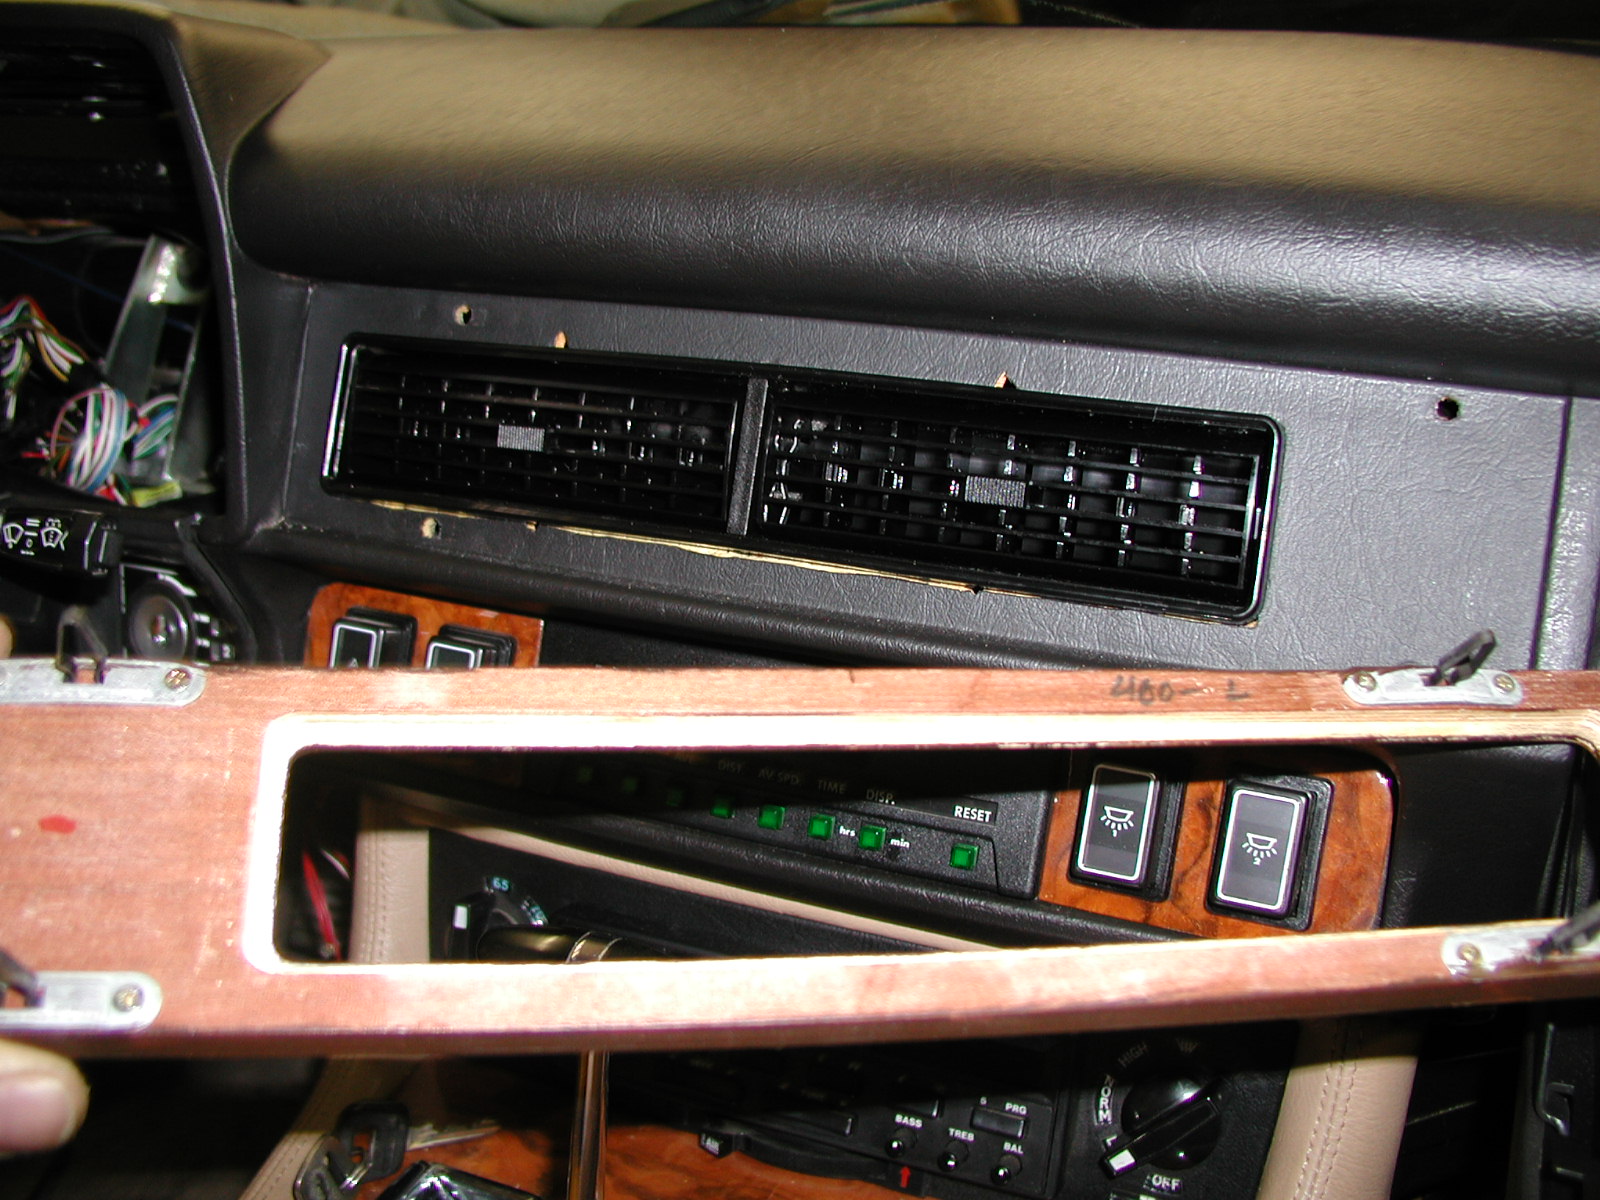
I also wanted to investigate "weak" airflow from my center vent.  Note that I did not say "no air" which would typically indicate a bad solenoid.  I said "weak" by which I mean I was getting air, but it was anemic, and the defrost seems to still blow a bit with the AC on full cool.  The center vent would actuate, just (it seemed) not all the way.  On full cool, I would say the "force" of the air was as follows:  Side vents, 20%, center vent, 20%, defrost vents, 20%, knee vents, 20%.  I thought at least half the volume should be center vent.  Anyway, I don't know how to describe my gripe any better than that.  
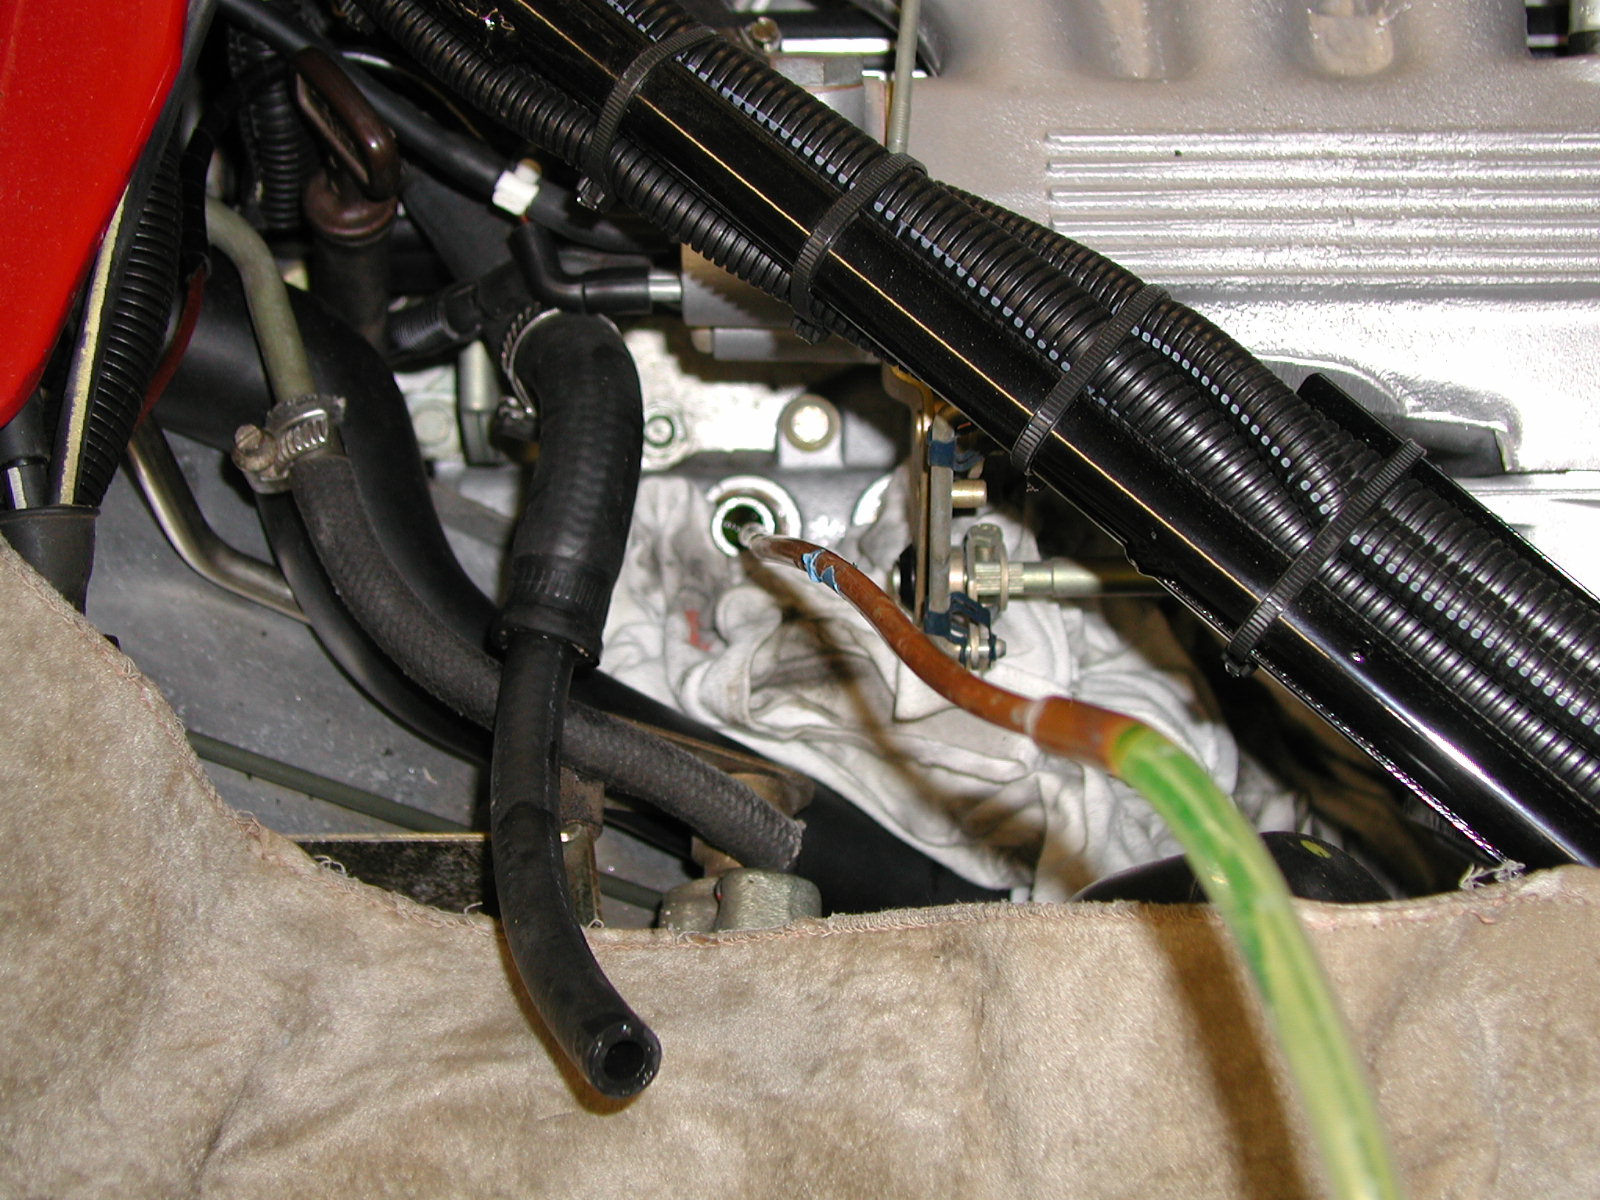
At a high level, to do this job, you open up the dash a bit, disconnect the pipes on the left side of the core and slide it out the right side of the unit.  Below is the step by step.


First - DISCONNECT THE BATTERY!!

Next, you need to drain the coolant to a level below the heater core.  I did most of this with a siphon thru the crossover fill tube.  For the remainder I pulled the heater core inlet hose and siphoned from the coolant rail.  Then, I blew air into the inlet hose to push any water in the heater core on thru and out the return hose.  That way I had minimal water in the core itself.  The siphoning can take a bit so I start it first and let it run while I opened up the dash.


Here is some of the damage done by the leaky core and/or elbow gaskets.  It's behind the carpet/console on the left side.  I had previously replaced the elbow gaskets in the false hope that that would solve the problem.  None of this was wet, but it had been at one time.  Nothing too serious, really.


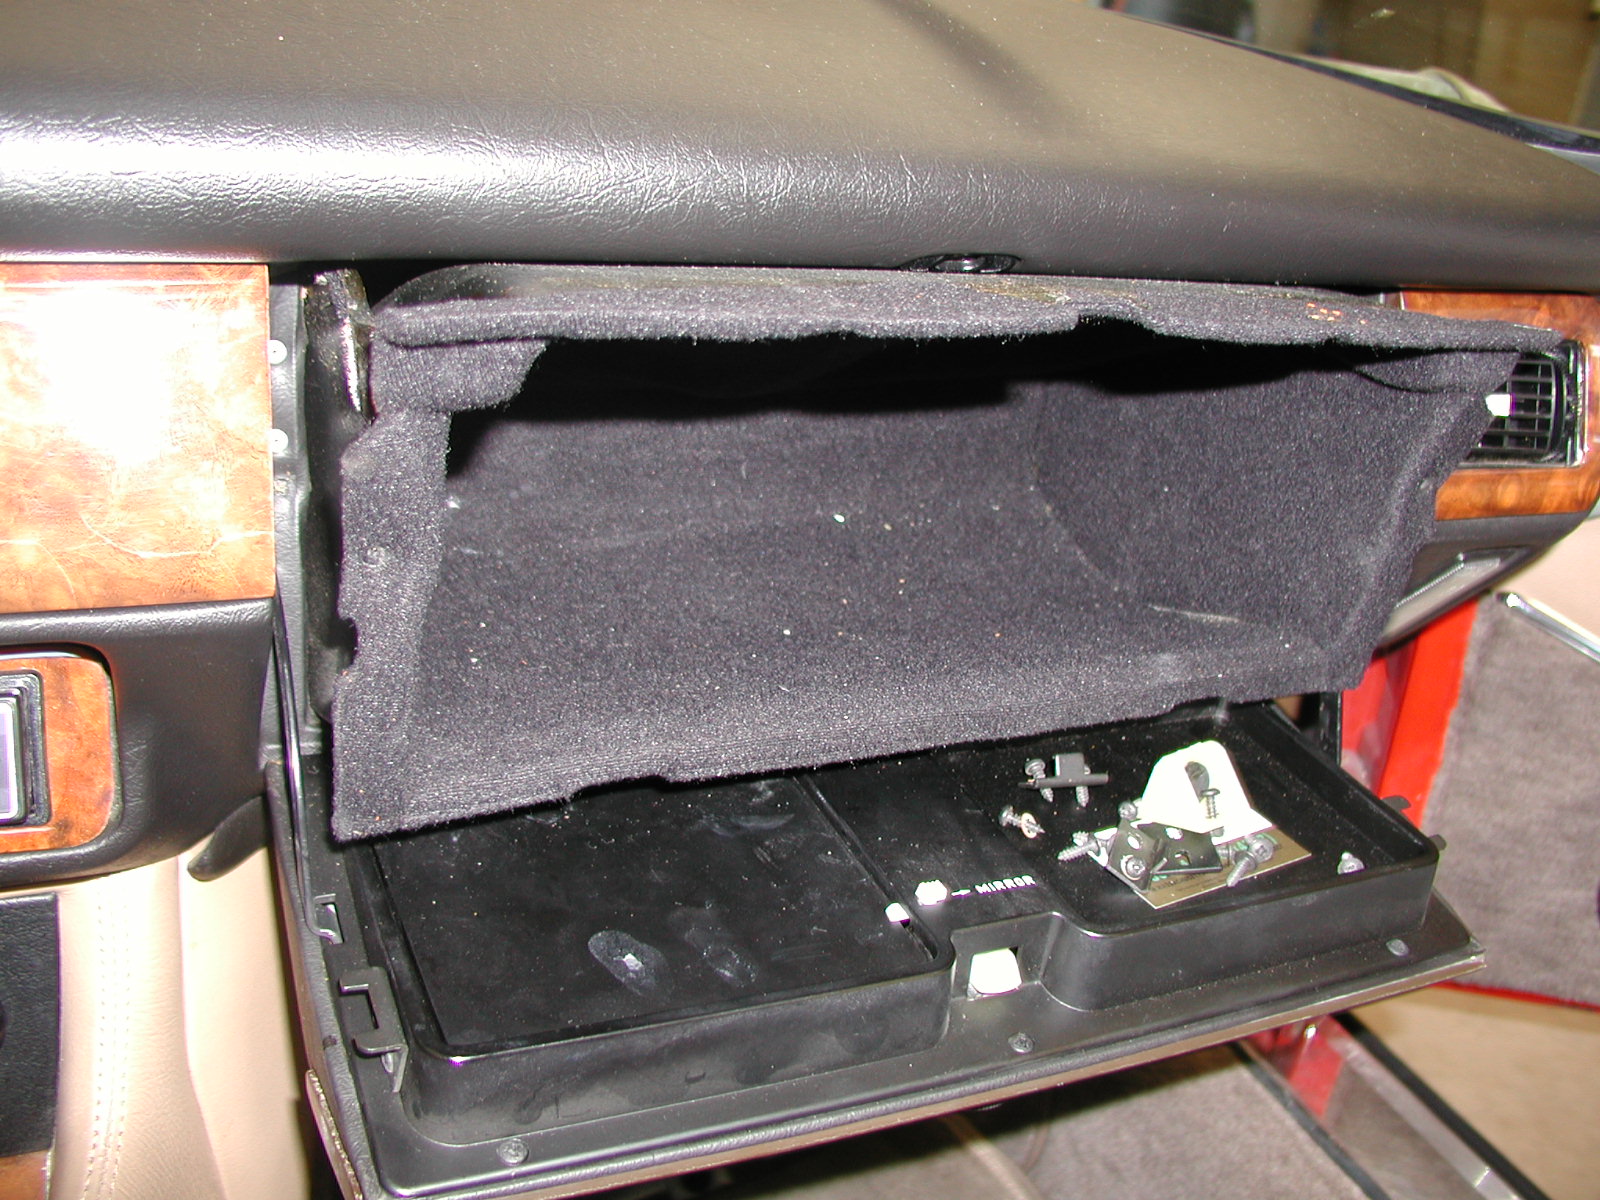
Next, remove the instrument panel, glove box liner, console sides by driver and passenger knees, and the panels above the driver and passenger knees.

With the instrument panel removed, you can see the copper elbows that lead into the heater core.

Take out all the little brackets around the opening of the glove box.  While you can drag it out past them, it is a pain, and it will only take 5 minutes to take it apart the right way.  The door can stay on.

I also removed the center vent trim and vent, because I wanted to investigate how far it was opening.


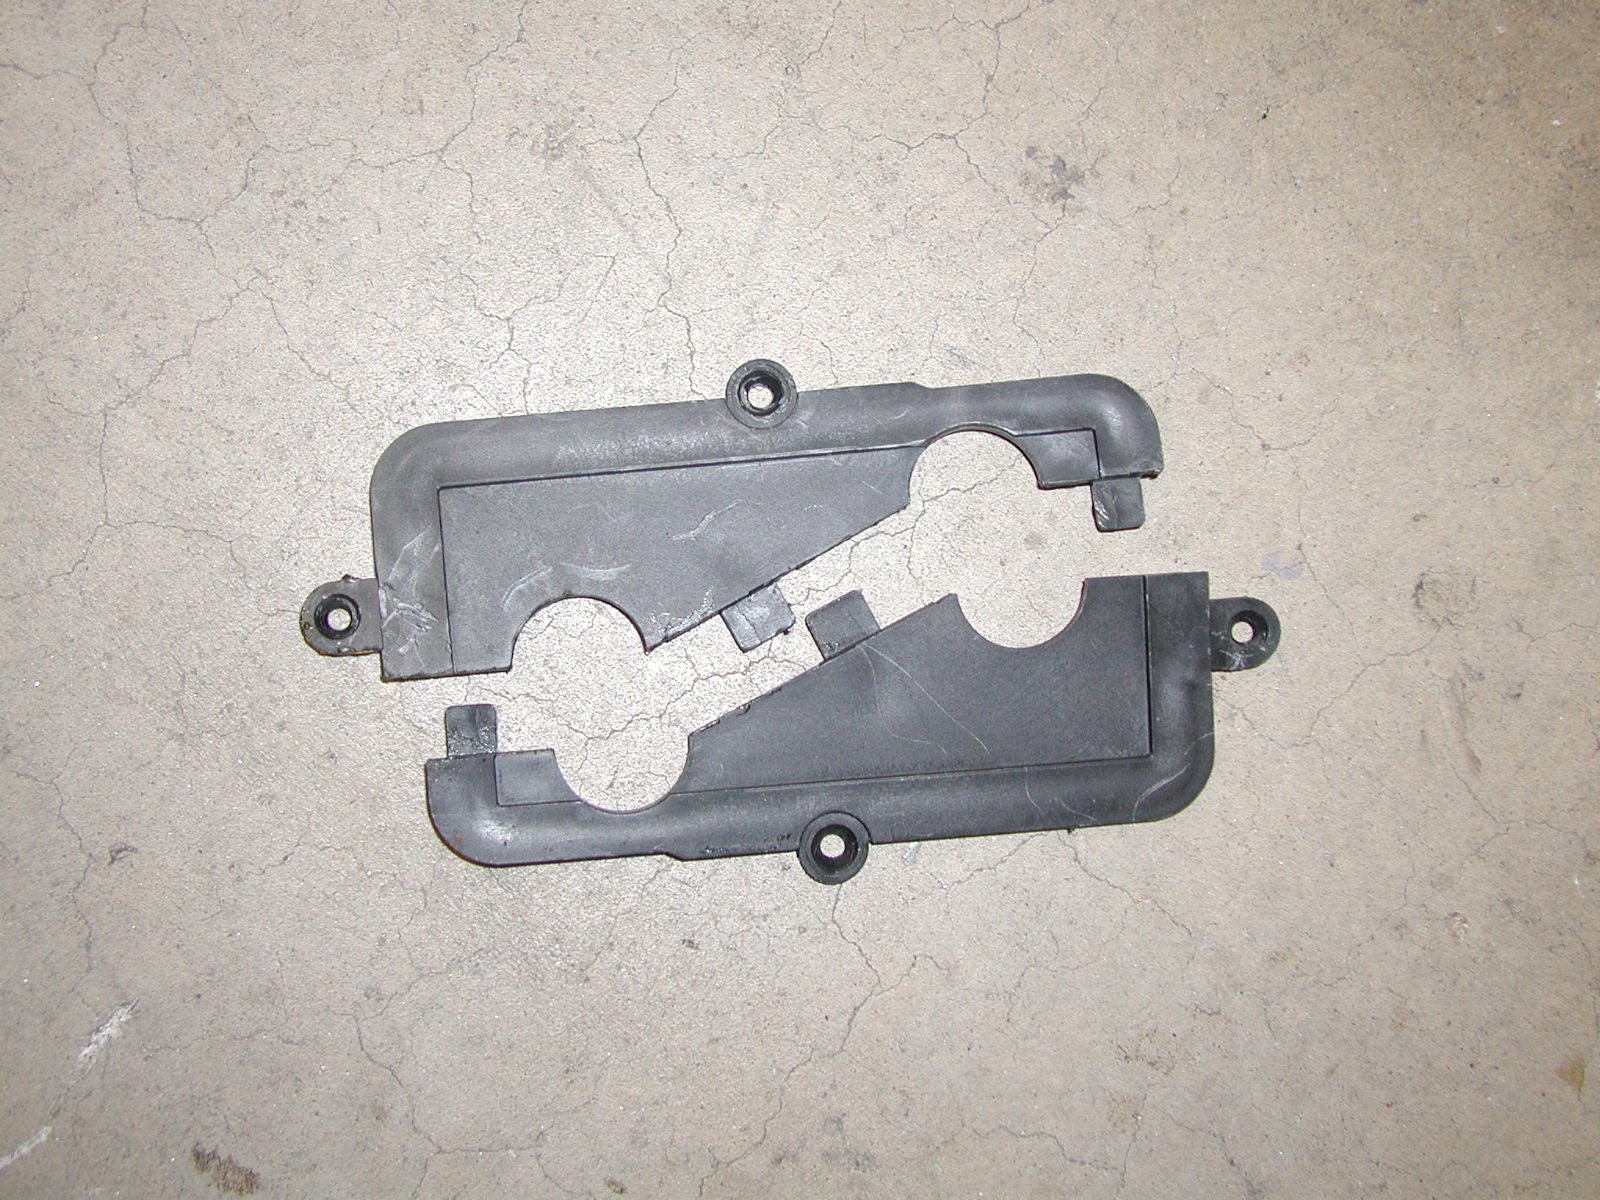
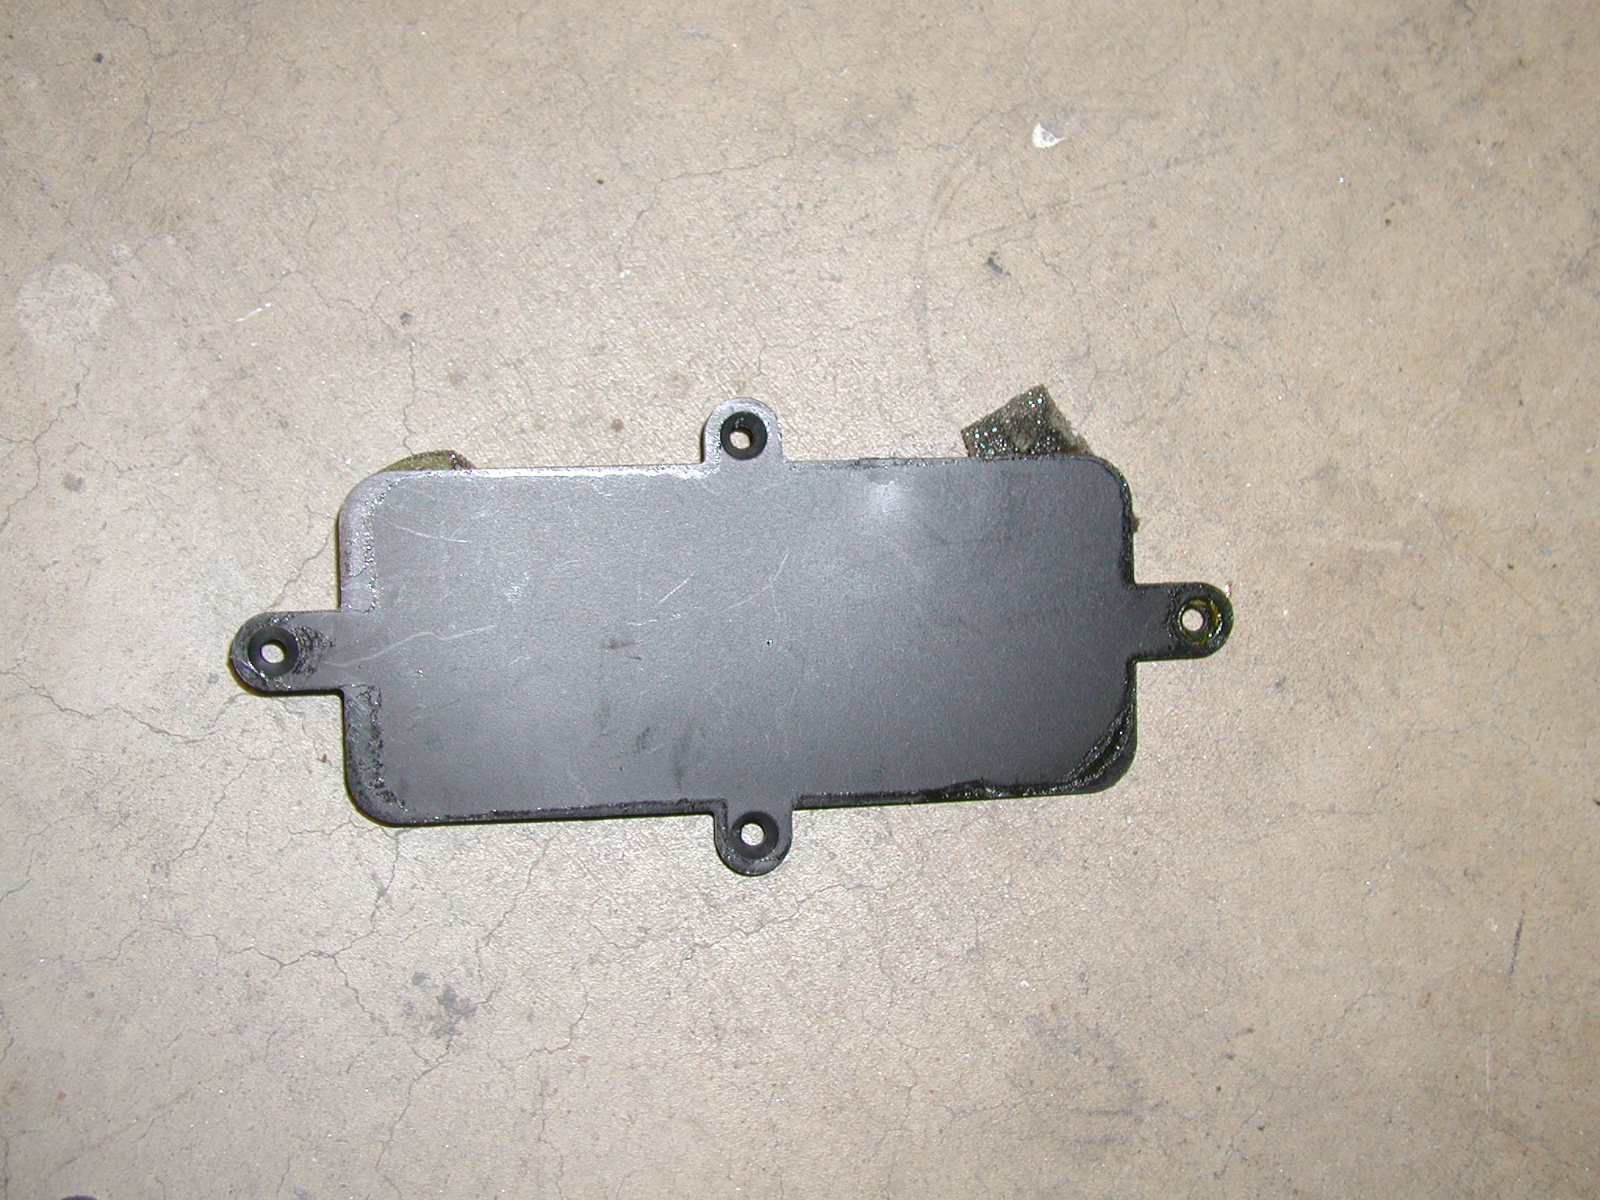
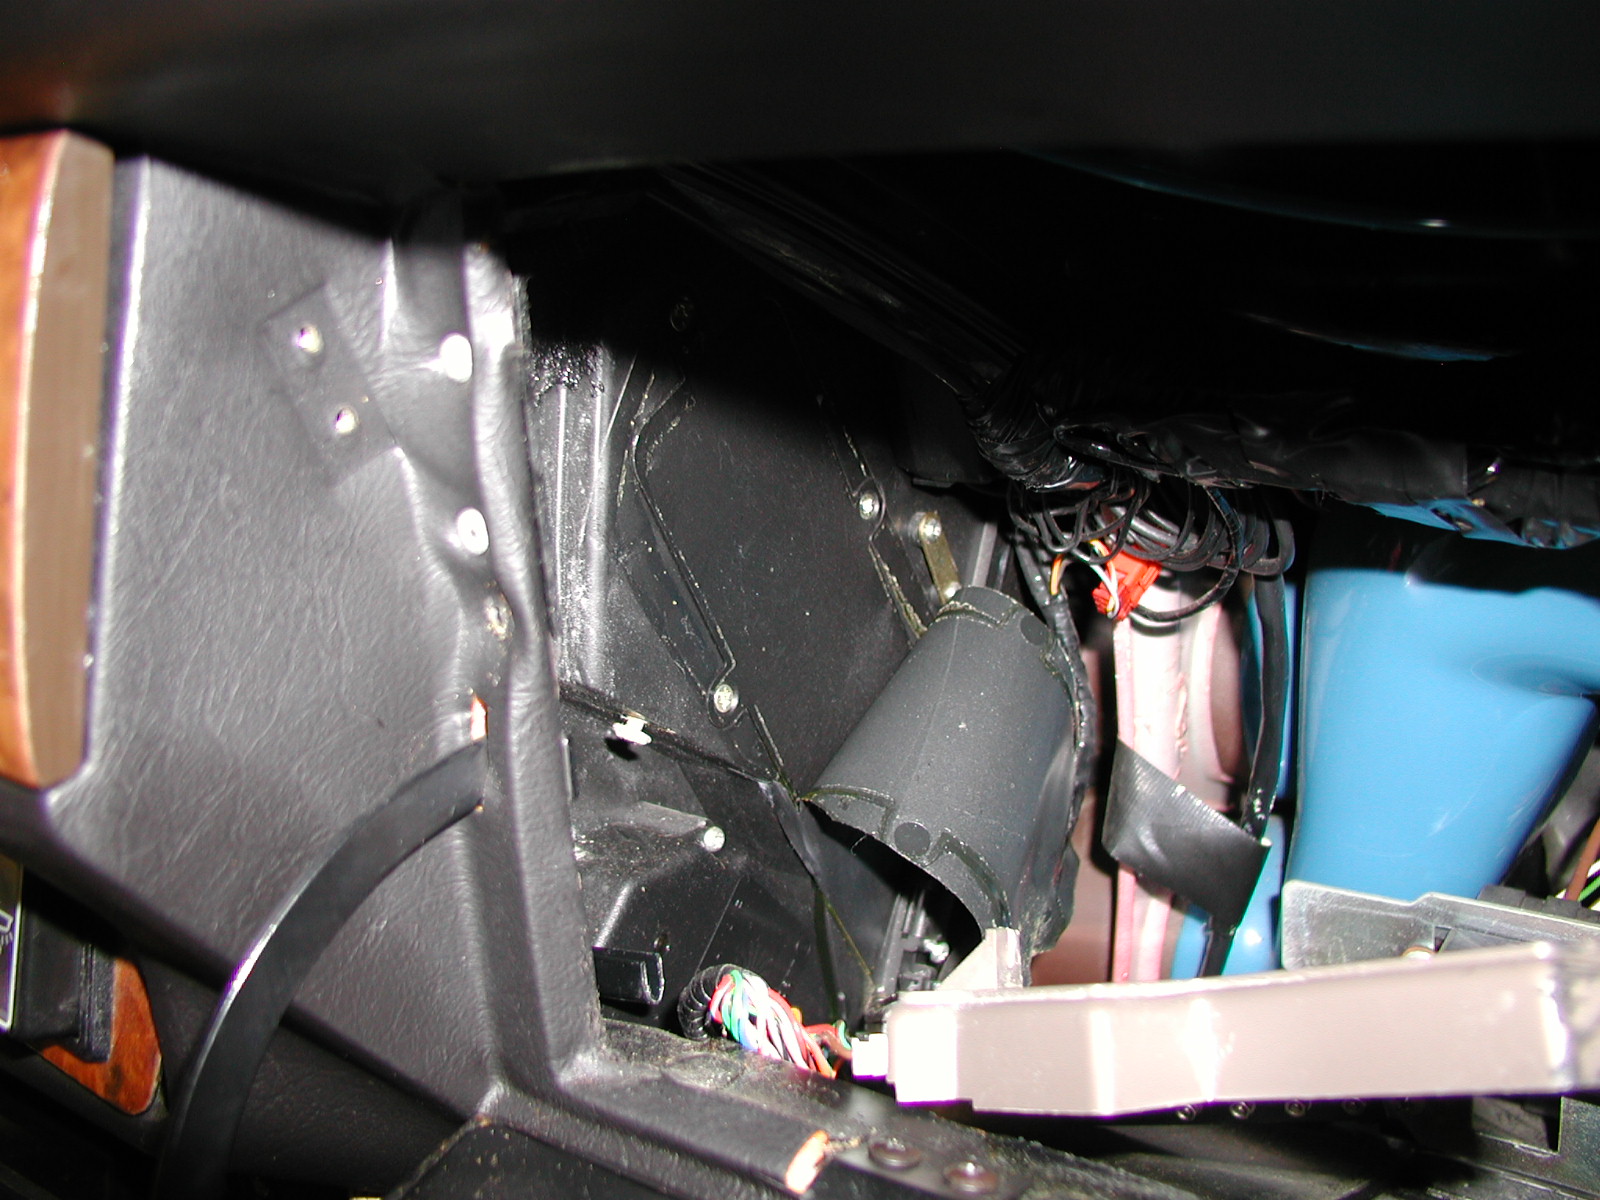
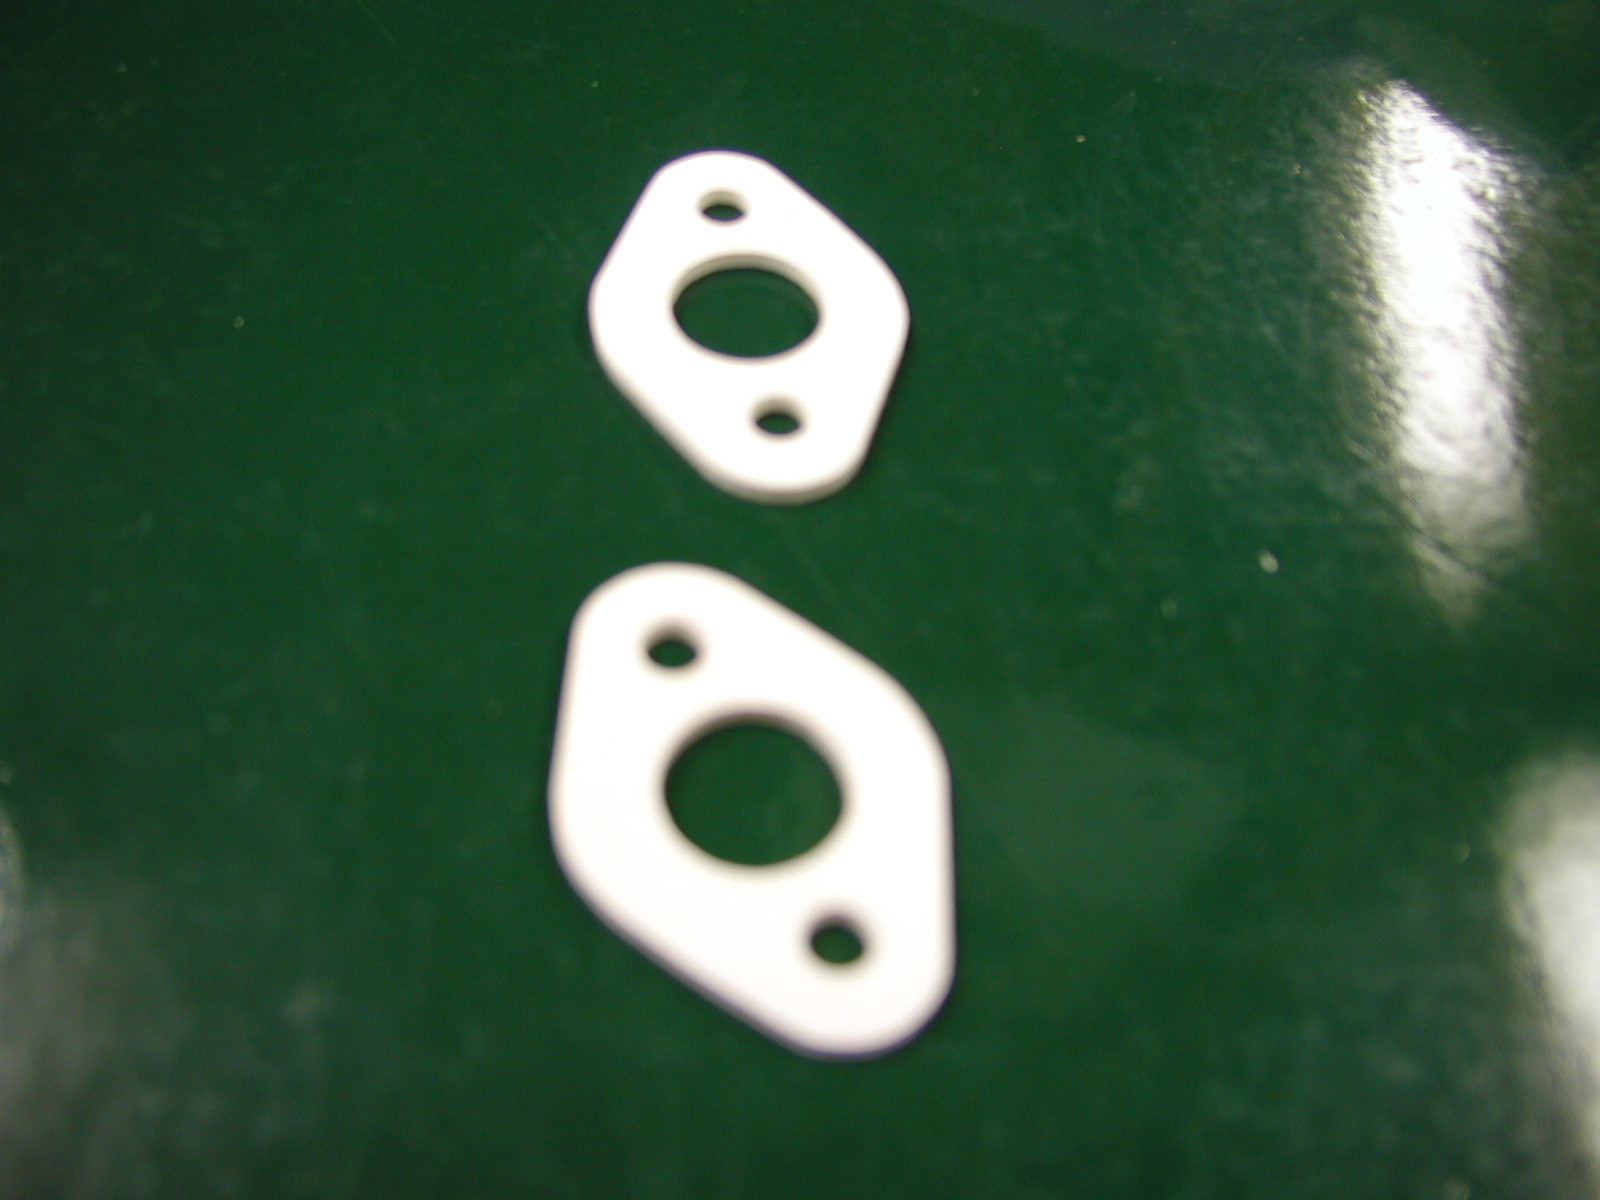
There is an access panel on each end of the unit that needs to be removed.  They are held in place by screws on 4 little ears.  The panel on the left side is split to accommodate the heater pipes.  The back half can stay put between the pipes and the unit, but you do need to remove the screws so you can move it slightly out of the way.  Here is what the panels look like after they are removed.


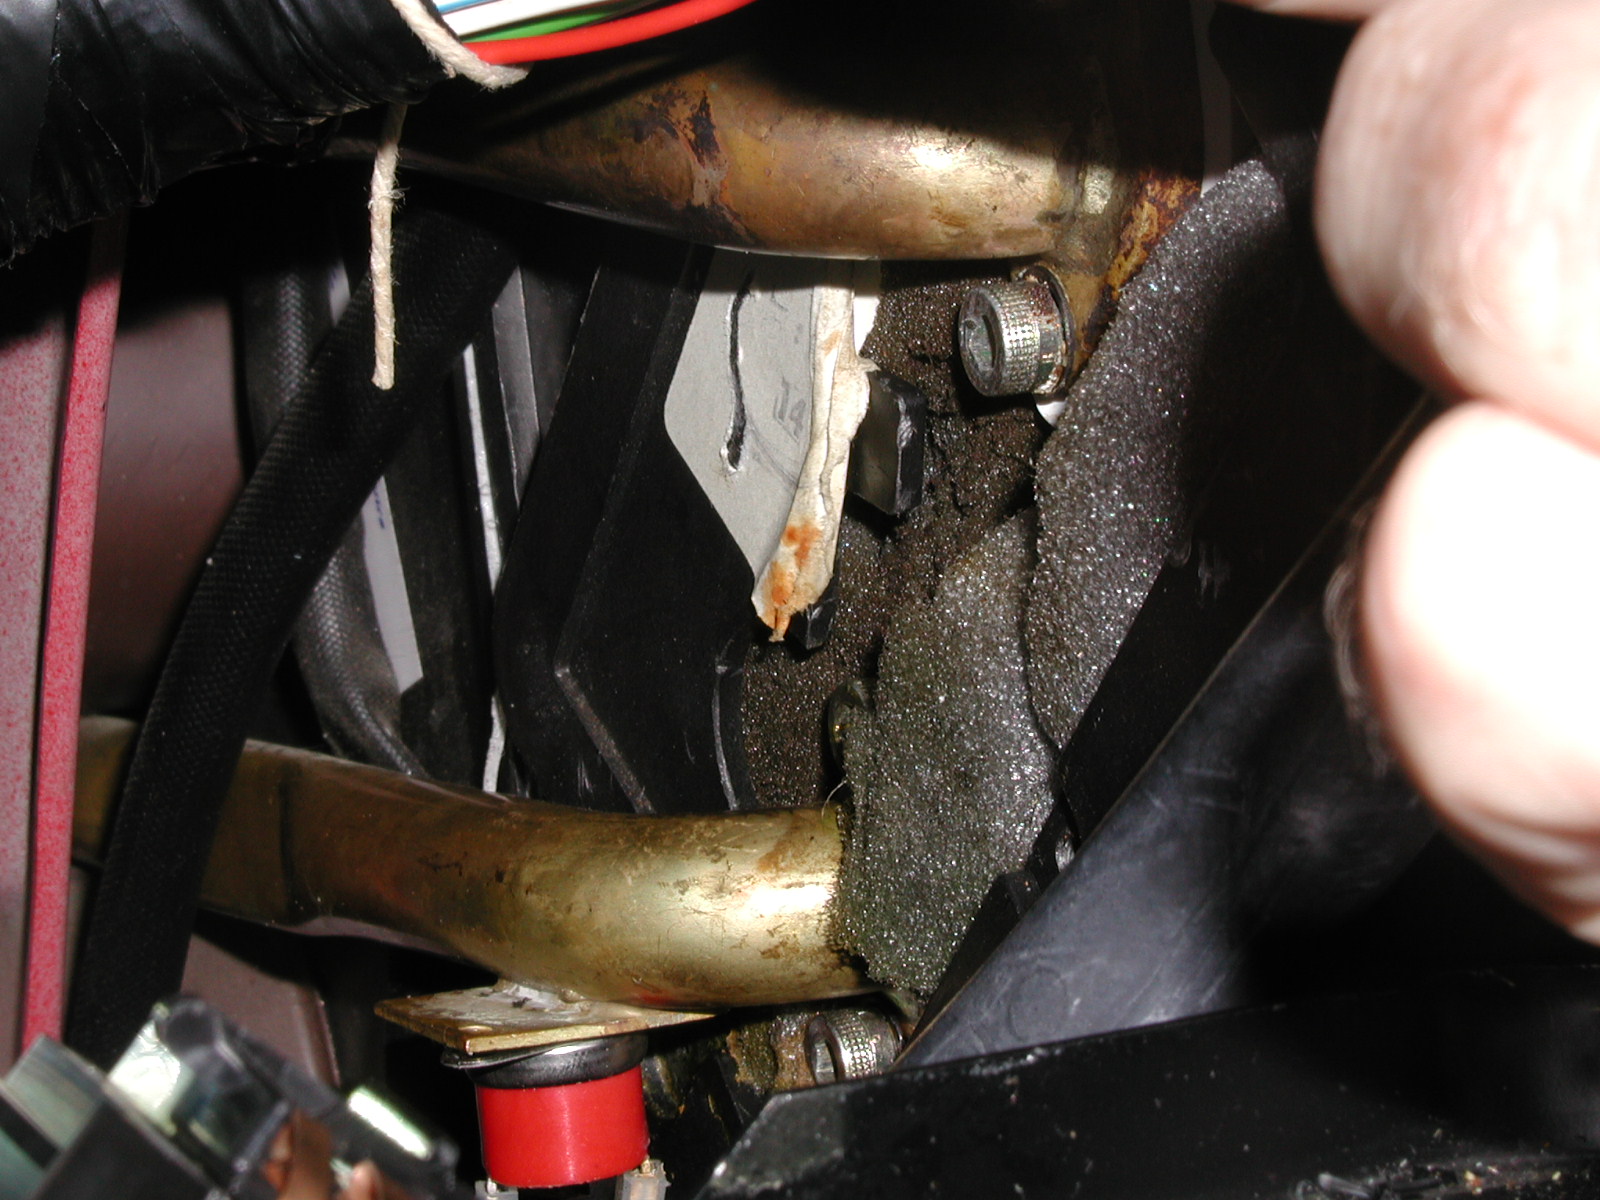
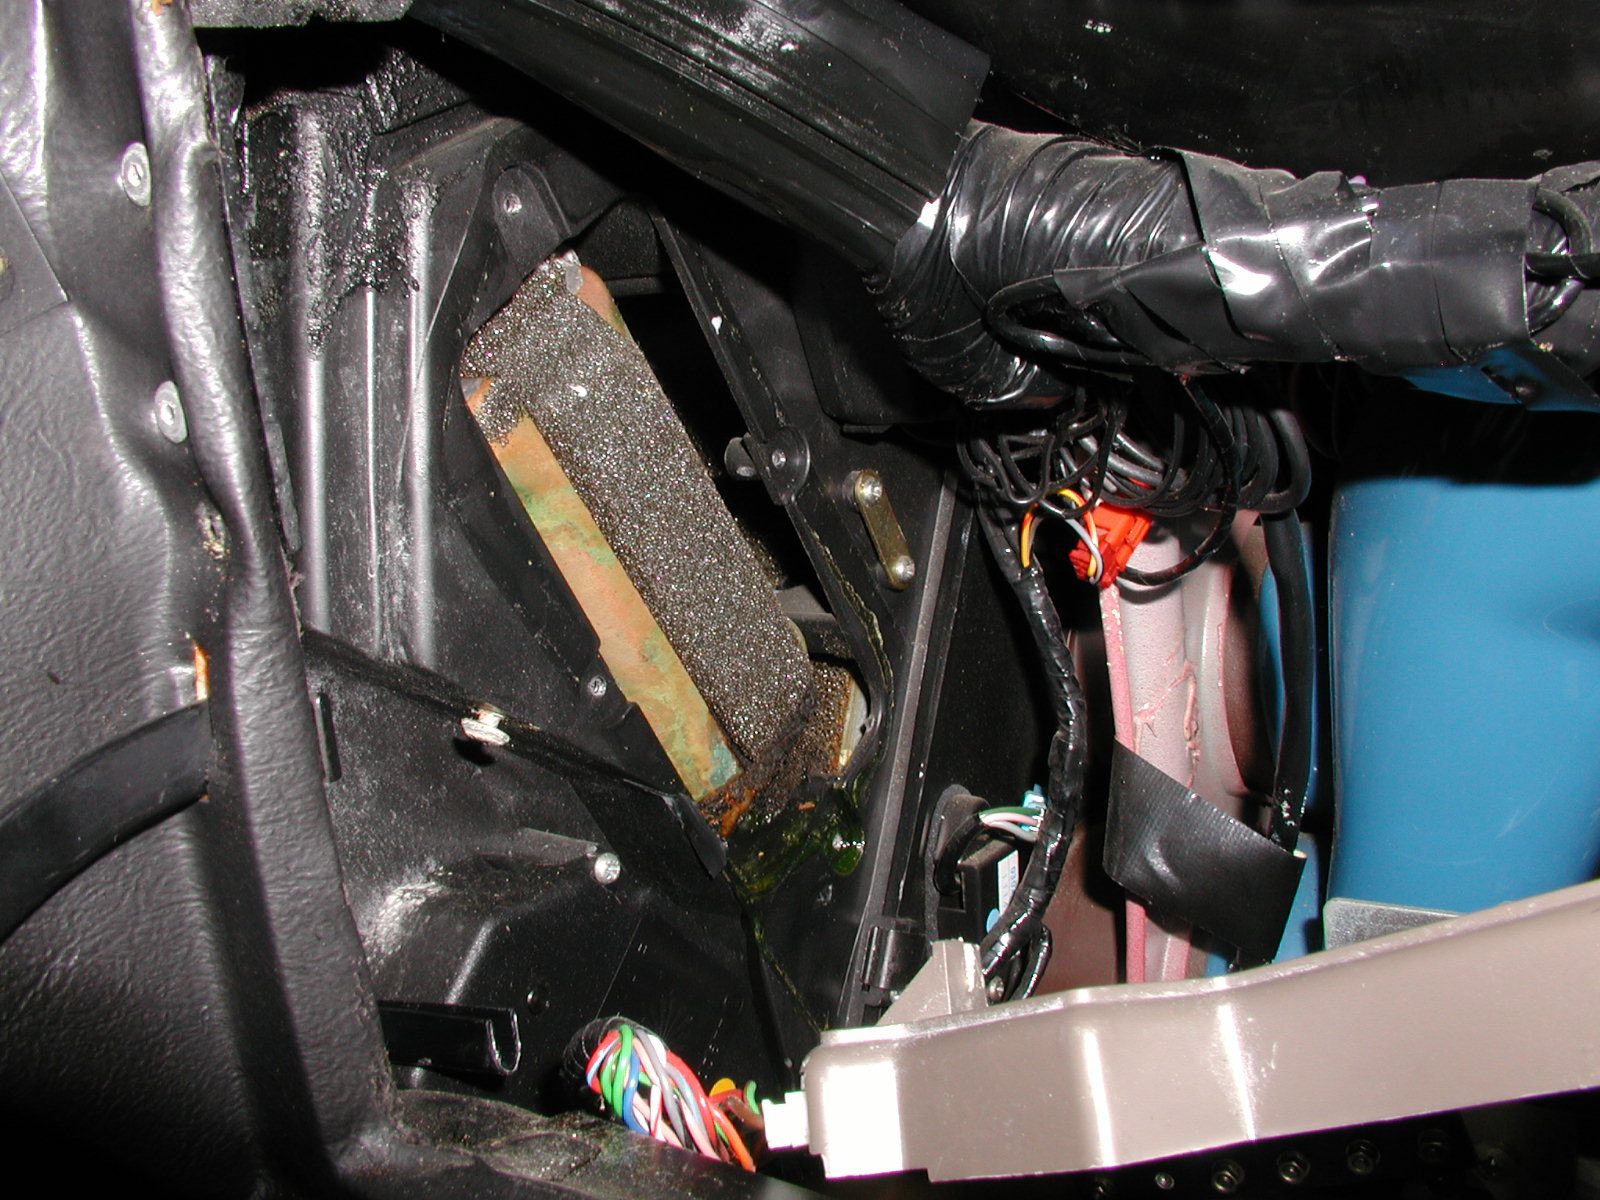
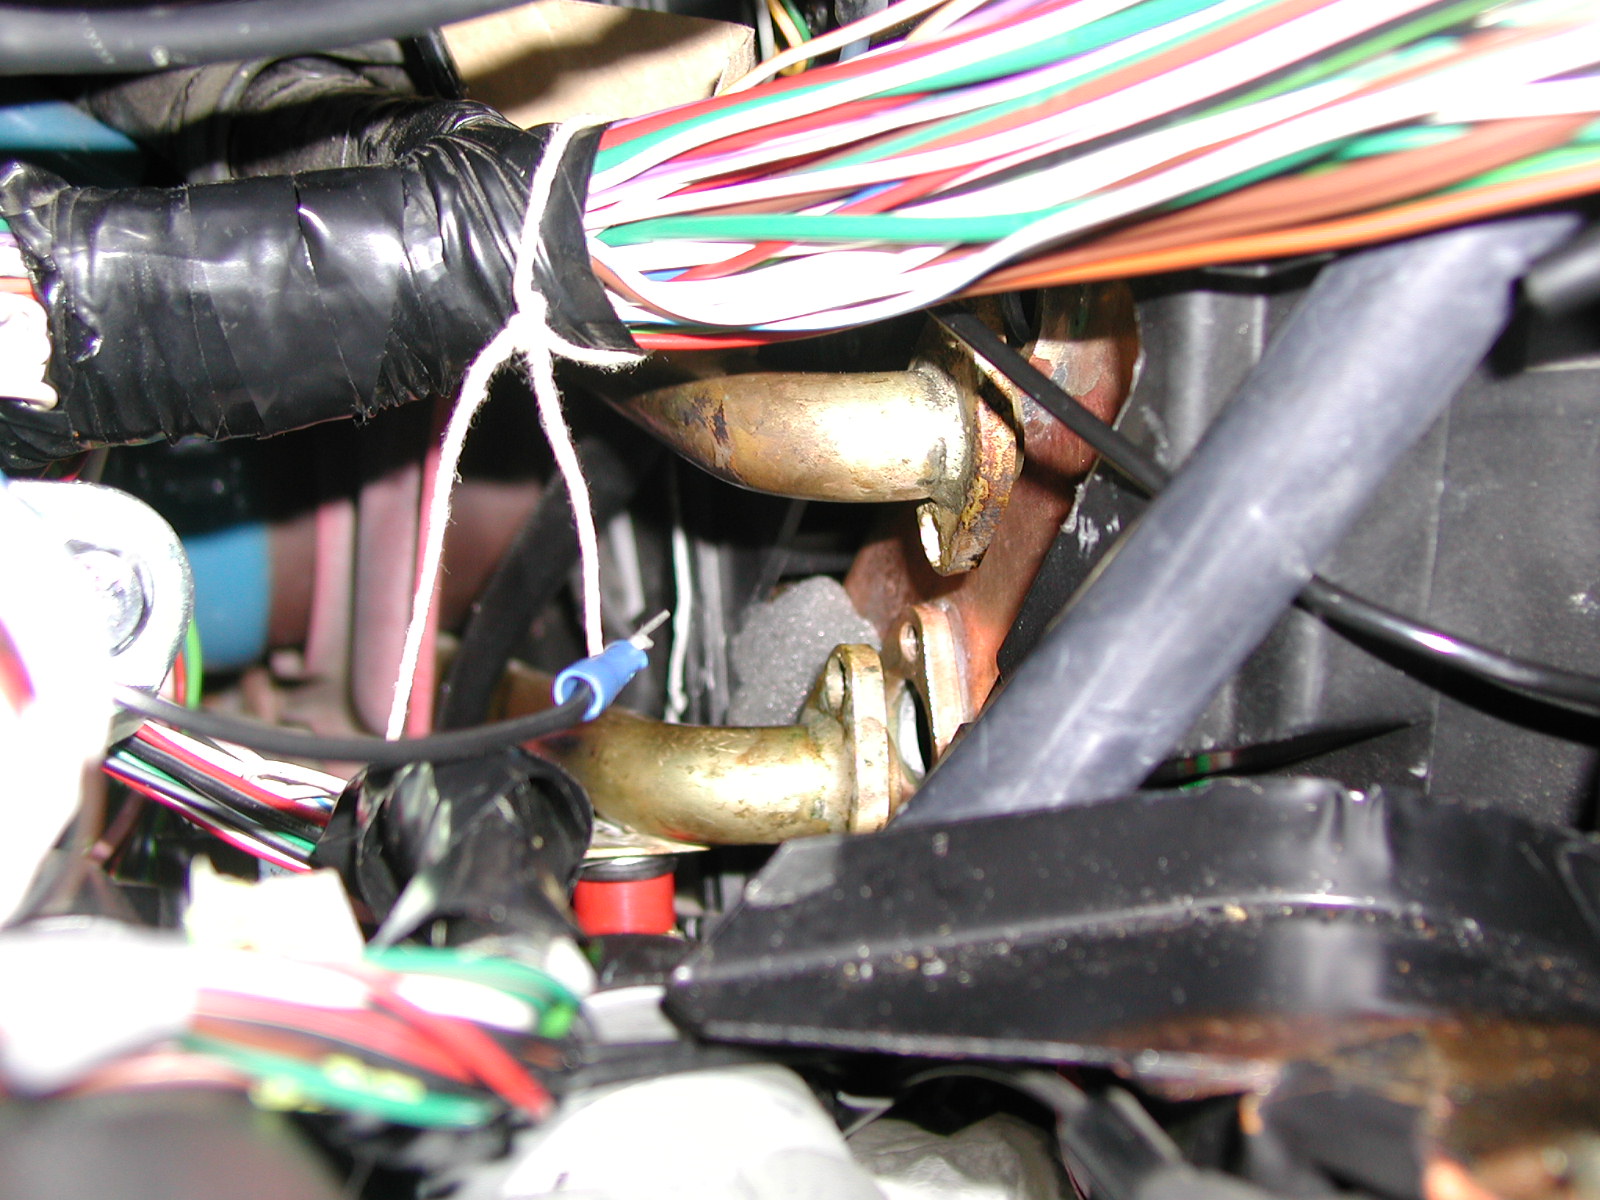
After removal of the left hand access panel, you can see that the foam is looking a bit nasty.. Go ahead and unbolt the pipes.  Put some paper towels or rags underneath to catch any leakage.


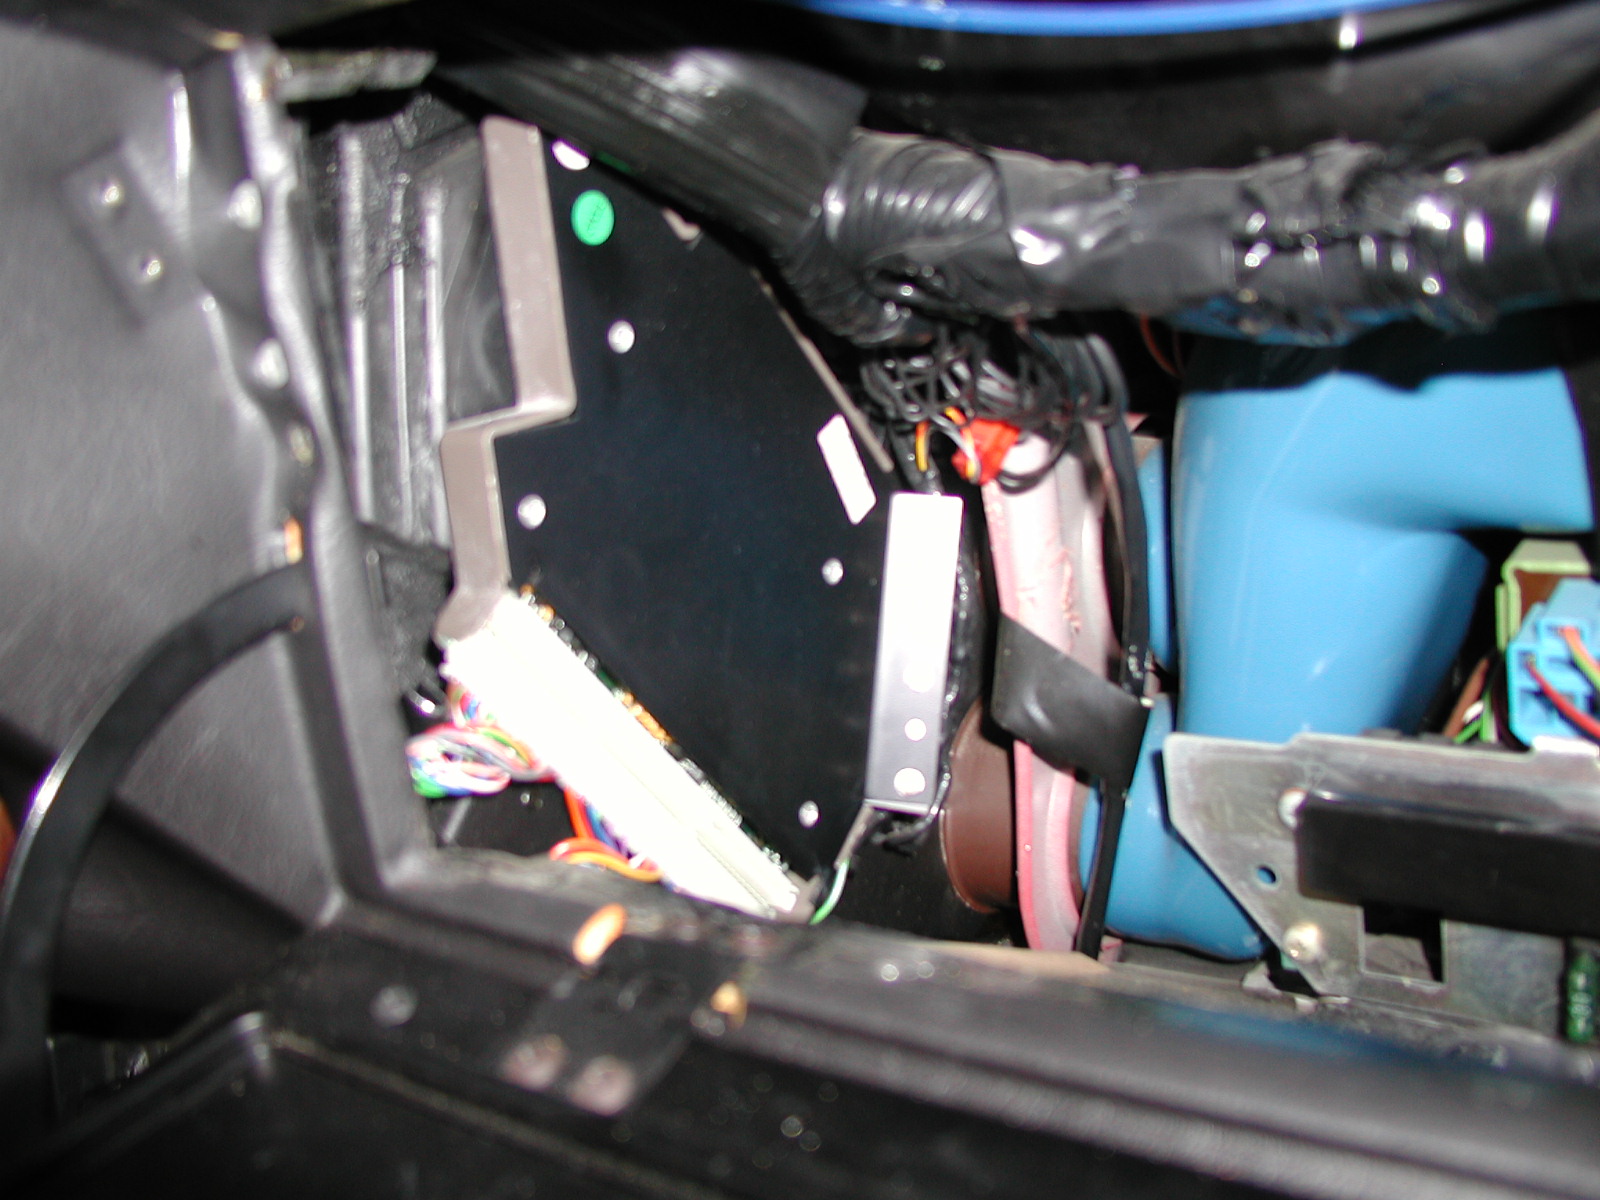
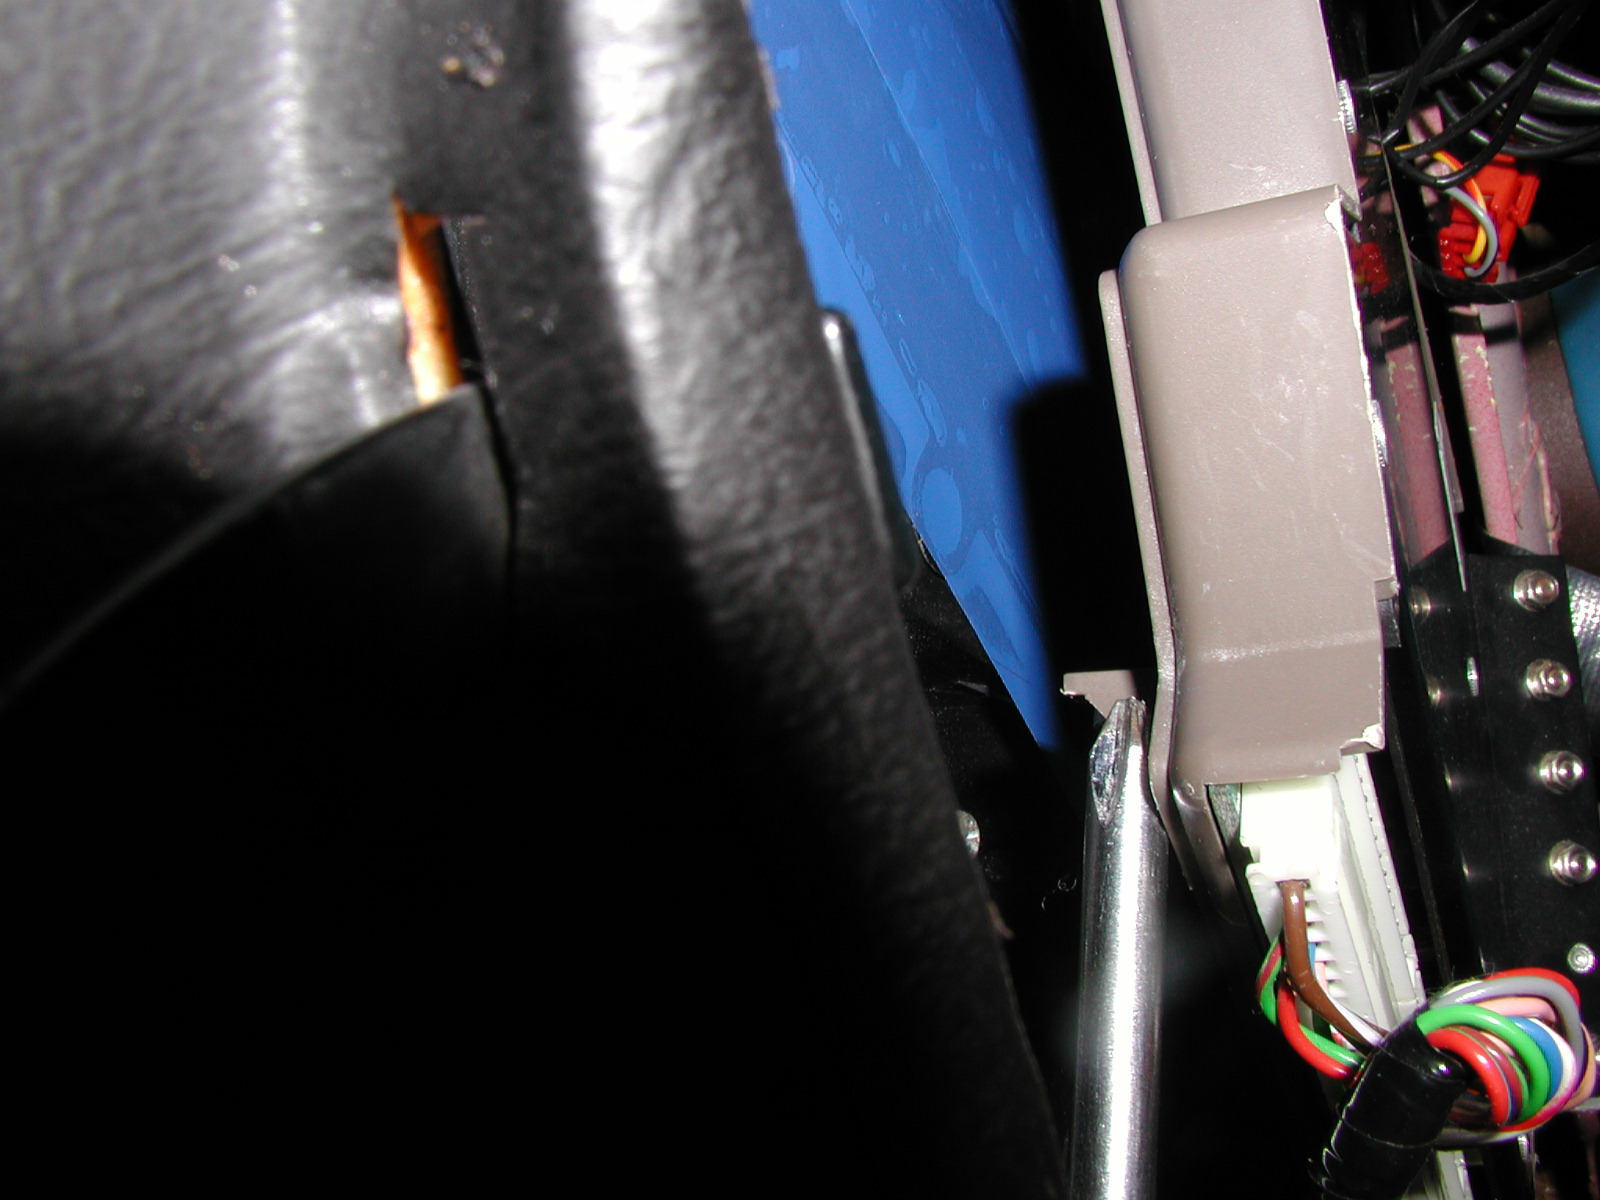
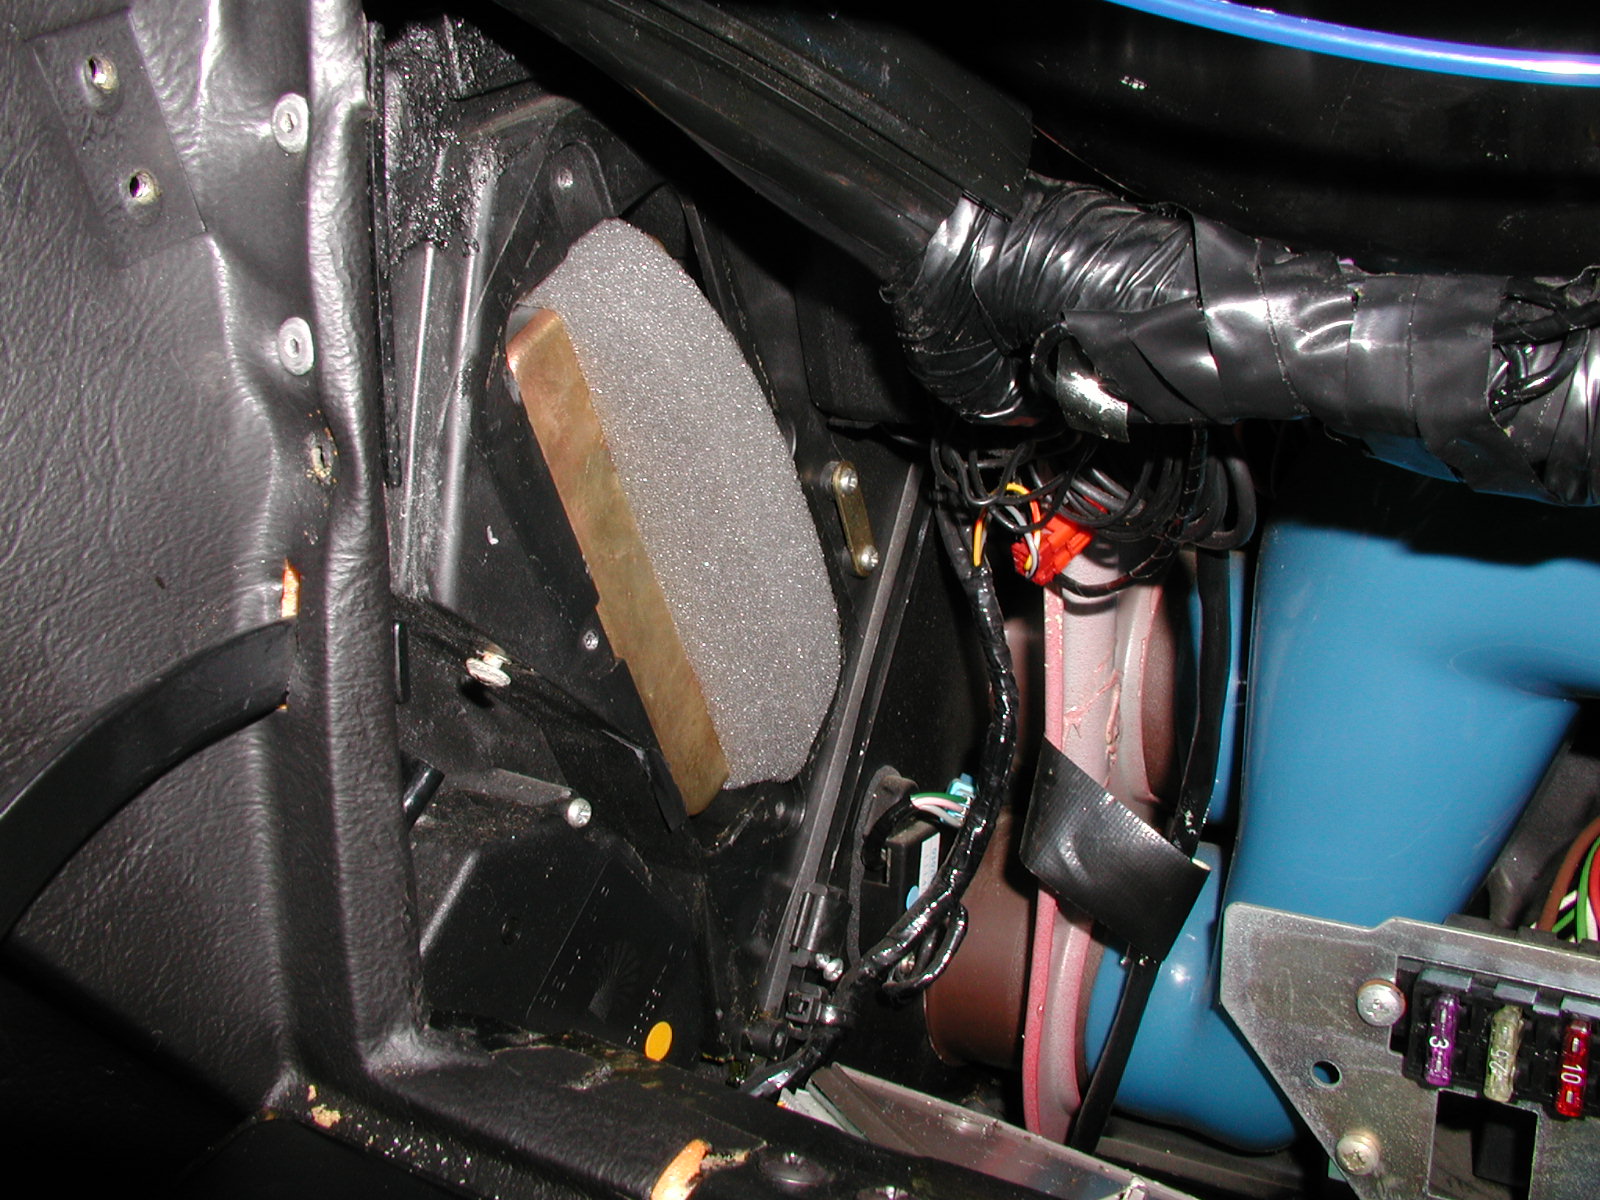
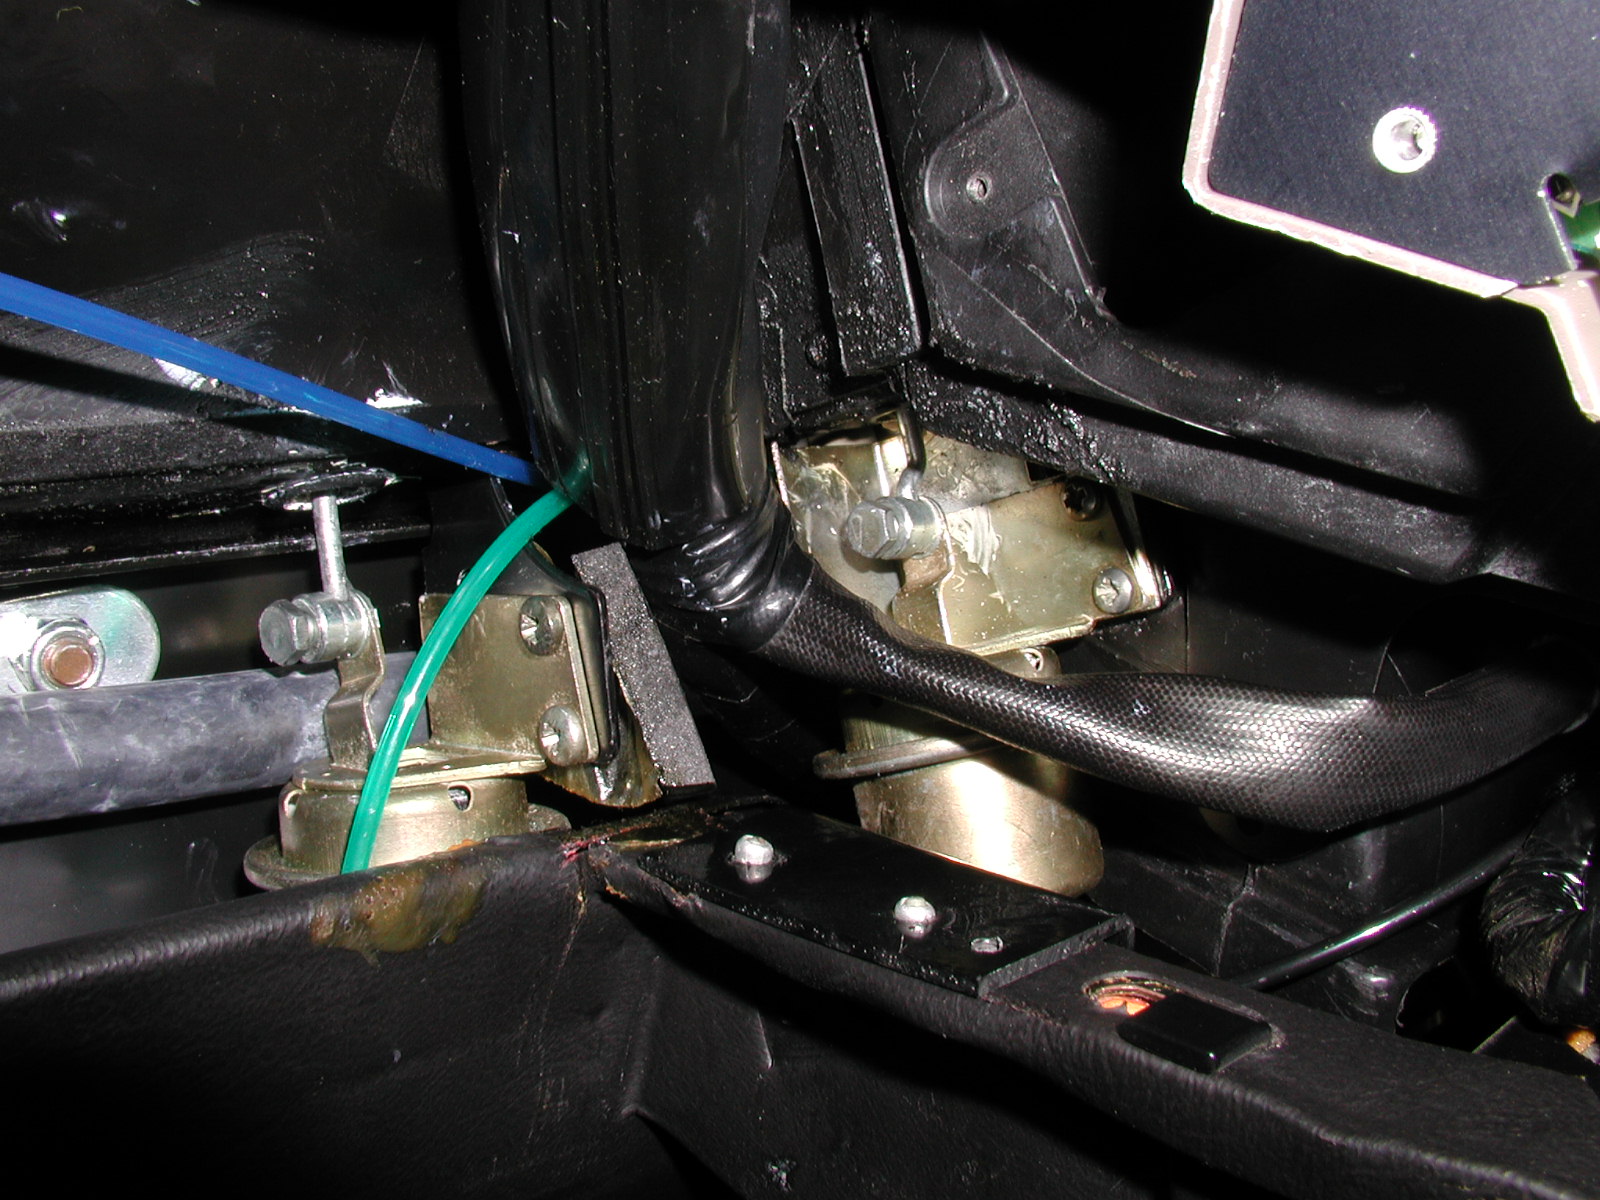
The right hand access panel is behind the AC unit ECU.  (Sorry, the pic is out of focus...)


The ECU is held in place by one screw on the front behind the lip of the glove box opening...(the blue tape is mine.. original is actually black)


...which goes on this little bracket...


Another one on the bottom corner above the knee vent opening...


...and a little tab on the back edge...


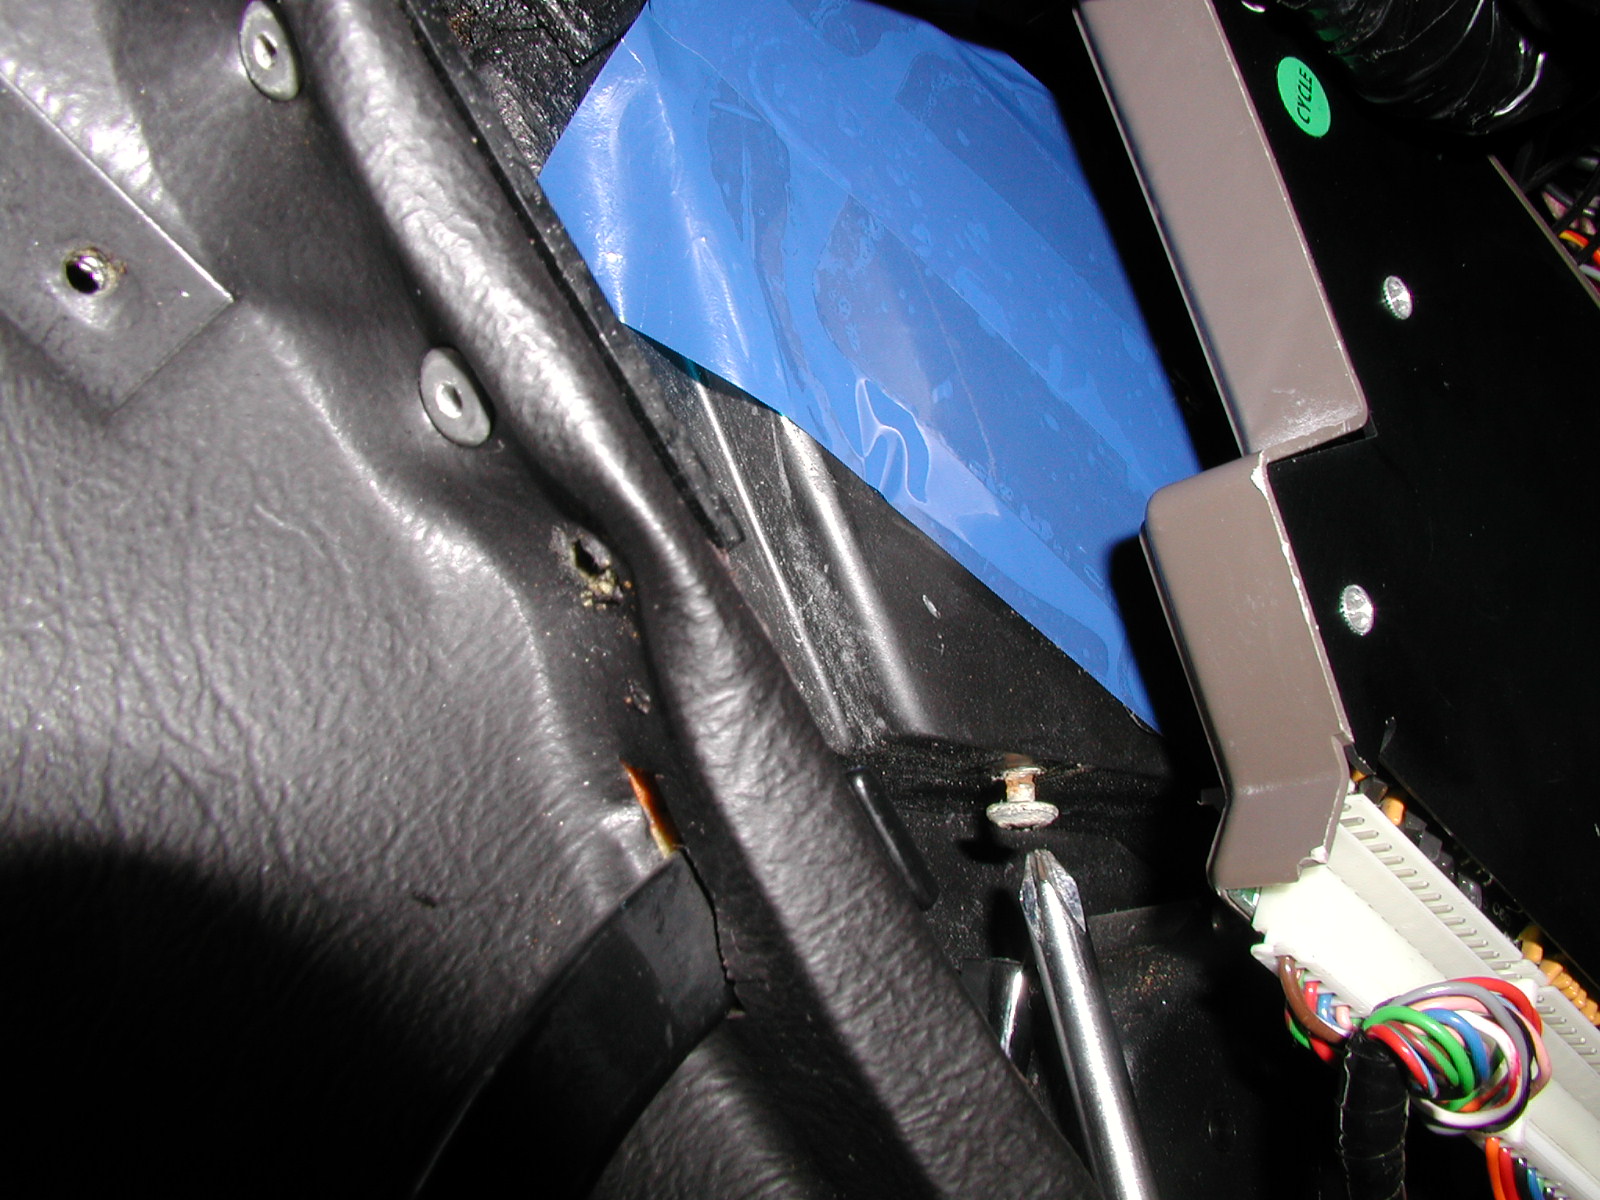
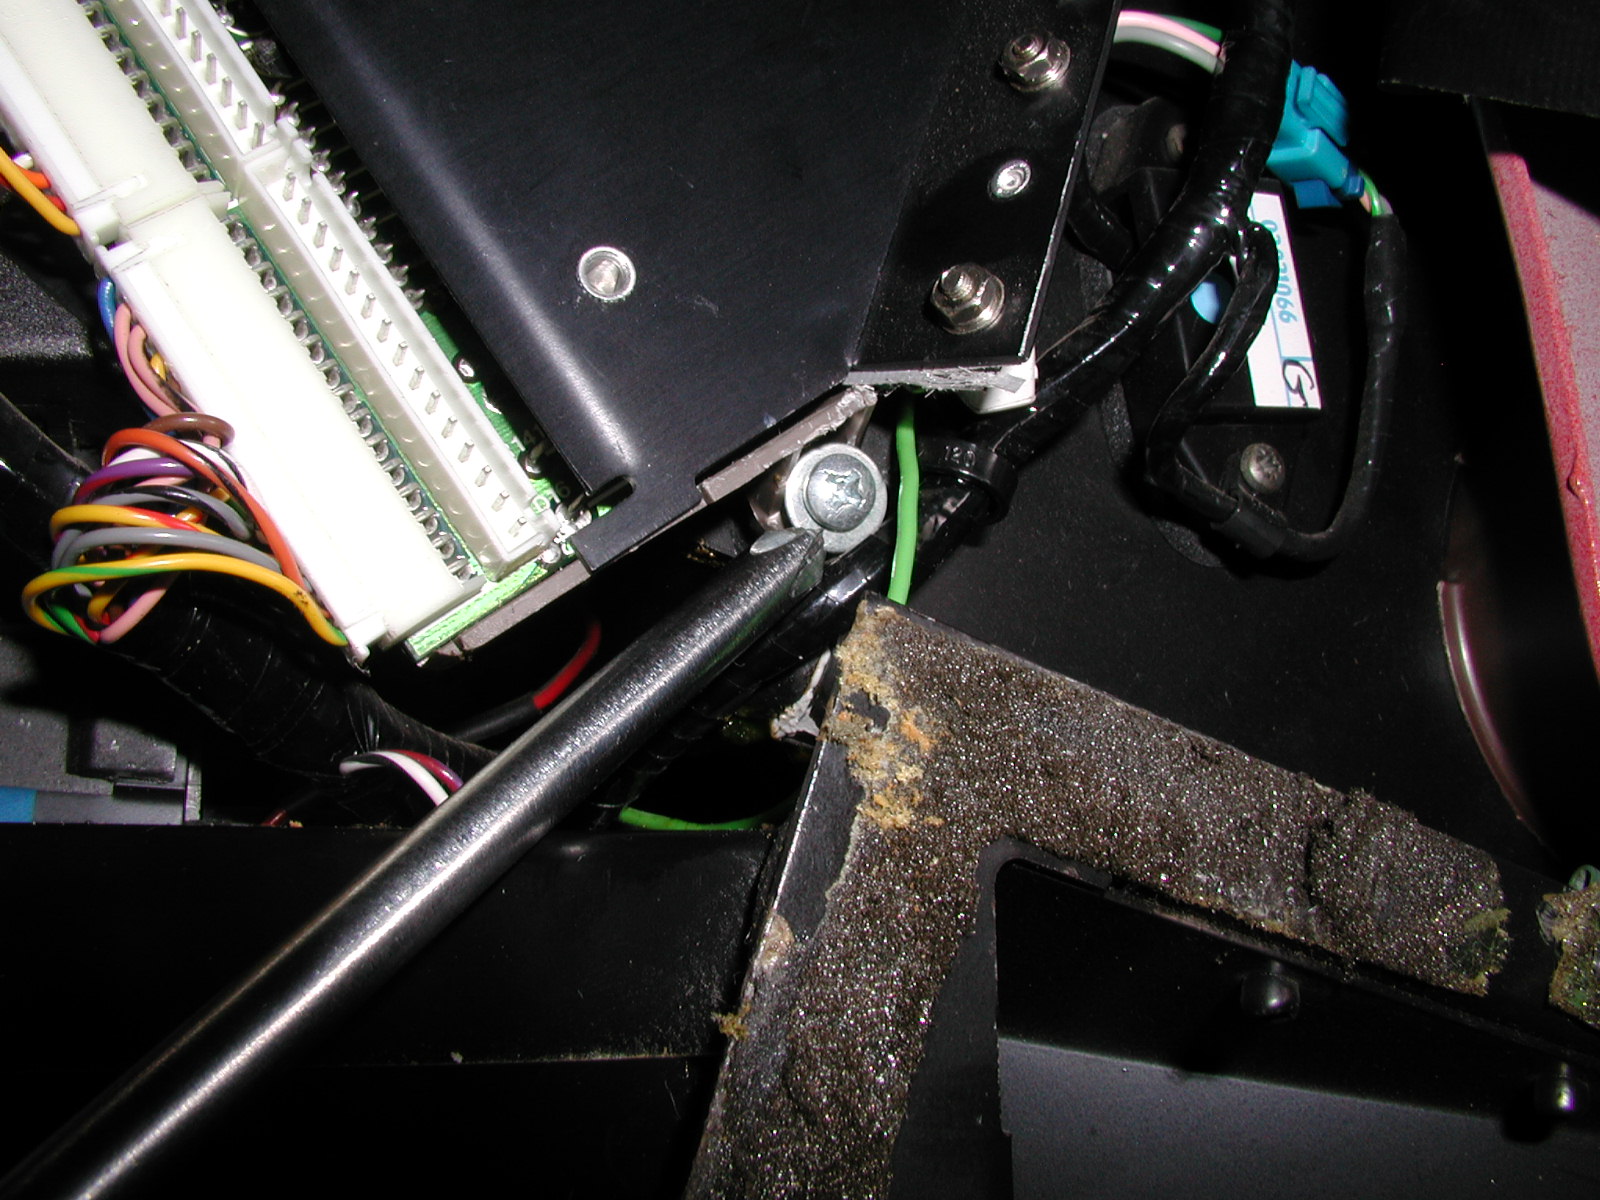
Once you unbolt the ECU, peel back the black tape to expose the right hand access panel.  It is not necessary to unplug or further remove the ECU.


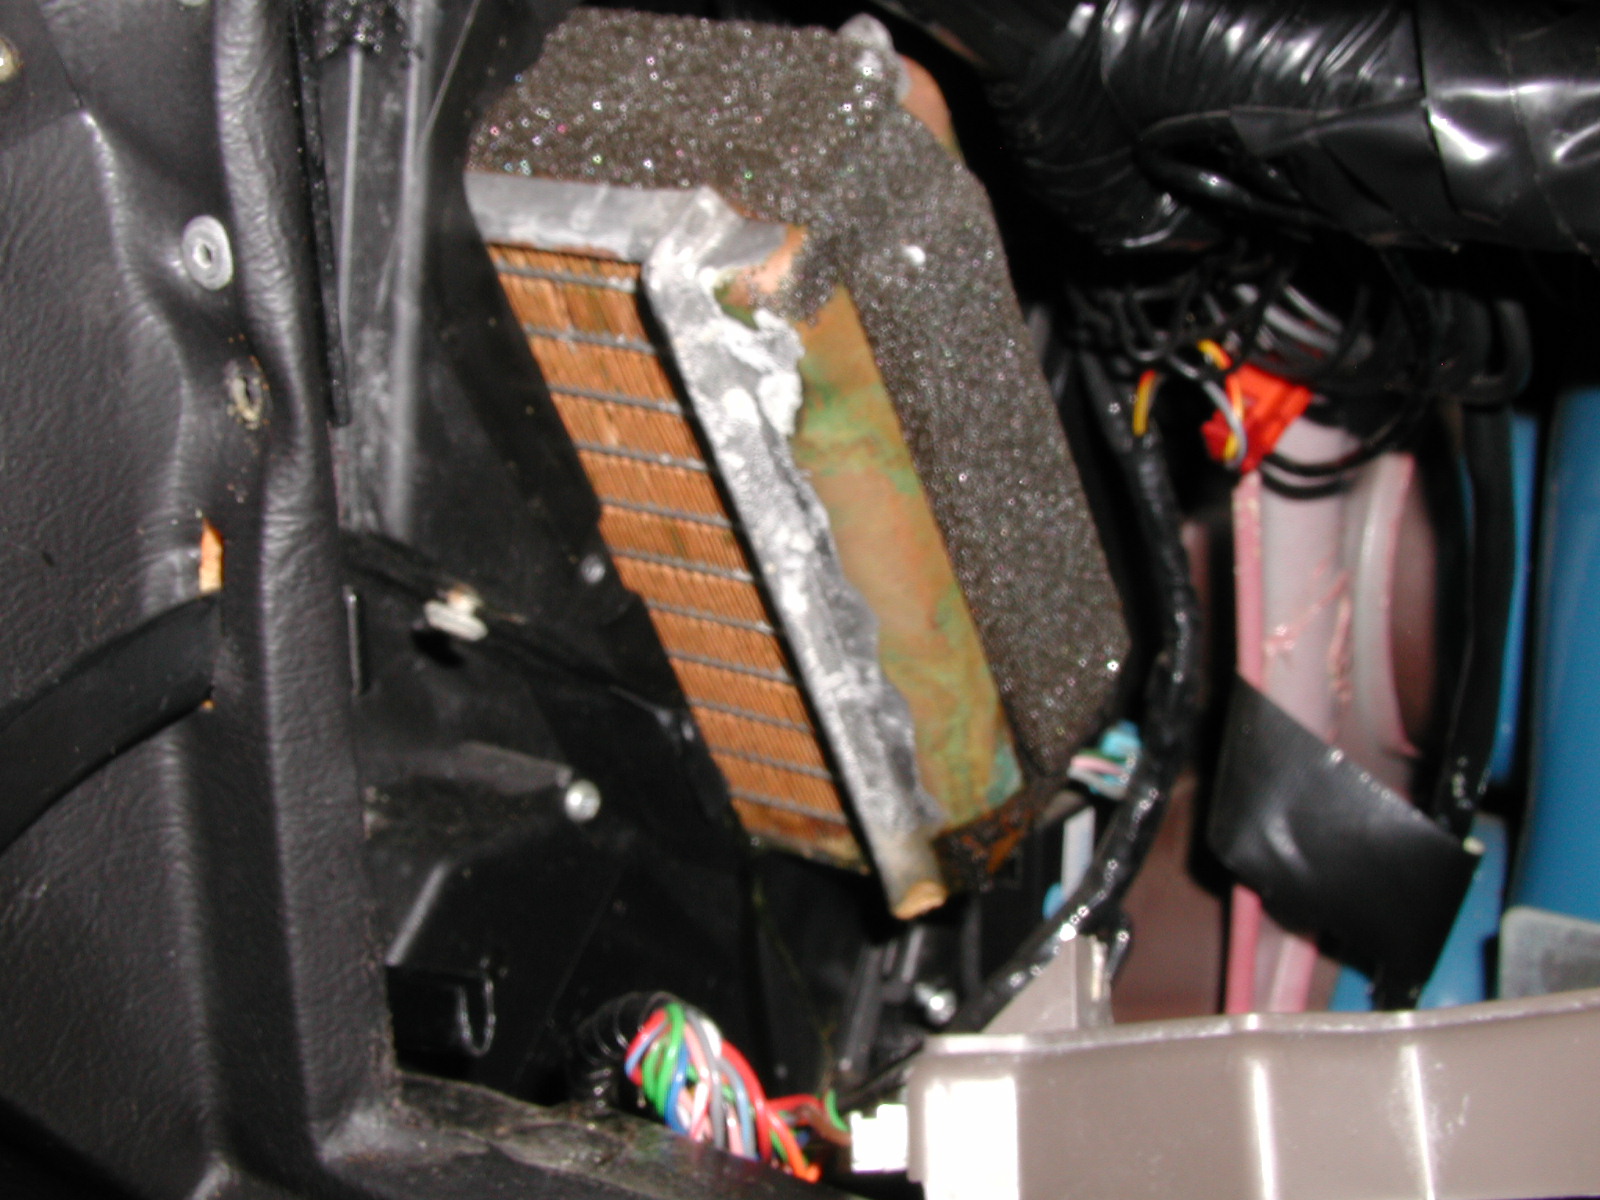
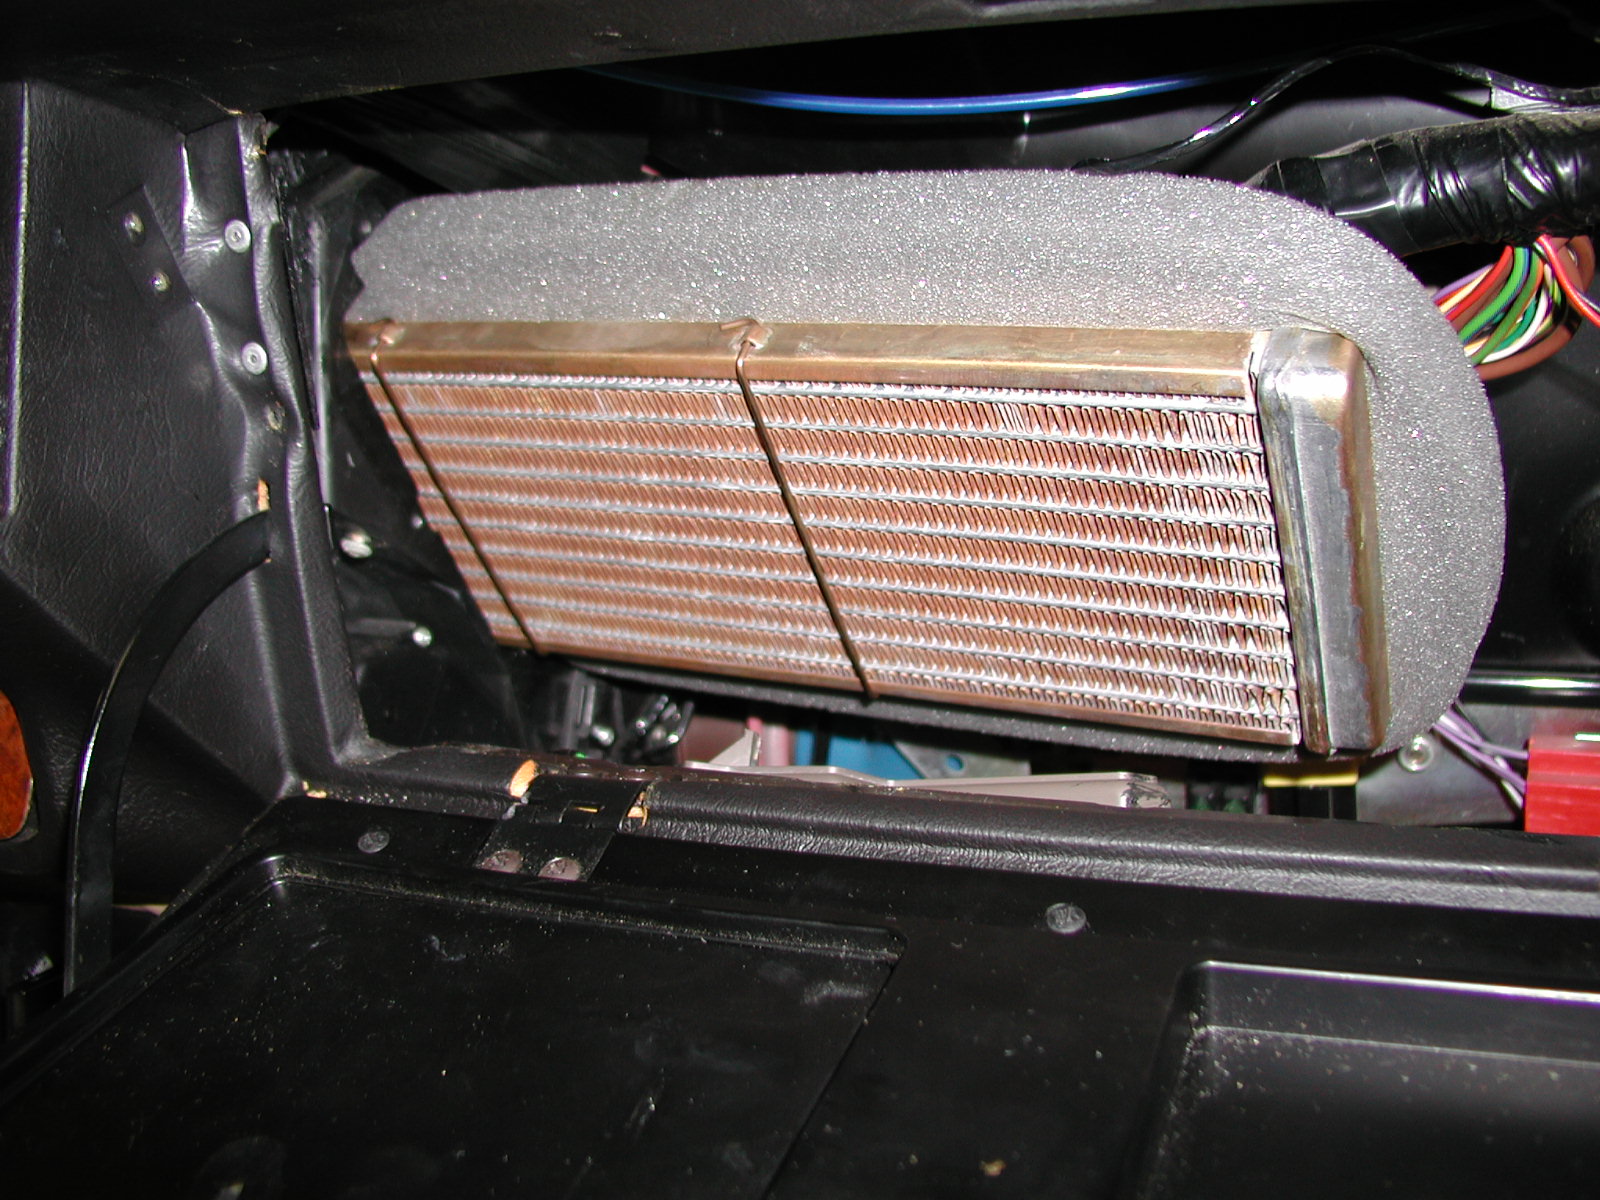
Remove the access panel and the end of the heater core is exposed.  Some nice leakage here.  Ick.


You can now slide out the core.  You have to maneuver it a bit, but it will come.  Nothing else holds it in. 


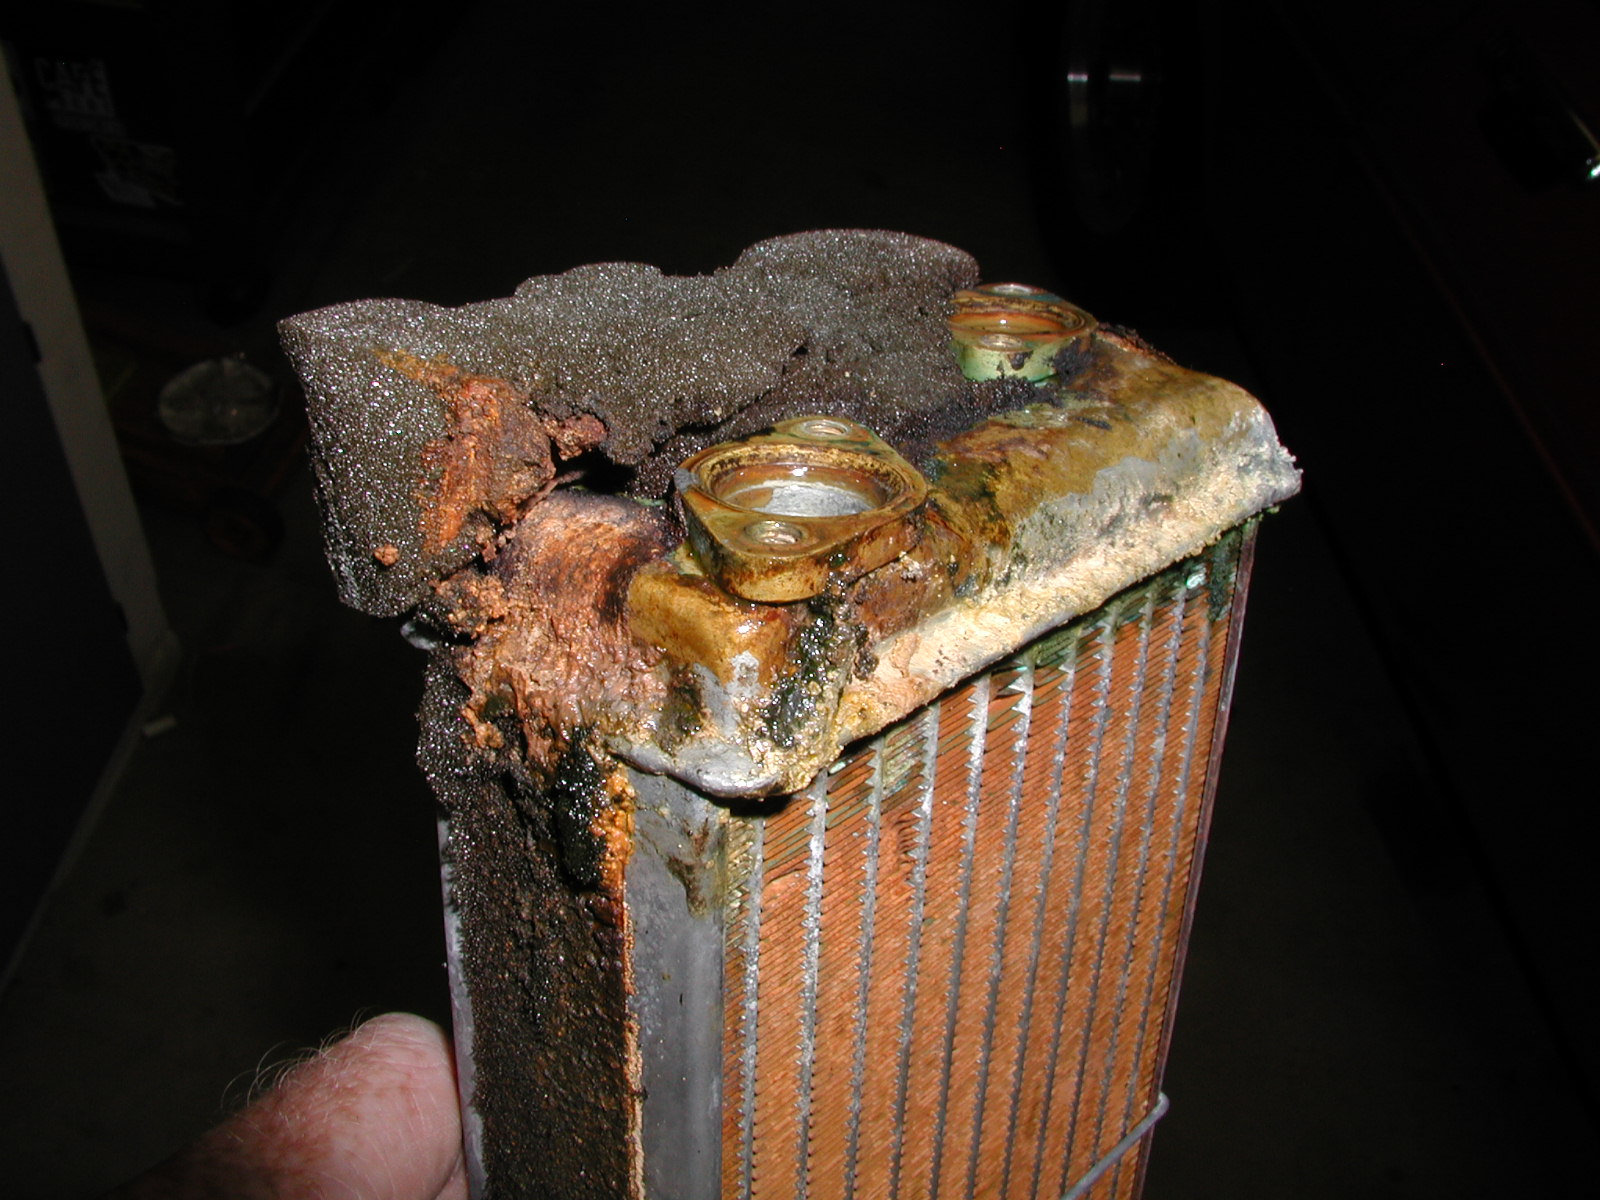
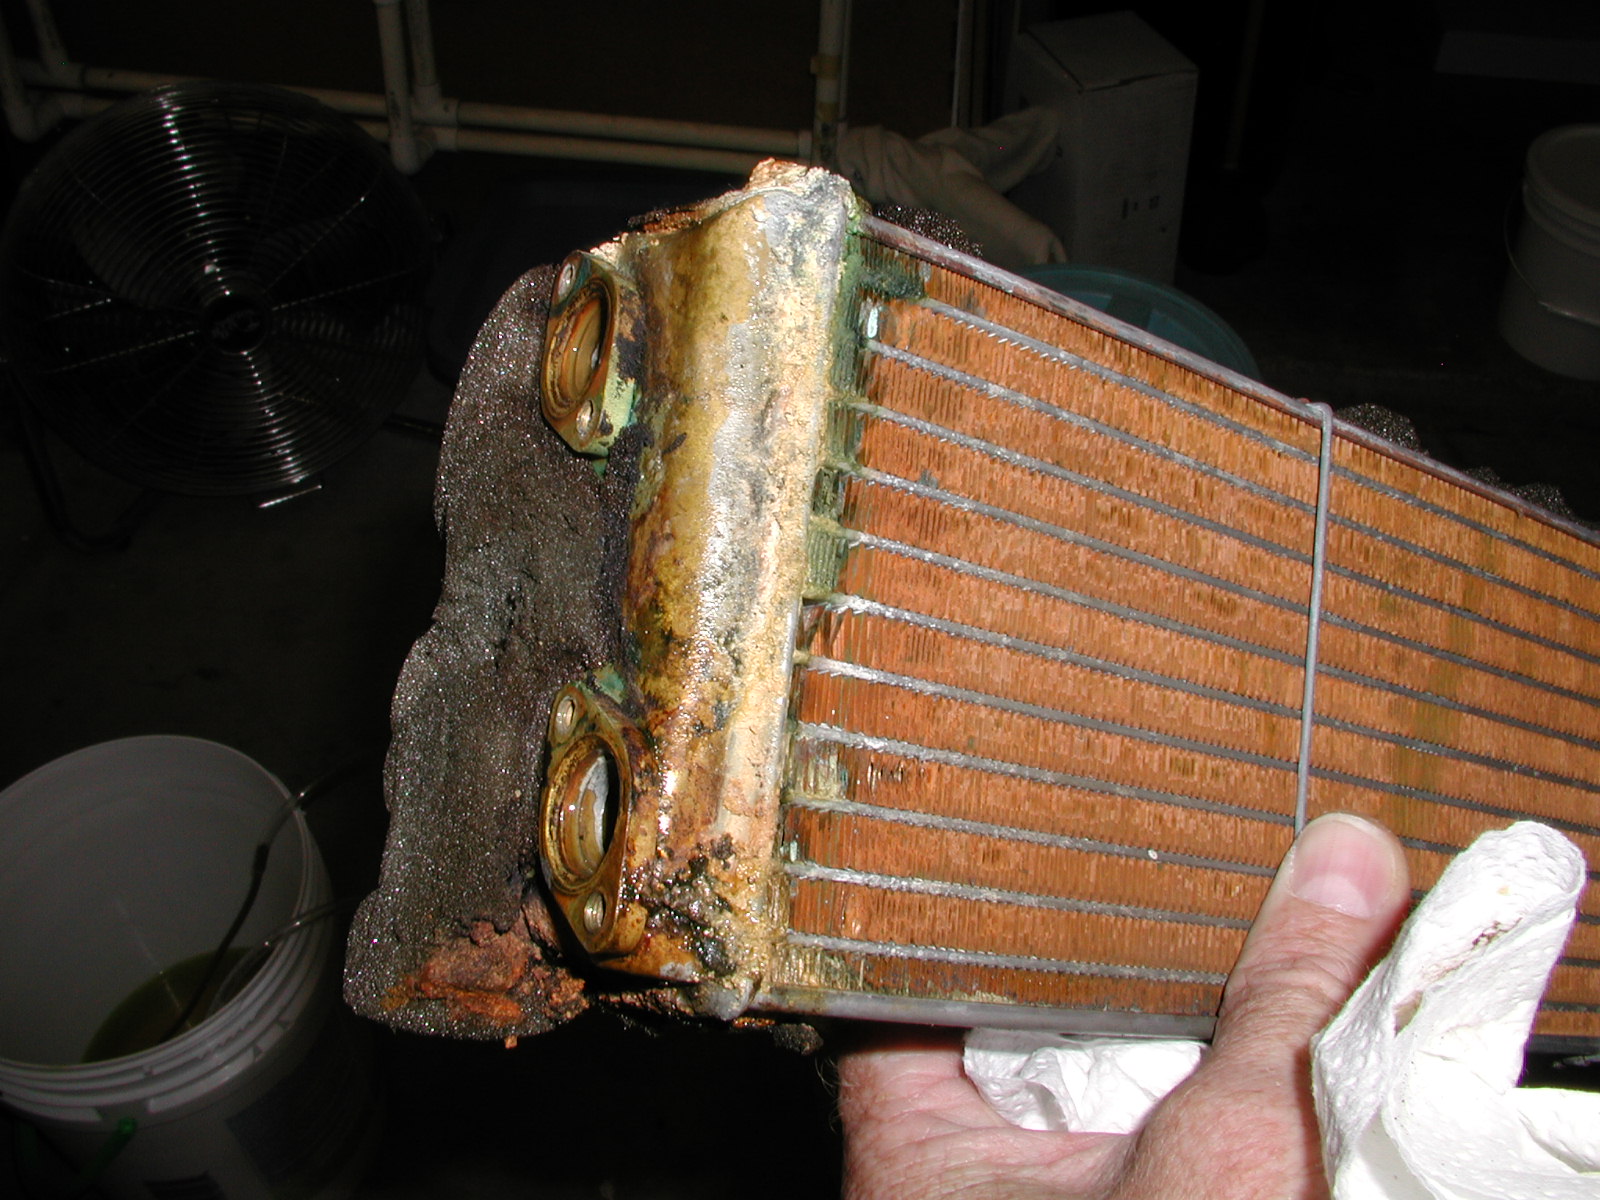
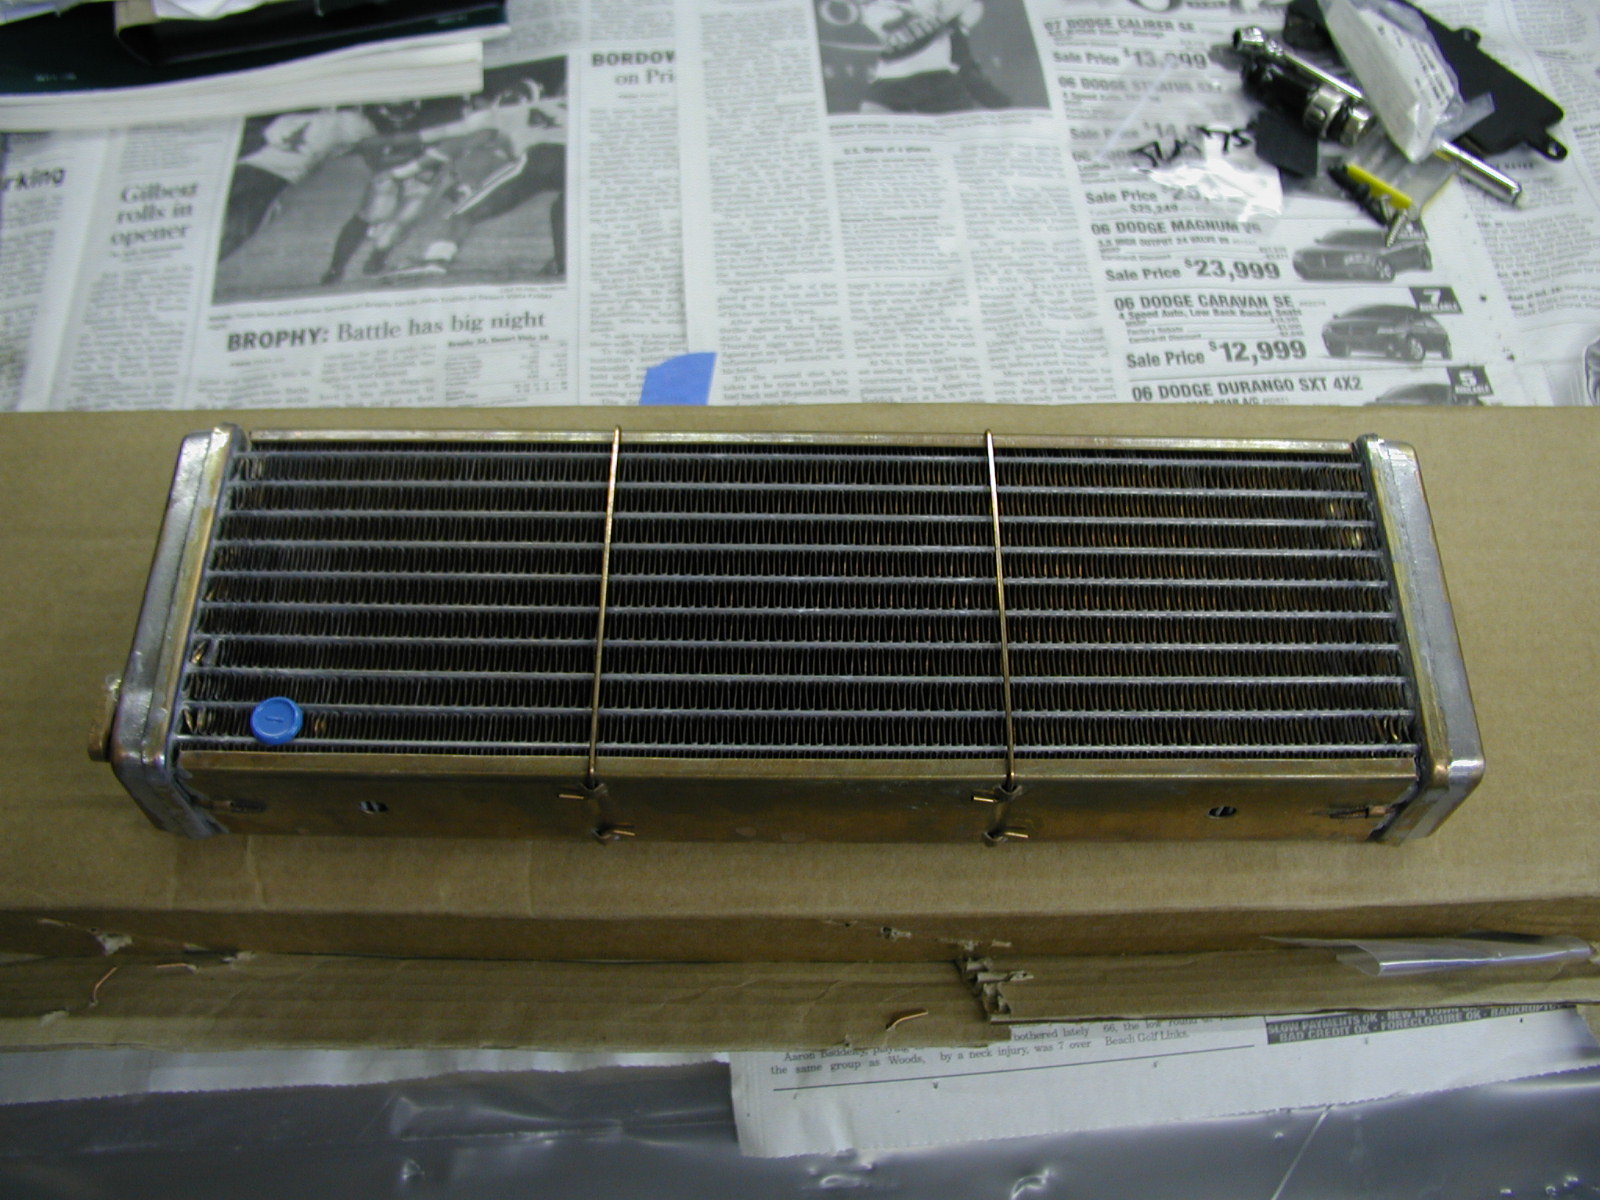
Ummm.. Yeah.  My expert opinion is that it is leaking :-)


I wiped down the inside of the unit with paper towels, via the right side access hole.  After, I stuck the camera in  took a pic to see what the inside looked like.  The heater core is positioned by the plastic troughs at the upper left and lower right corners of the picture.  The foam on the right covers the AC evap.  The lower blending flap (looks cylindrical) is just visible at the bottom.


Here is the new heater core, before and after the included foam surround was installed.  About $225 from Autohaus Arizona.  I have found that most Jag part numbers plug right into Search on their website.  The typically have the more common items.


The new core goes in just like the old one came out.  Be careful around the vertical wires, they can get hung up on the access hole.


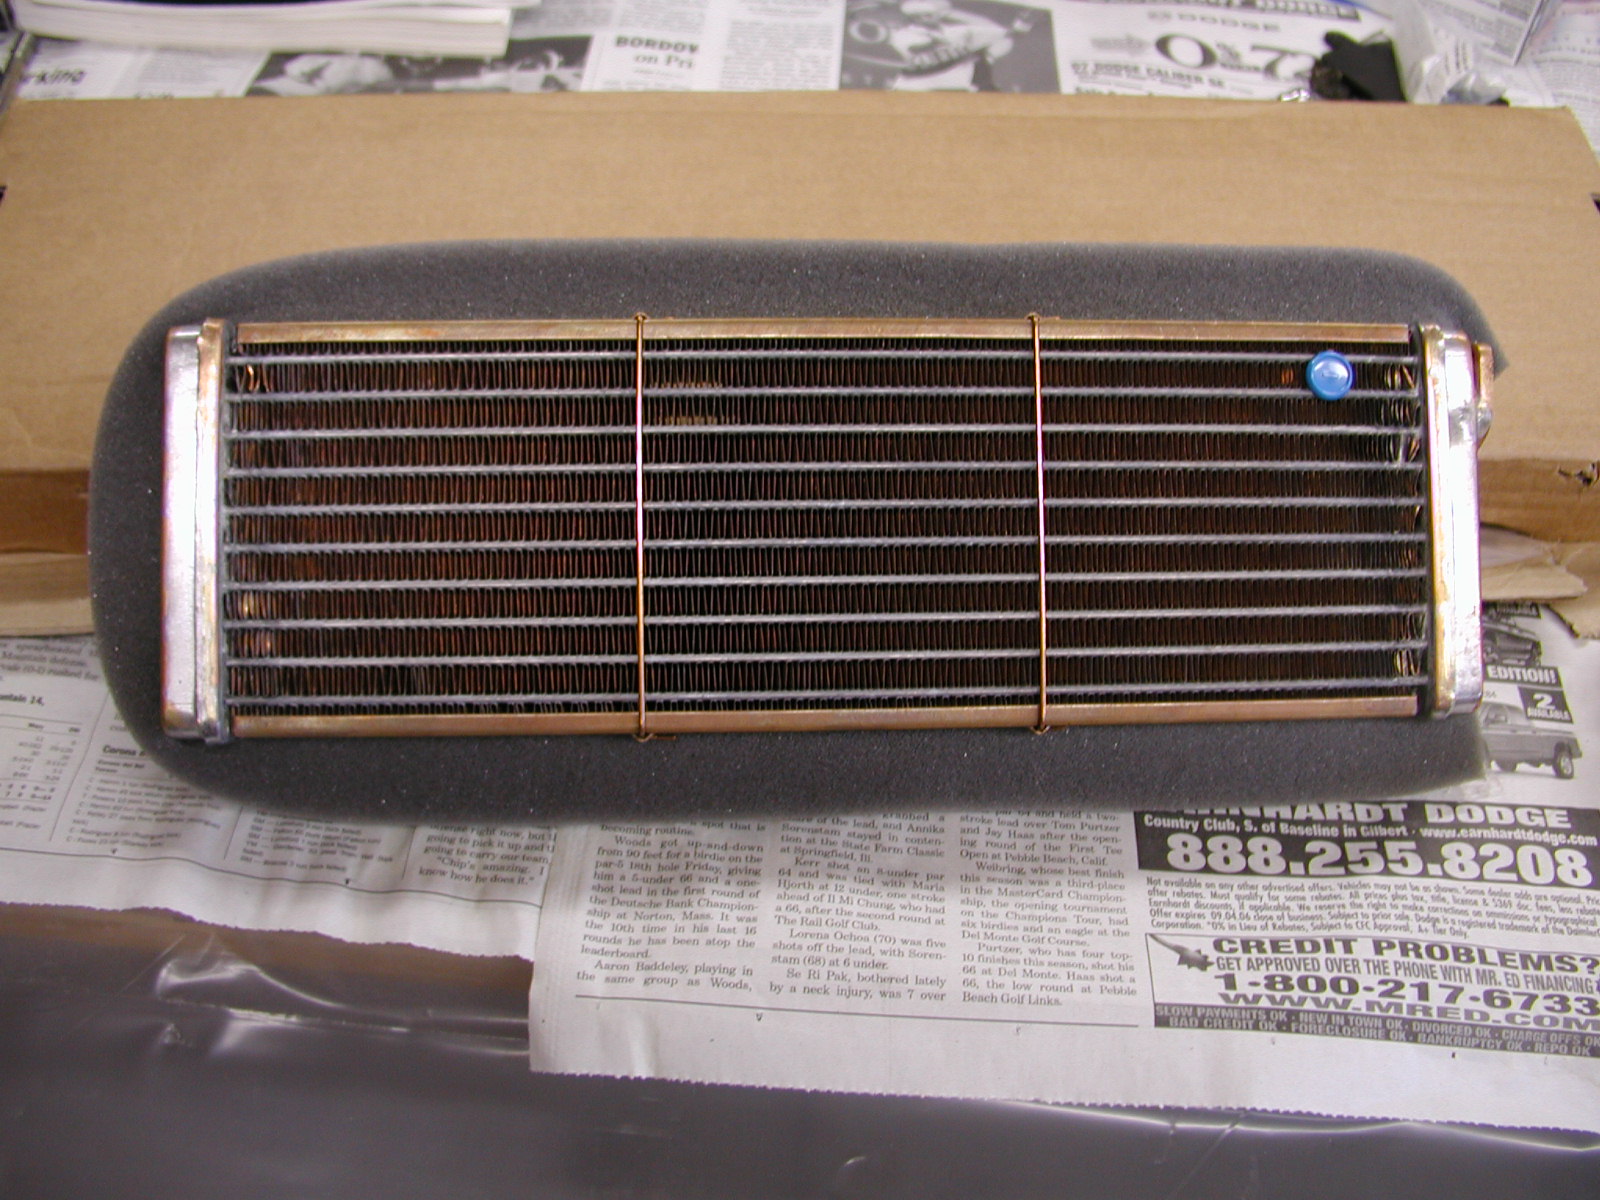
Everything only goes together one way and seems to line itself up pretty good.  Push the new core all the way thru.  This was a test fit, I pulled it back out and put a piece of foam between the pipes.  The edges of the heater core need foam all the way around to properly route the airflow.


These are the "upgrade" replacement gaskets from Jaguar.  The originals were cheesy little o-rings.  Cruddy picture, but you can see that they are pretty thick and made from some sort of neoprene.  The gaskets are installed the end pipes bolted back on, and everything else re-assembled in reverse order.  That's it!


Now, what about my anemic center vent?  Well, while I had the dash apart, I located the two actuators that run the center vent flap and the defrost flap.  They are above and to the left of the glove box.  The one closest to the center of the car runs the center vent.  You can see the black vacuum pipe (center vent actuator) just below right center in the picture.  The green vacuum pipe runs the defrost actuator.  You can see that there is a collar, rod and set screw affair that allows some adjustment.


I used a vacuum pump to apply vacuum to the system via the connection on the right rear intake manifold.  After much fooling around, I determined that the center vent flap was not fully opening.  I could reach thru the center vent in the dash, and by pushing "Up", actuate the flap. It would get about 2/3 of the way there by itself, and by that time the actuator was 90% of the way thru its travel.  By gently pushing the actuator (or the vent flap), I could get the flap to fully open and the flow from the center vent got noticeably better.  You can check flap travel by removing the grill from the center vent and reaching Up and In.  If the flap is fully Up, it is all the way open. 

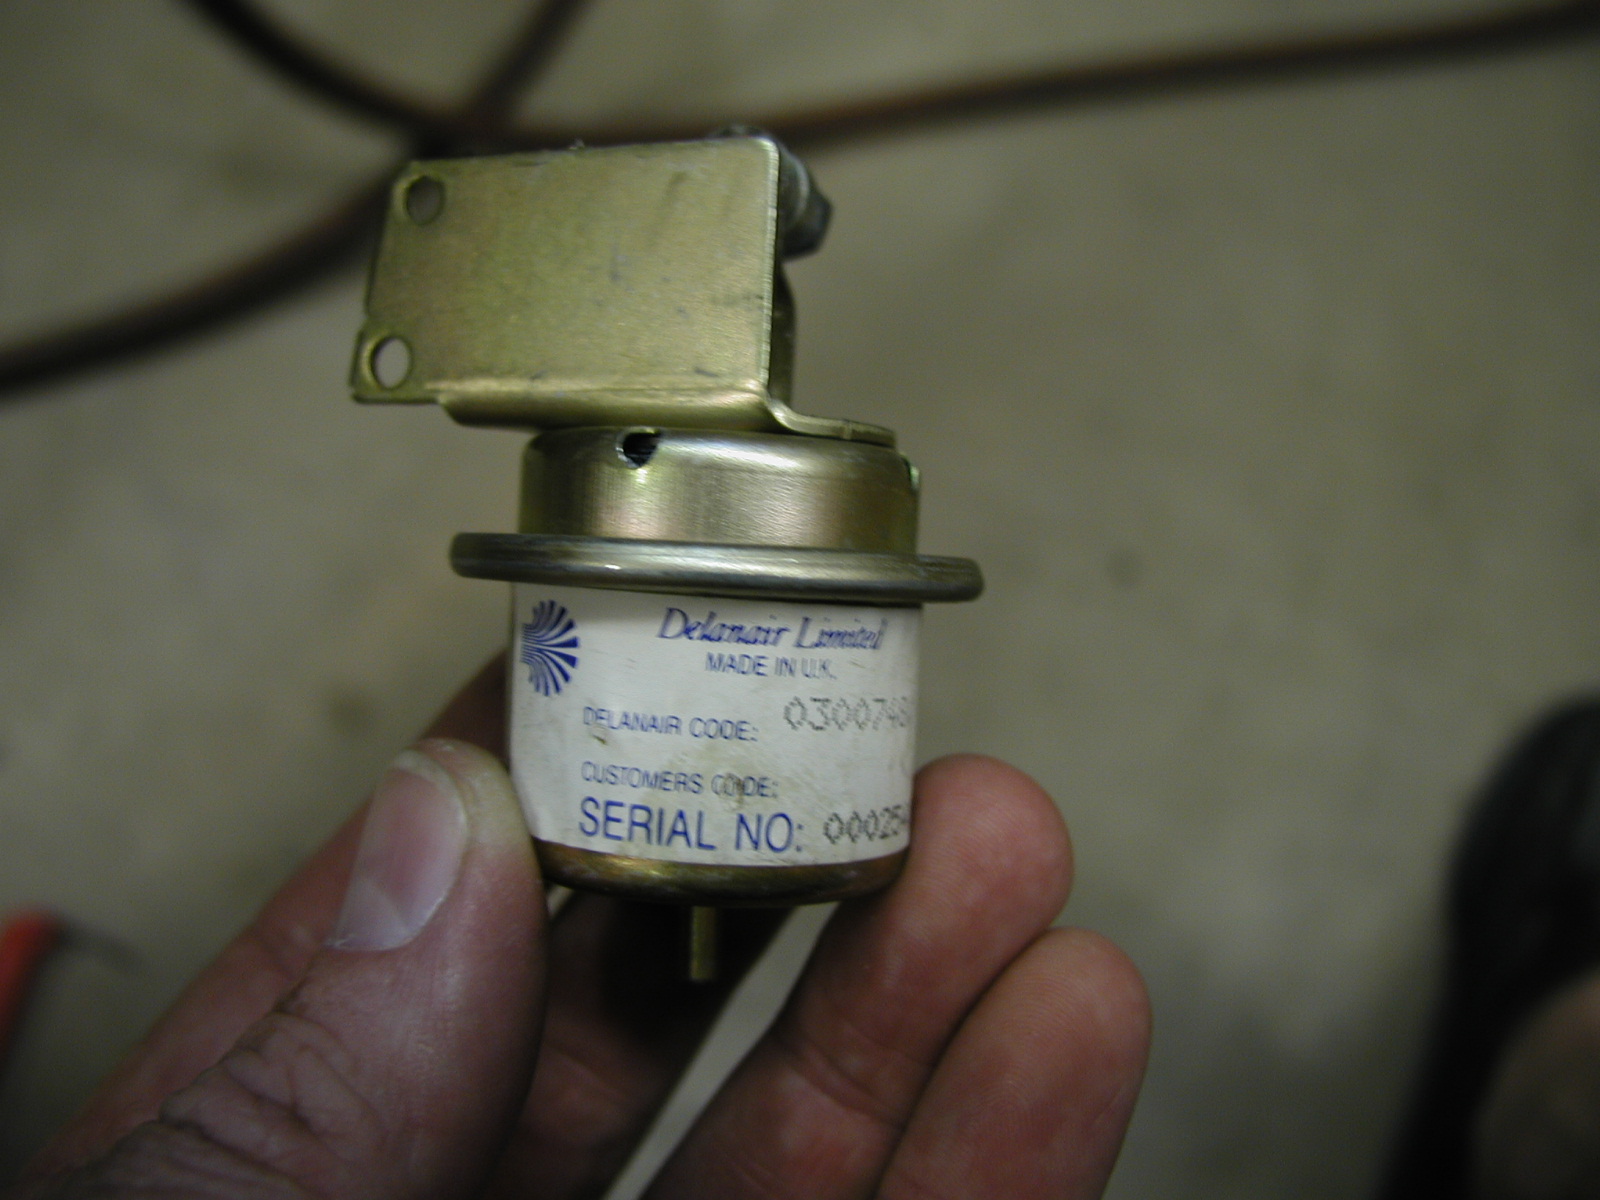
I decided to slot the holes in the actuator a bit and see if I could get more travel.  (There was not enough adjustment in the rod to do any good.)  There seemed to be enough room to slide the actuator farther away from the rod (towards the back of the car.)  Well, this all took a lot longer to do than it did to write, but the end result was 100% success.  The center vent works much better, flowing about 50% of the total air in the dash.  The AC system is much more effective now.