|
Colombo Andersson 38% Extra
March 14th, 2005:
Now that the 1.20 Cap is done, I have started on the CA38% Extra.
Got a great deal and great service from Planes Plus on the kit
and DA150.
|
|

History
Projects/Reviews
Carl Goldberg Falcon 56
MkII
Colombo Andersson 38% Extra
Hangar 9 33% Cap 232
Hangar 9 1.20 Cap 232
(Bob's)
Hangar 9 1.20 Cap 232
(Bill's)
Lanier 31.5%
Staudacher S600
Sig Kadet Mk II
Sterling Ringmaster
Thunder Tiger Fun
Tiger
Updated!!
Pics of Cool
Stuff
Crash
Pictures
Car Stuff
Updated!!
1989 Jaguar XJS
Updated!!
Random Thoughts
Links
Stuff for Sale
Contact
Bob
Bill
|
Year Built: |
2005..
it's now 2011 and I am still not done :-) |
|
Weight: |
TBD |
|
CG: |
TBD |
|
Engine: |
DA150 |
|
Prop: |
Mejzlik 32x10 |
|
Muffler: |
TBD |
|
Fuel: |
Lawnboy 32:1 then Amsoil 100:1 |
|
Radio: |
Futab 9ZAP WC2 |
|
Servos: |
JR8611, Seiko PO-050 on Rudder |
|
Battery |
Probably Fromeco ReLions |
|
Color Scheme: |
|
|
Building Impressions: |
So far, very good. Not a kit for a first-time
builder, IMHO. The instructions are really for the 31-34% planes,
and the 38% has a few extra parts. Fortunately, like a puzzle, the
extras only fit one place, and it's pretty obvious where most of them go.
If you aren't familiar with GS construction (motorboxes, truss-type fuse,
aligning the fuse, etc. you could "glue yourself into a corner.."
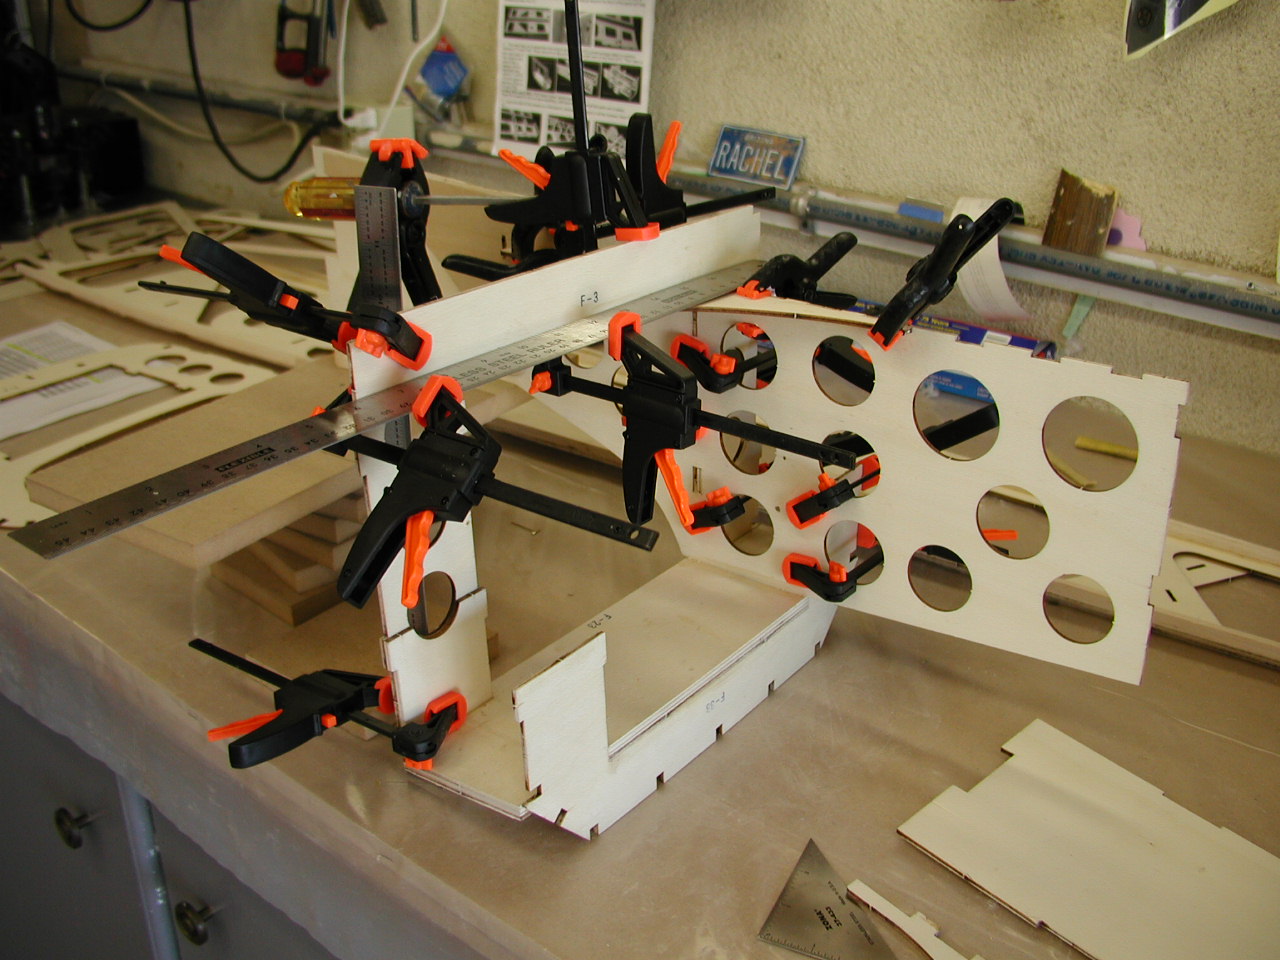
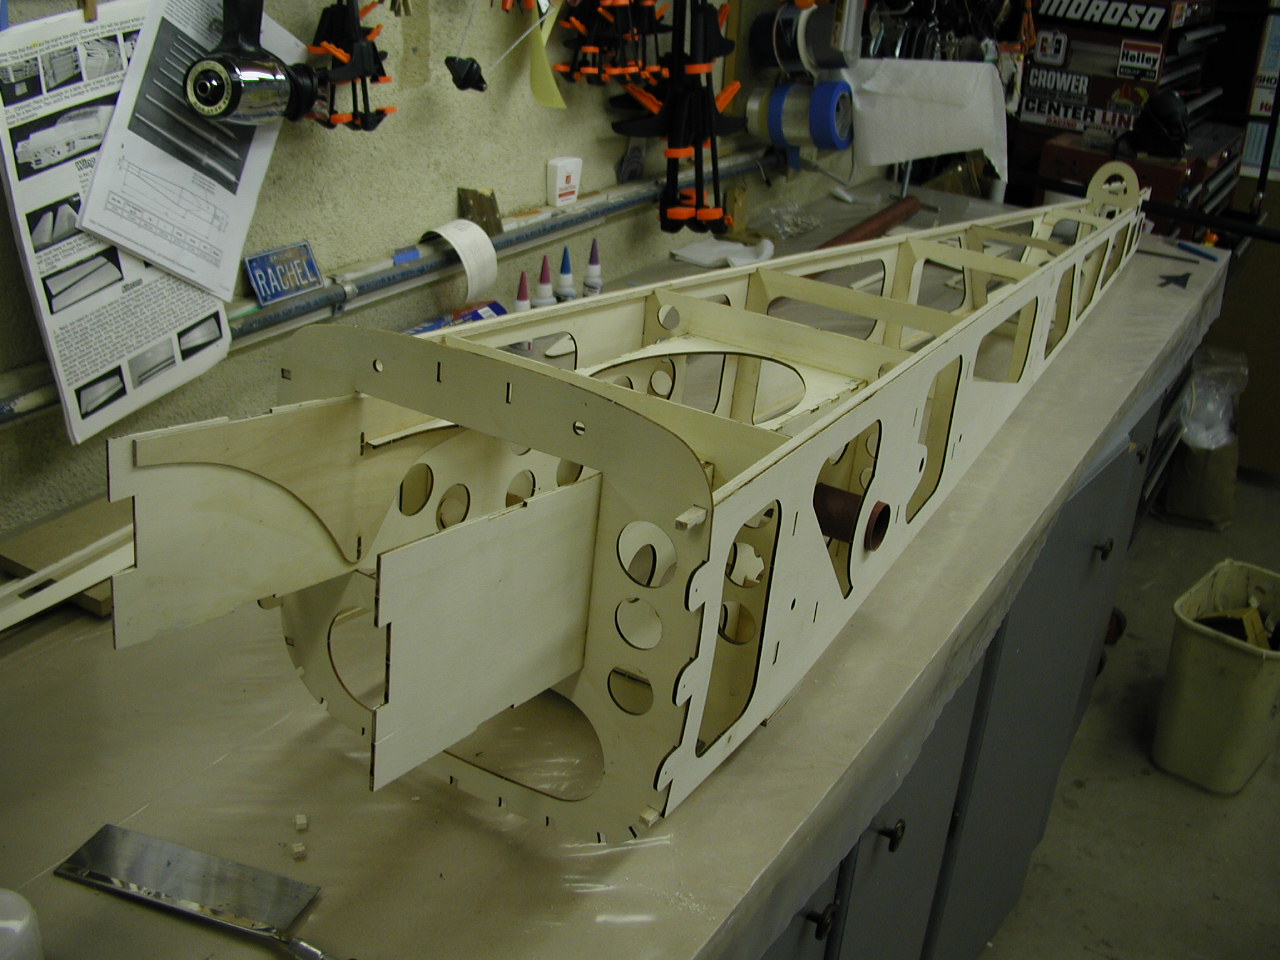
The ply is light and usually has some slight warping. This means
when you clamp it you need to pull it straight. That's what the
steel rulers are for in the below shots. |
|
Flying Impressions: |
|
|

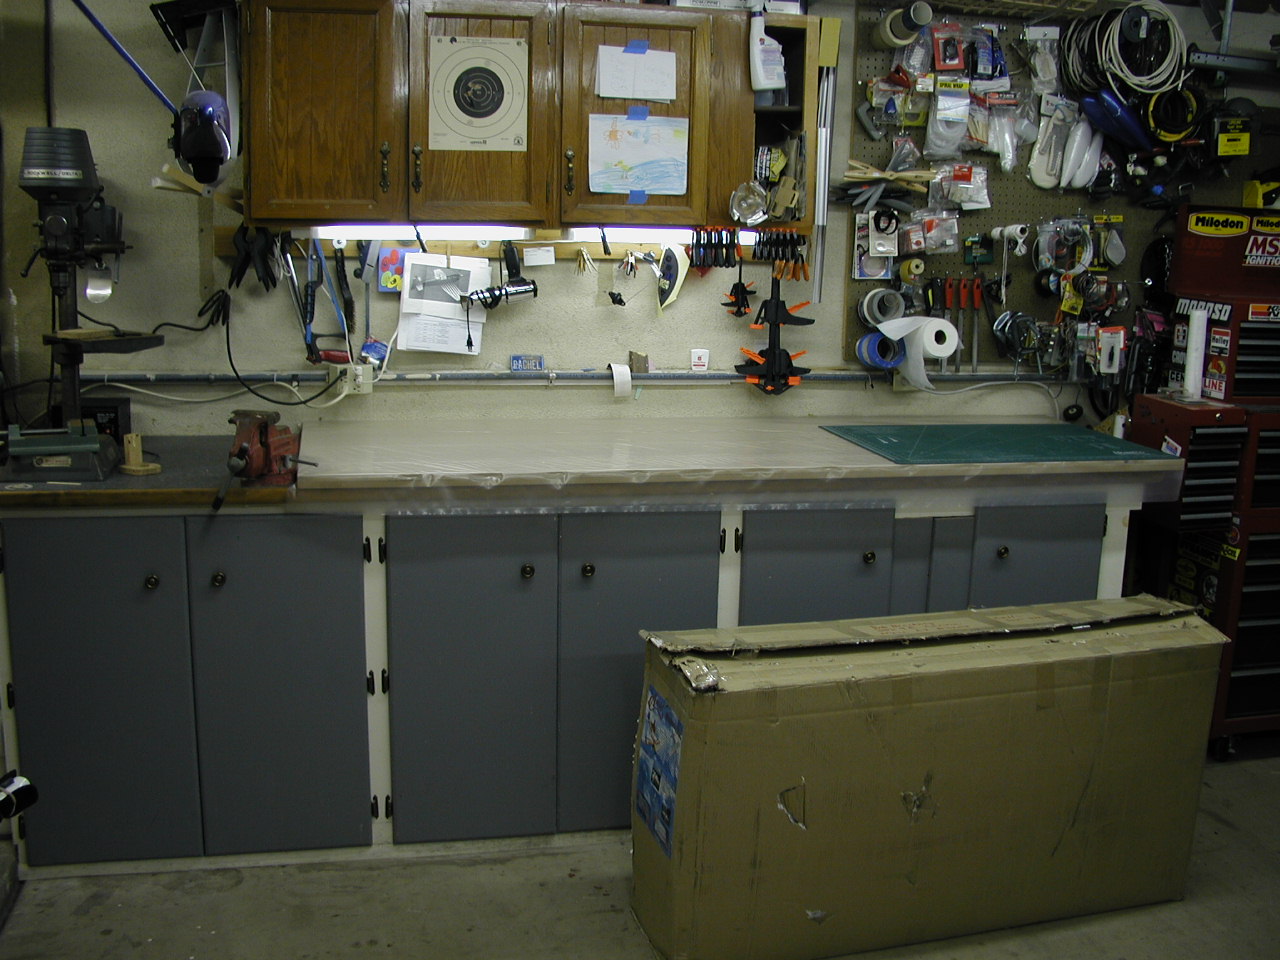
Hmm - A big box
and a clean workbench -
Where do you think
this is headed?
|

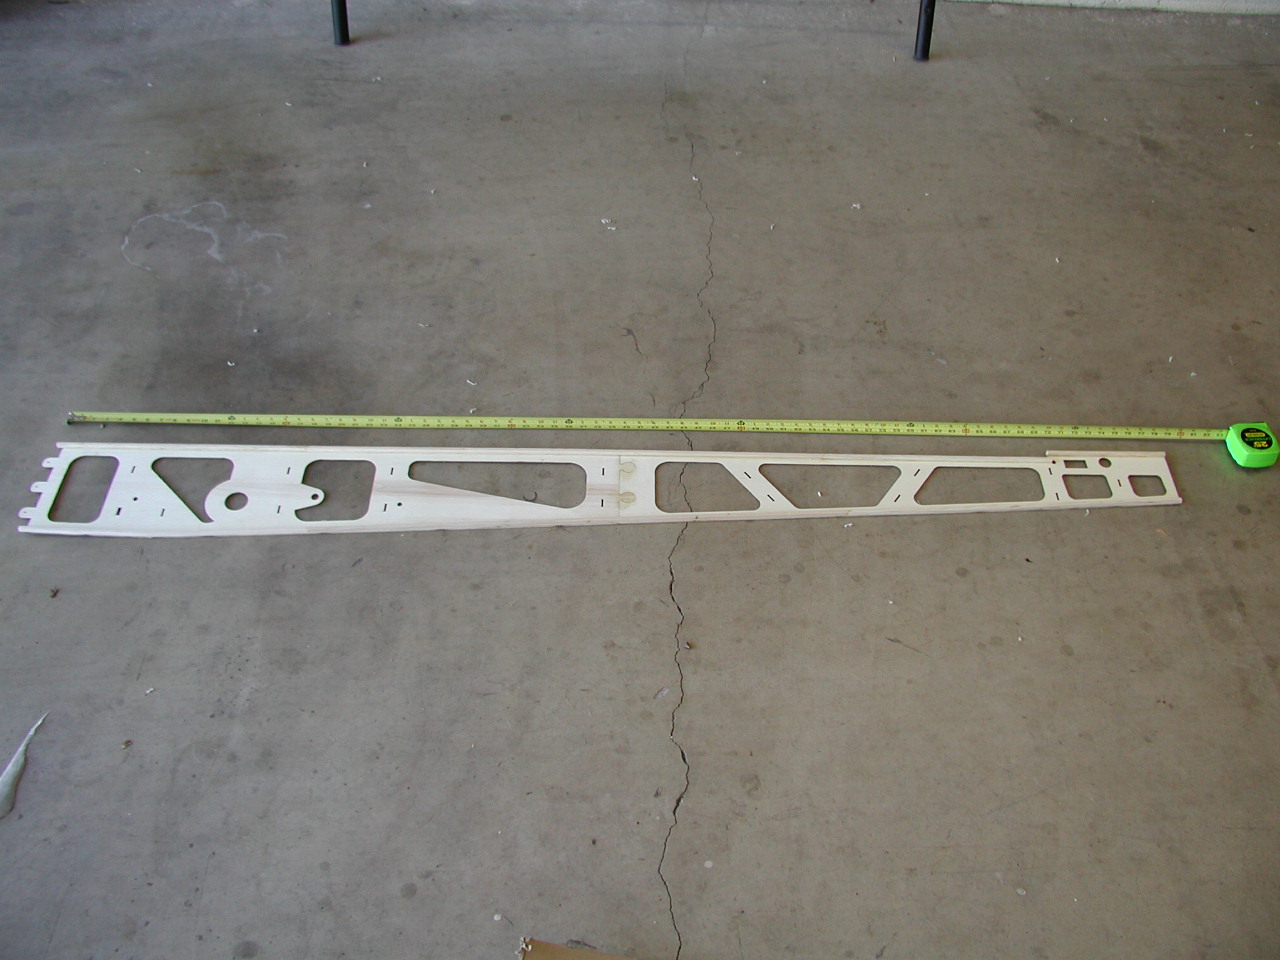
First step is to join fuse sides and run
square stock down the top and bottom edges
|

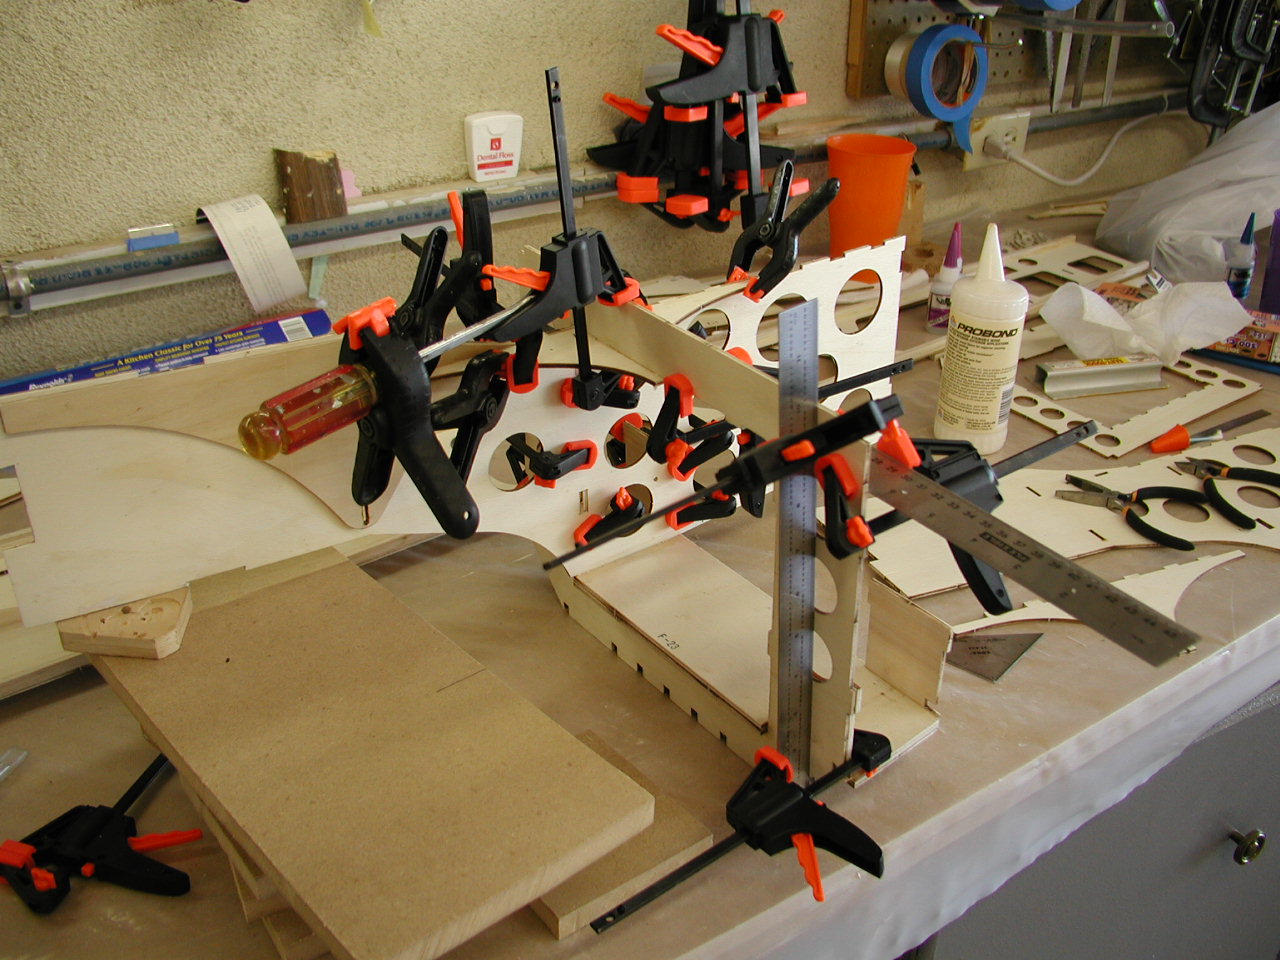
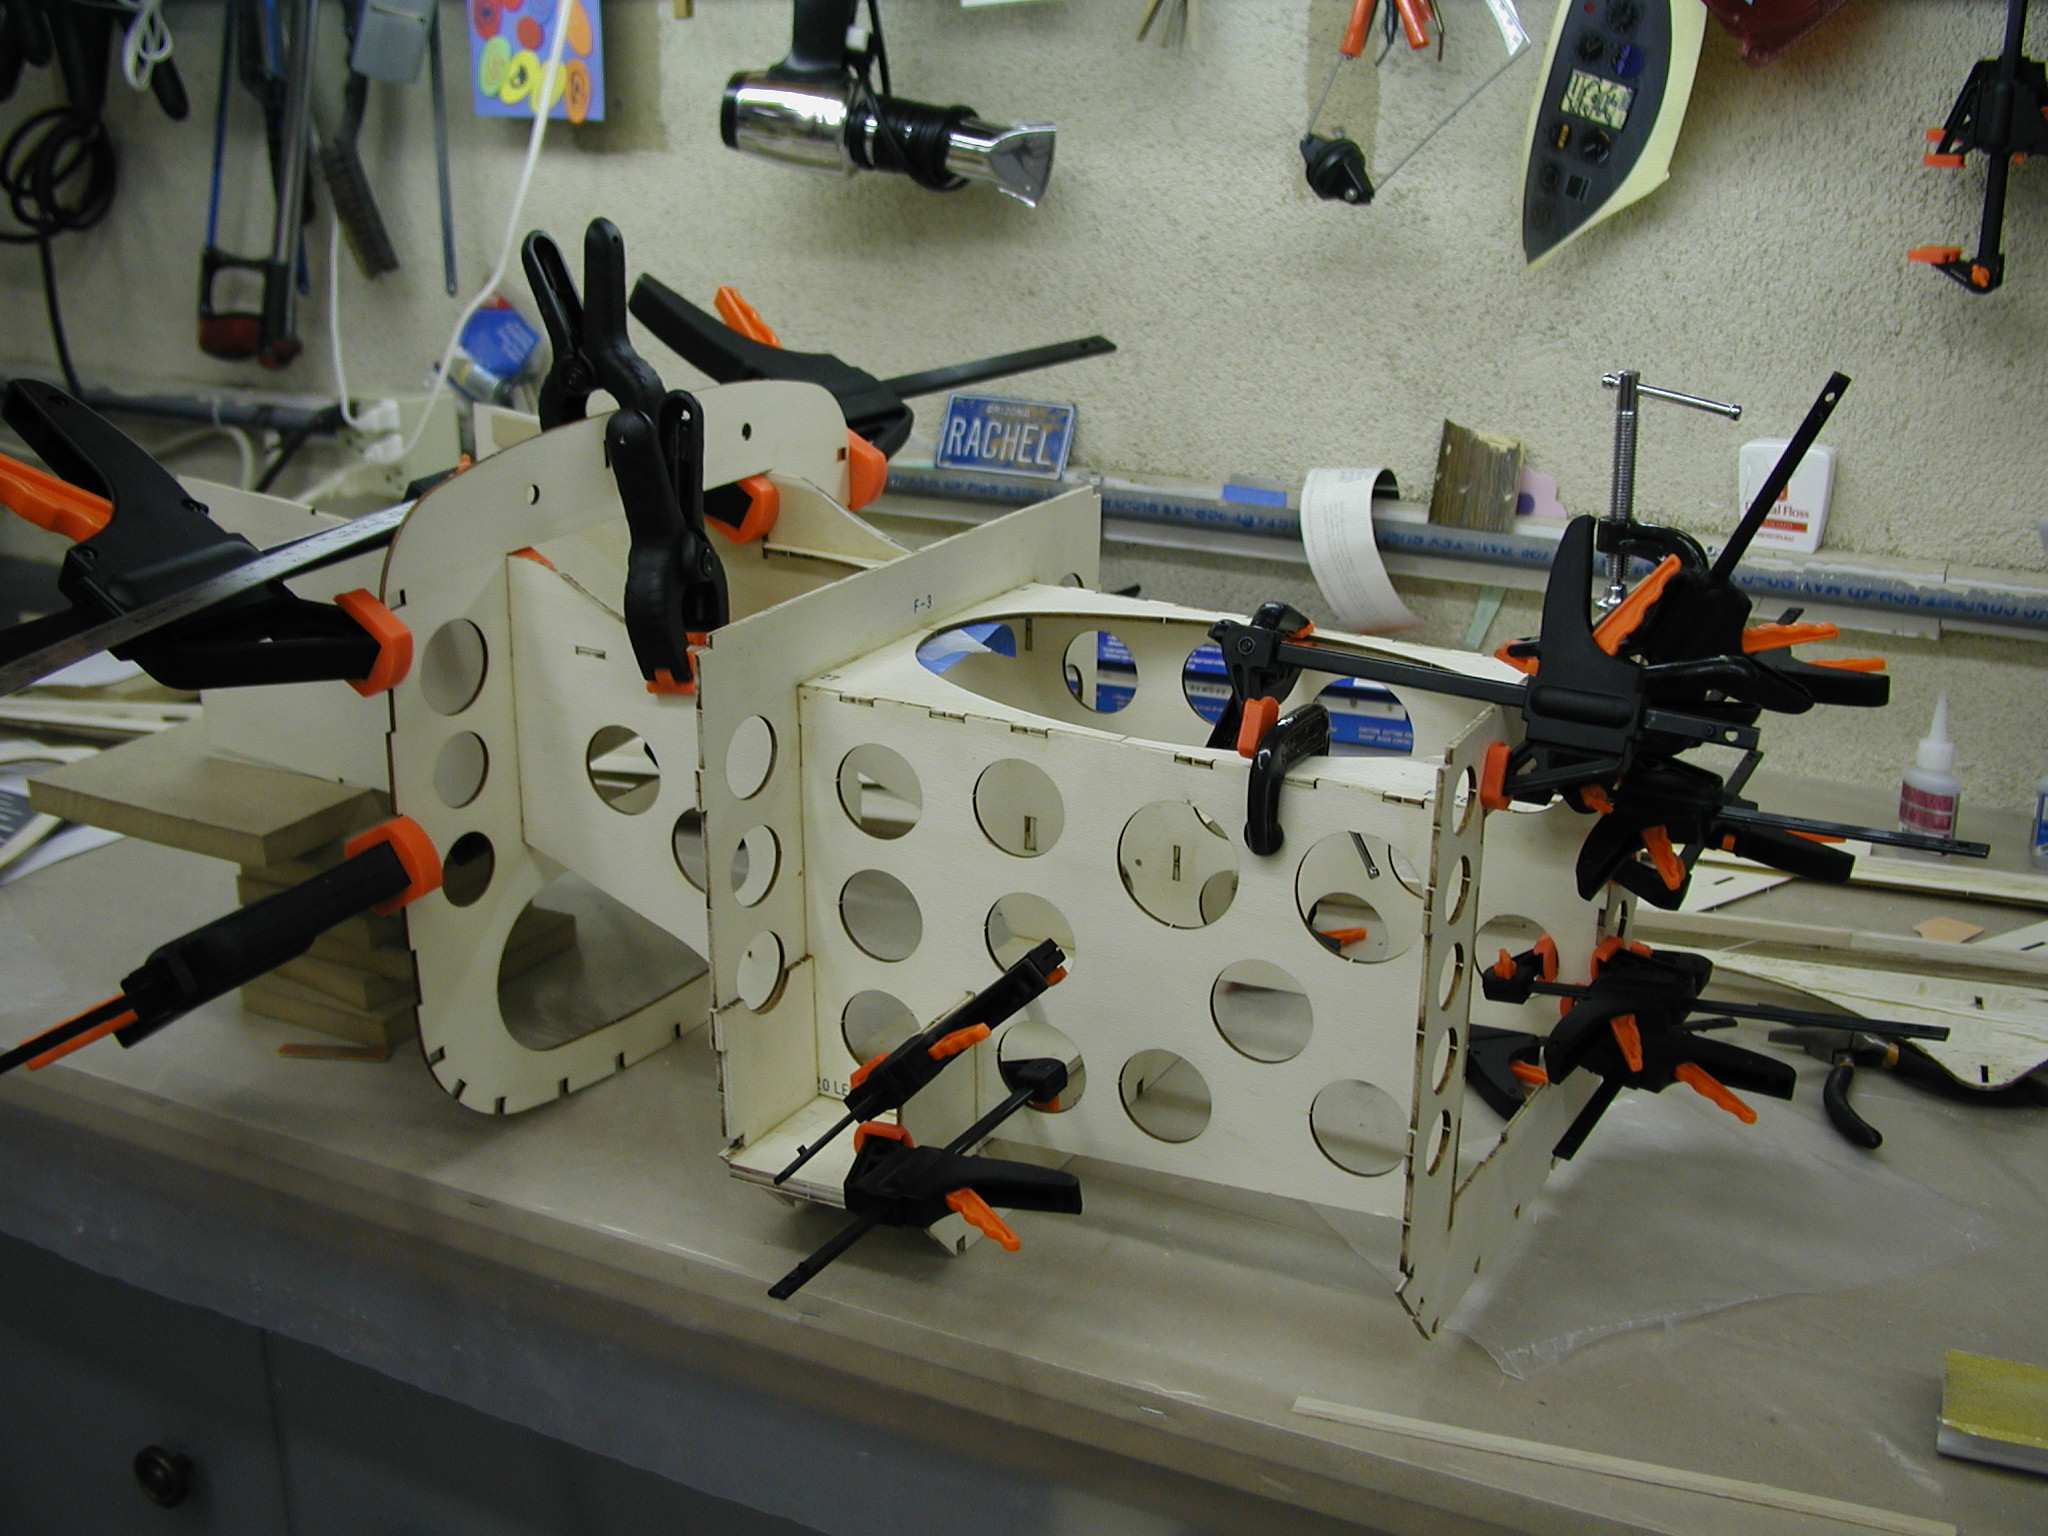
Next step is the motor box. Lots of dry
fitting here, the manual seems to be focused on the 34% plane, the 38% has
a few extra braces that you have to figure out on your own.
|

Fortunately, every piece only fits one place.
If you have never studied the details on a large-scale plane it could get
confusing fast...
|
|

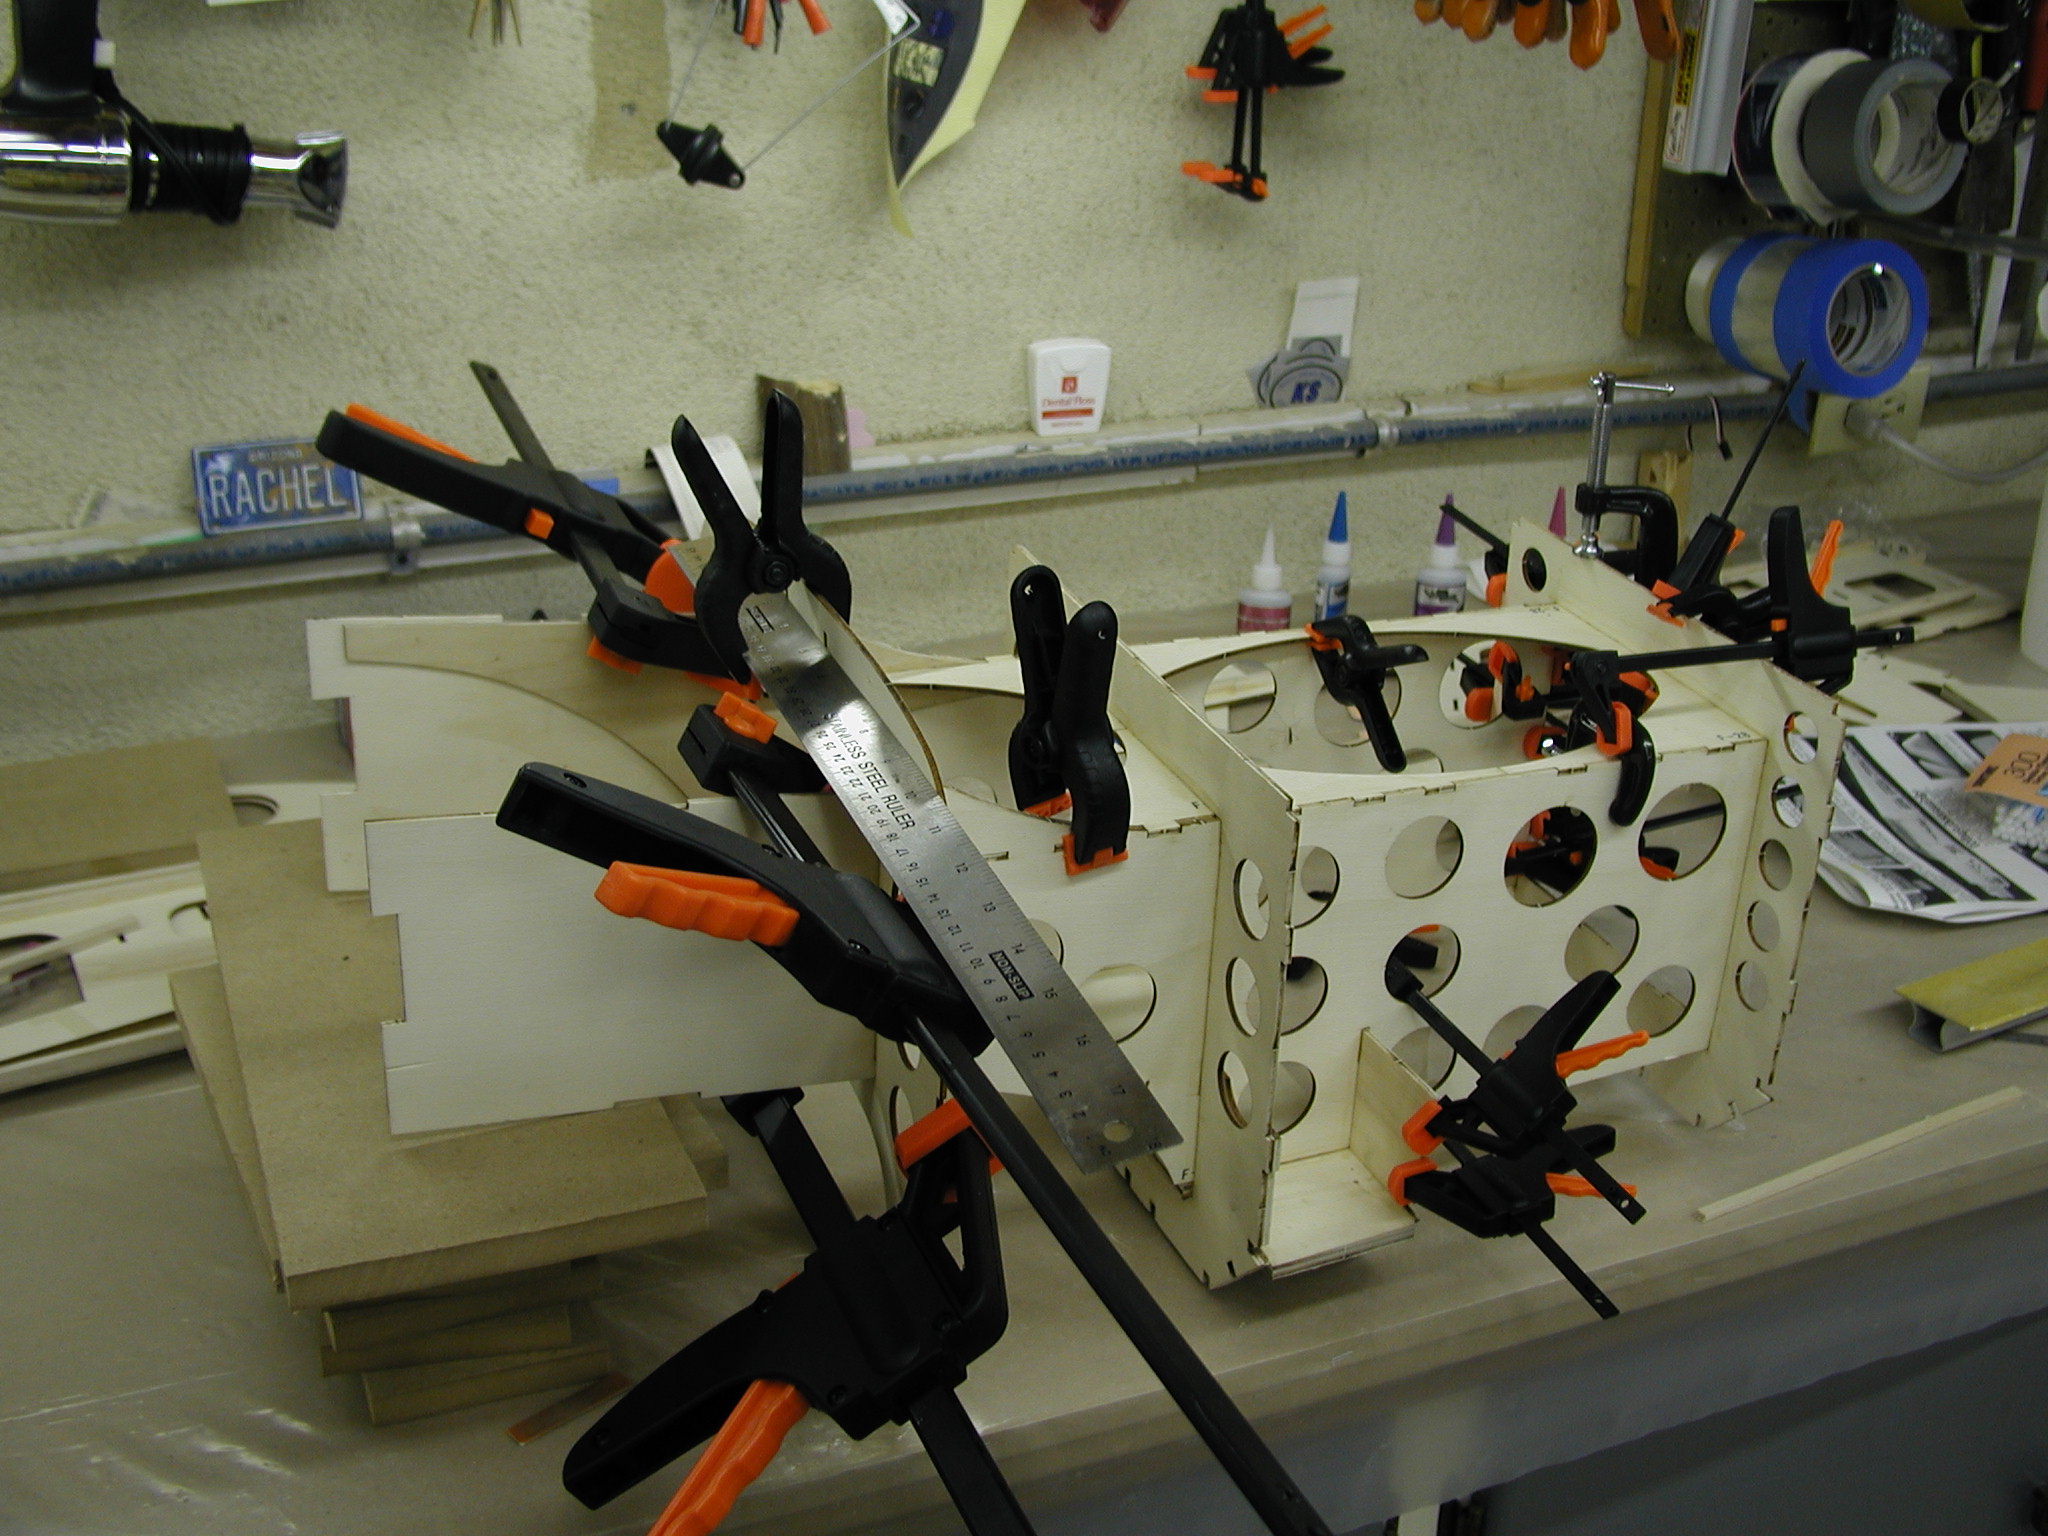
More motor box...
|

Gotta keep everything square.. a flat workbench and a sale on clamps at
Harbor Freight are key ingredients.
|

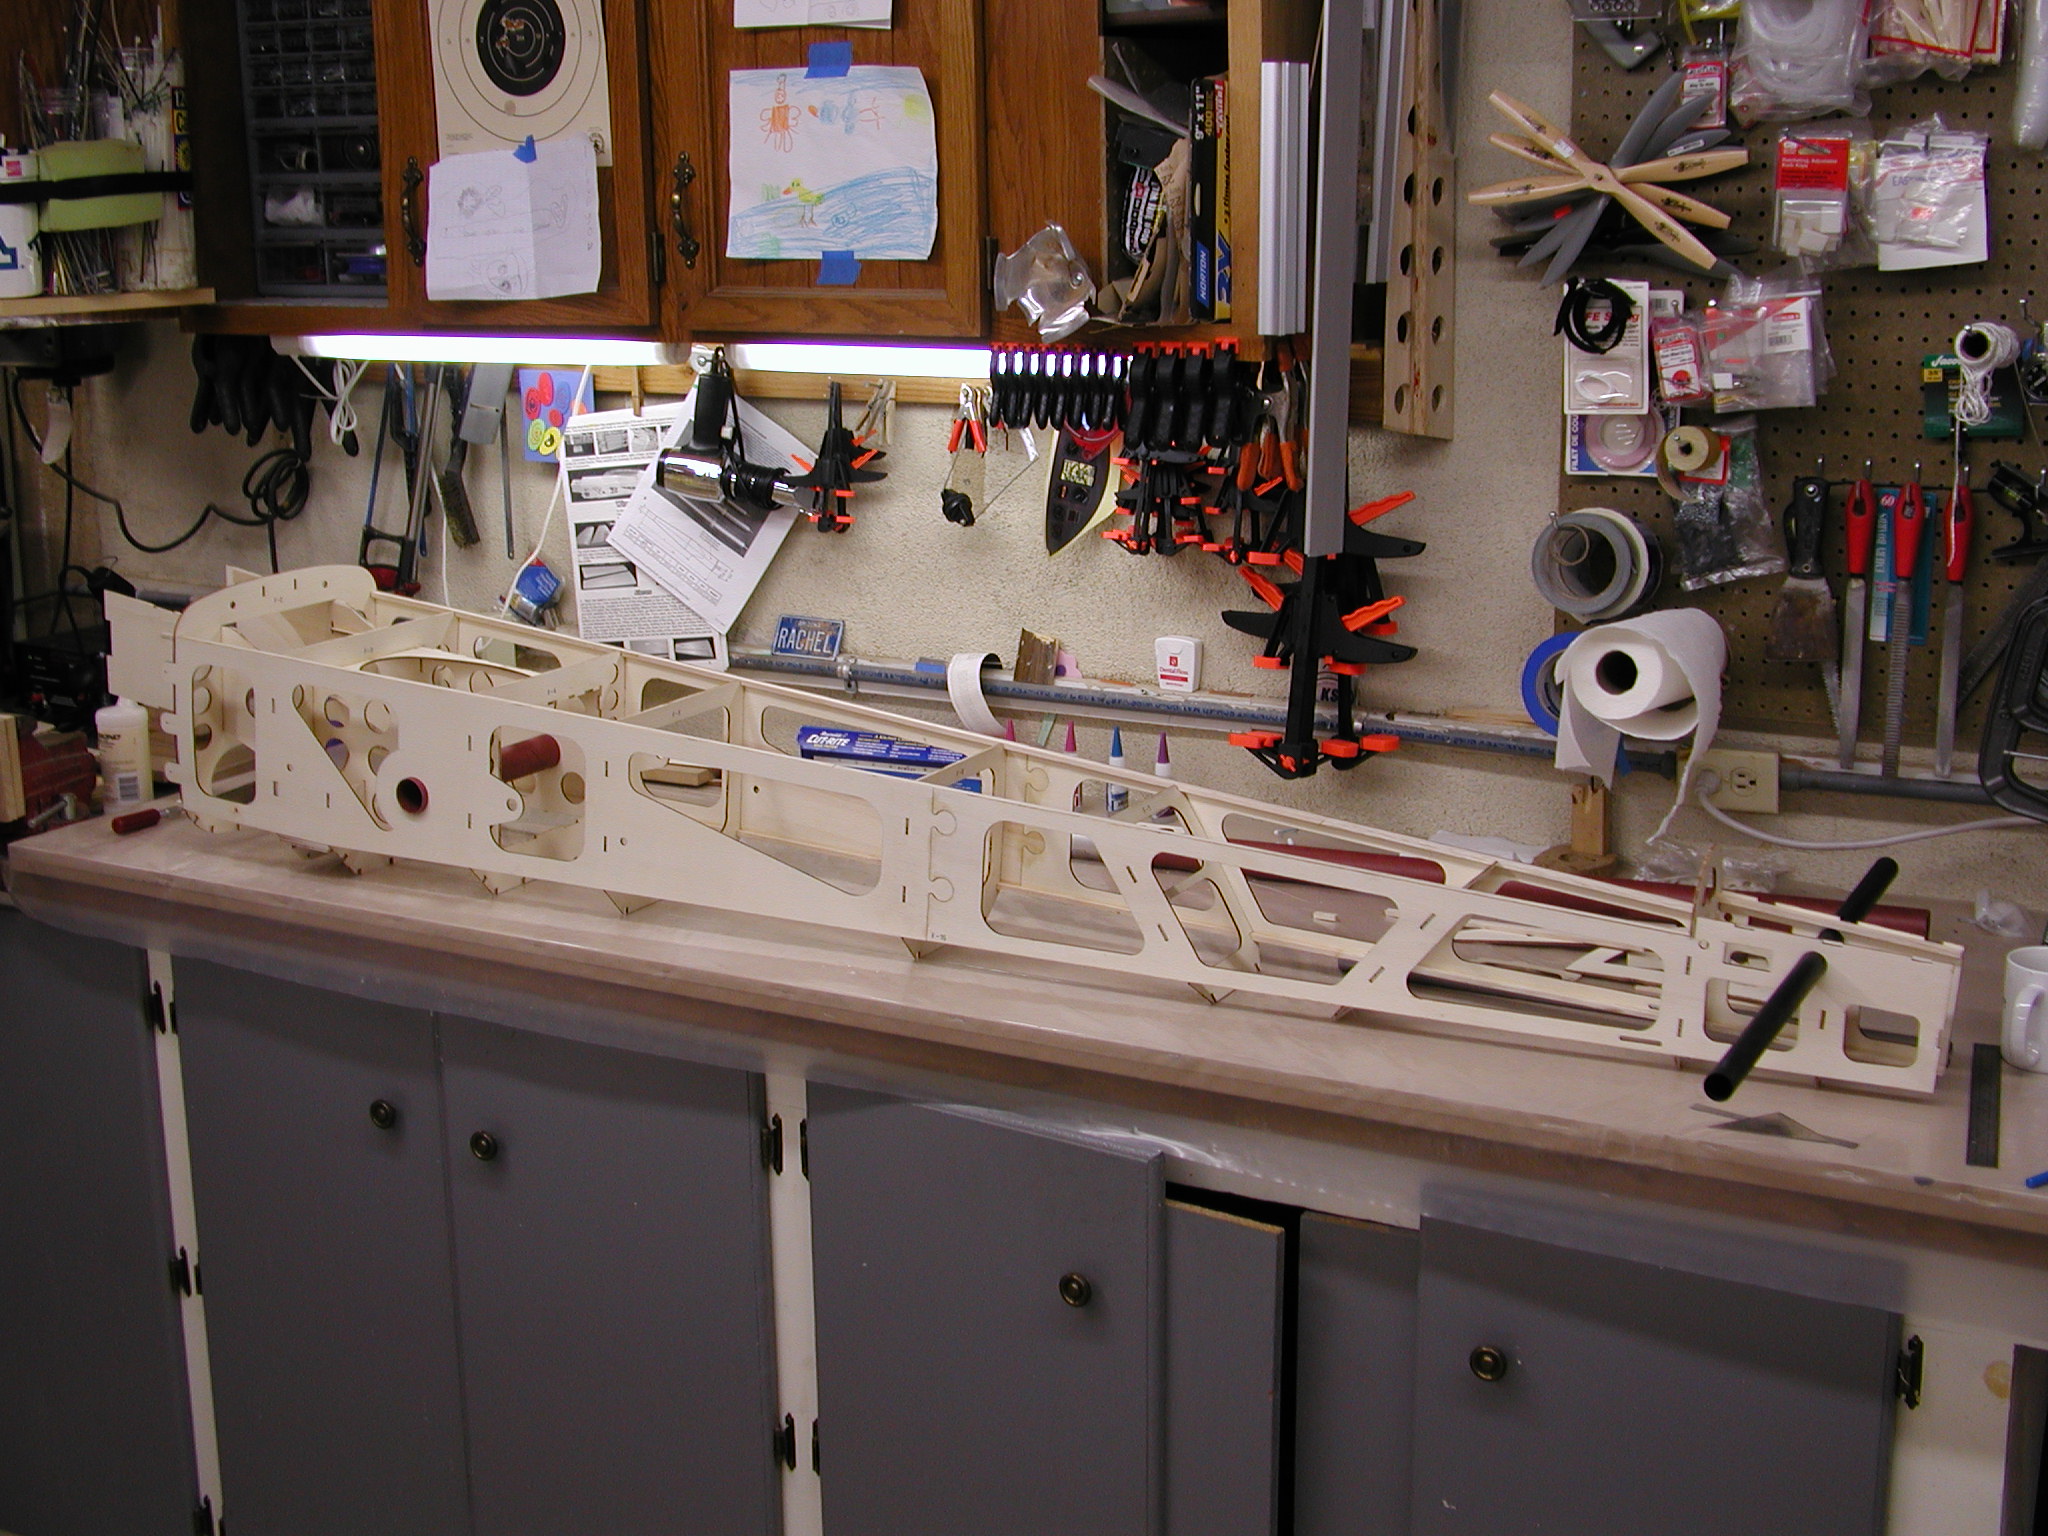
First dry fit of the fuse. Encouraging - every thing is pretty darn
square even just dry fit.
|

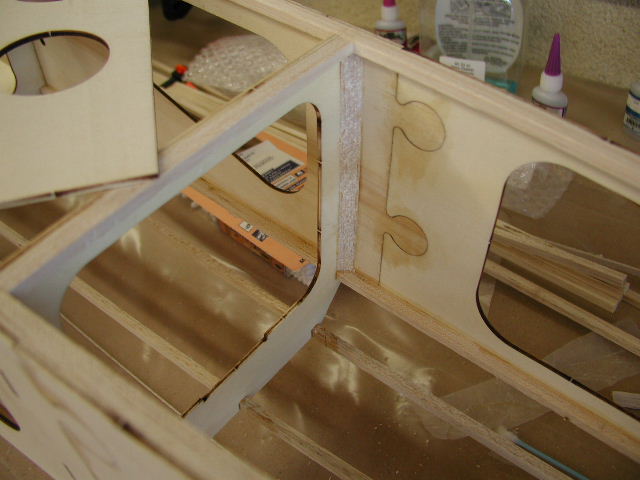
More fuse..
|
|

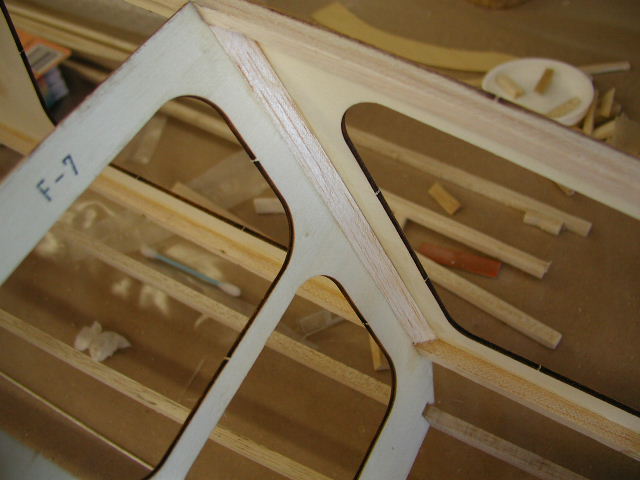
The fuse has lots of gussets, filets..
|

...and corner braces.
Takes patience to get the fit right.
|

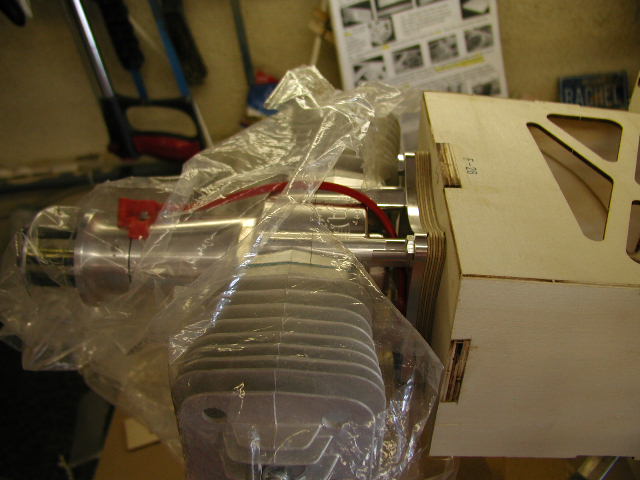
Minimal spacer is required to get the DA150
correctly positioned.
|

The stock rudder tray
and the piece of carbon fiber tha will replace it. Will use a Seiko
PS-050 instead of 3 8611's... |
|
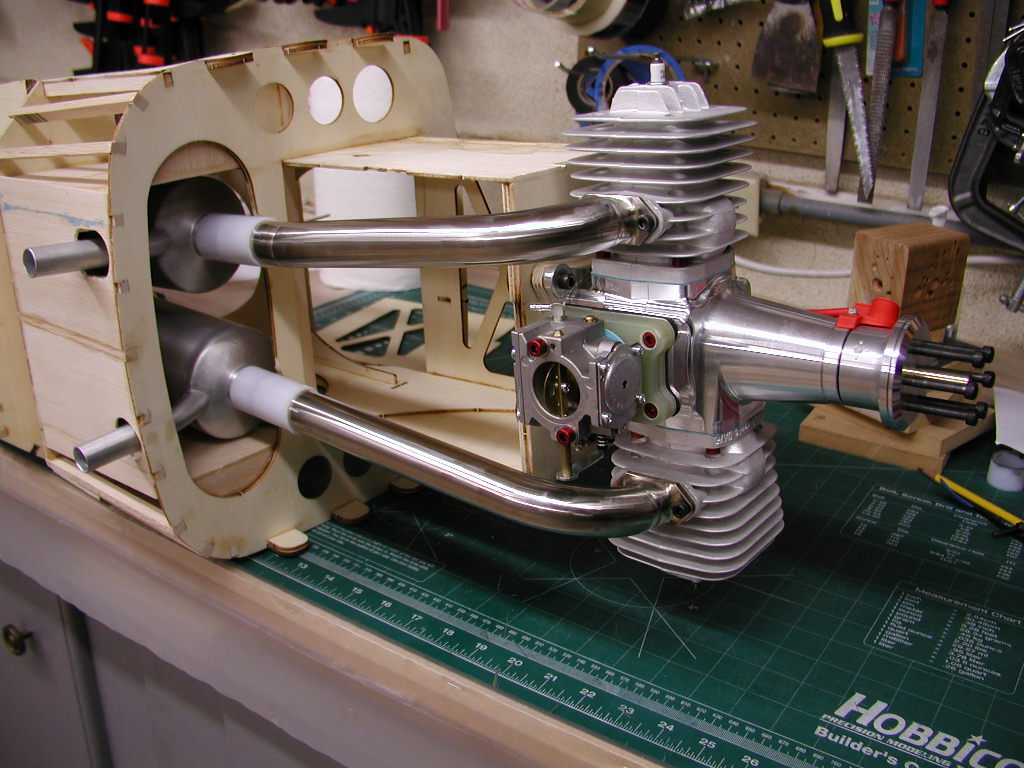
Before I got too far on the
fuse I needed to figure out the can setup. I'll use the MTW 110cc
cans and a mounting system similar to the 33% Cap. Things are tight,
but not nearly as tight as the 33%, so no problemo.. |
|

Finished cradles
for the cans..here's how they got there===>
|

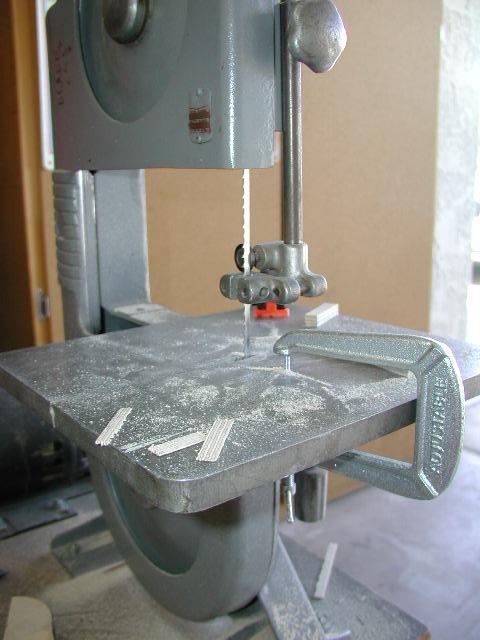
Needed to cut a 3 and 5/32nd half-circle to match the can diameter..
|

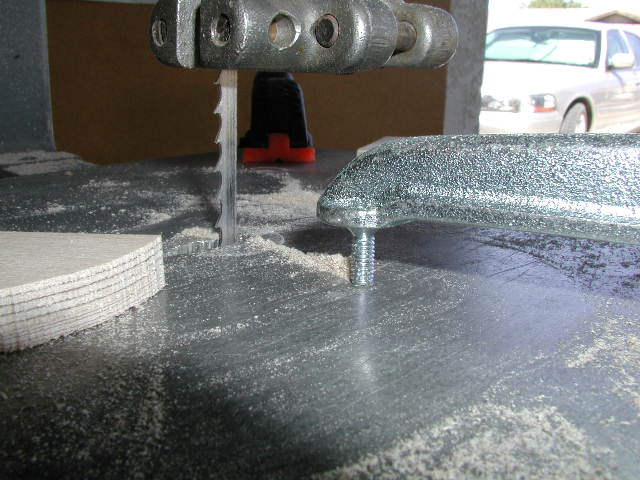
No hole saw so I built a little jig for the bandsaw out of a c-clamp and a
#8 Flathead.. |

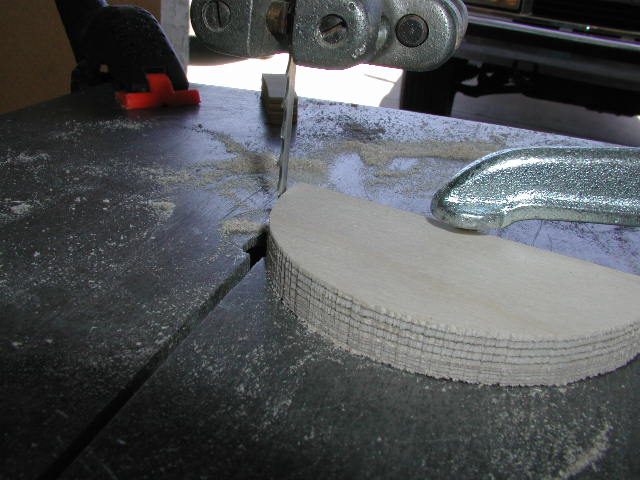
This is the disc that is left after the cut, but you get the picture..
|
|

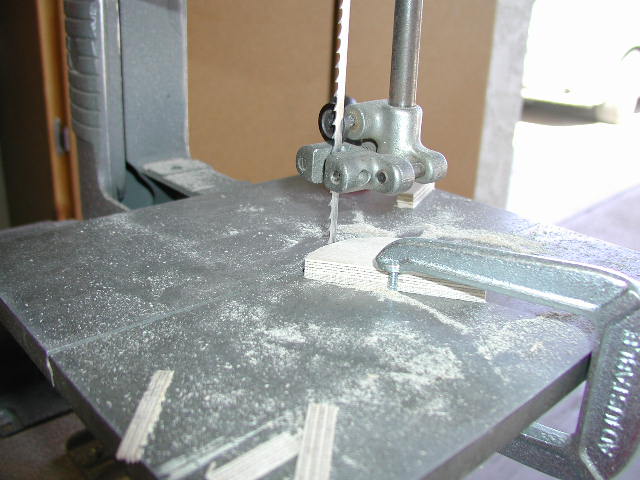
Line up the hole in the center and rotate the work...you are left with a
nice cradle to hold the can..
|

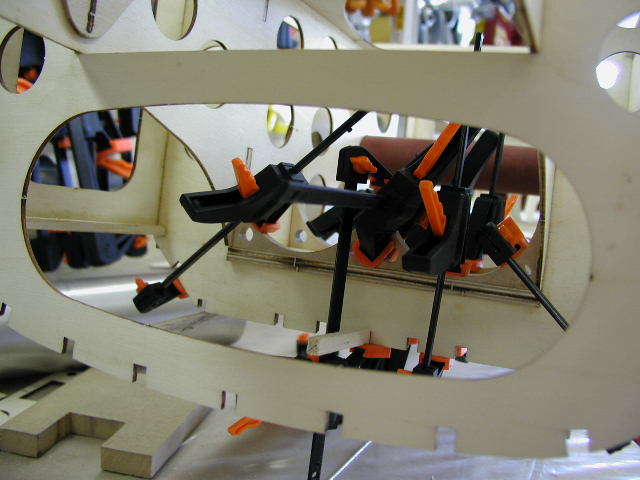
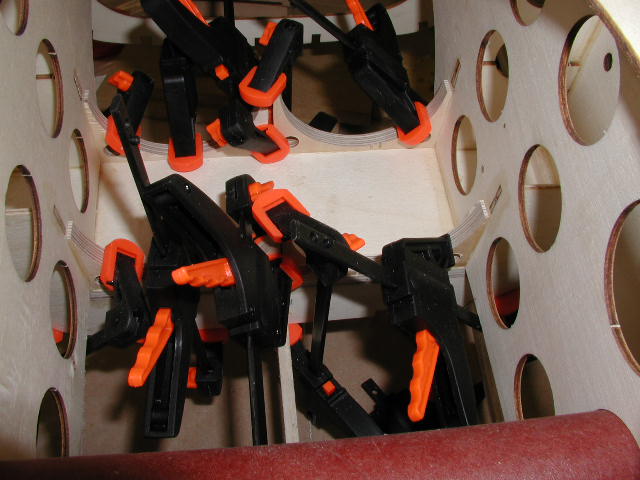
Lots of clamps to glue the cradles in.. they sit on the gear plate...
|

...I guess an added benefit is they act as a gusset between the motorbox
and gear plate.
|

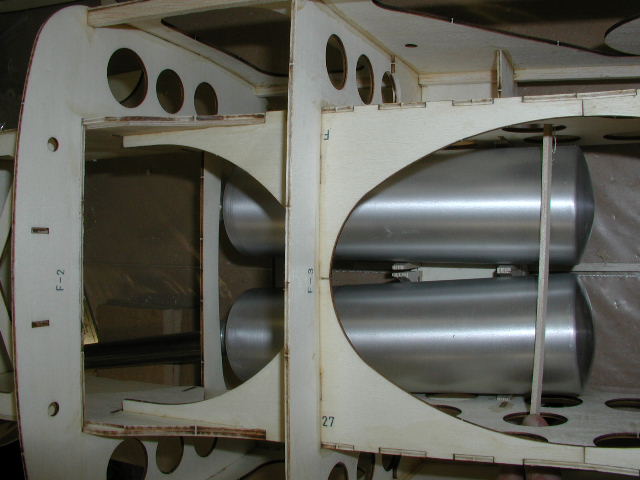
Cans in their cradles.. extra space will be taken up by 1/8" silicone
tubing..They can even splay out a bit to minimize bends in the headers.. |
|

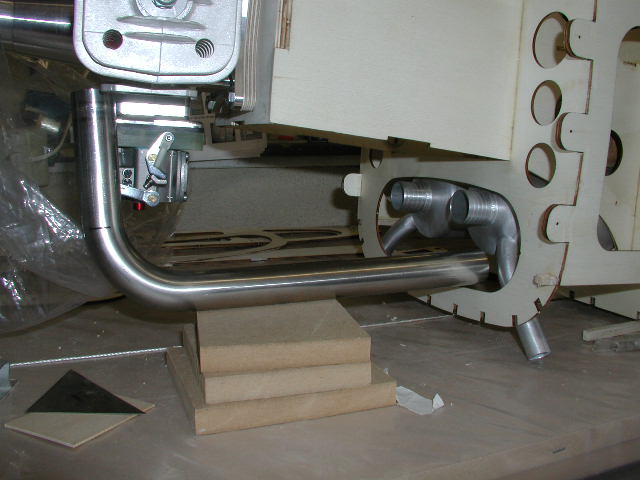
Quick header mock-up, cut will be at the black line - looks like minimal
pieces and brazing will be required. I had to get the large 90
degree L-bend from KS in Germany, nobody here stocks it..
|

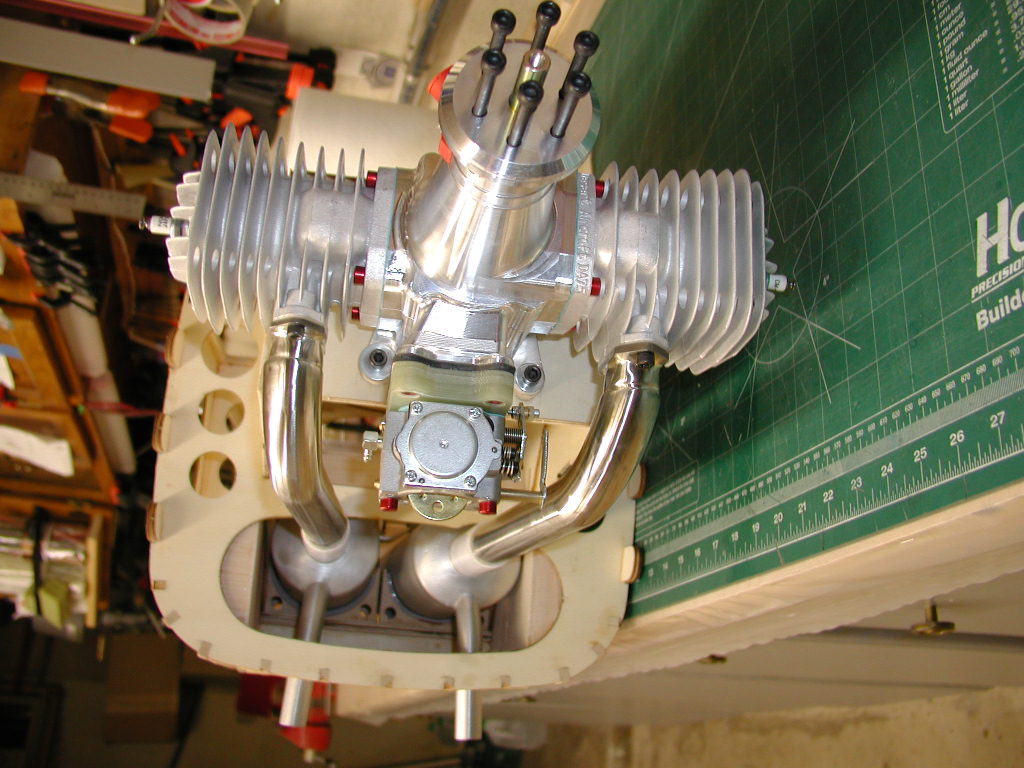
Headers are done!

Front view. I wanted to keep the right header (on the left in the
pic) away from the fuel inlet. Some "factory" pipes are too close to
the fuel inlet and throttle linkage for my taste. |

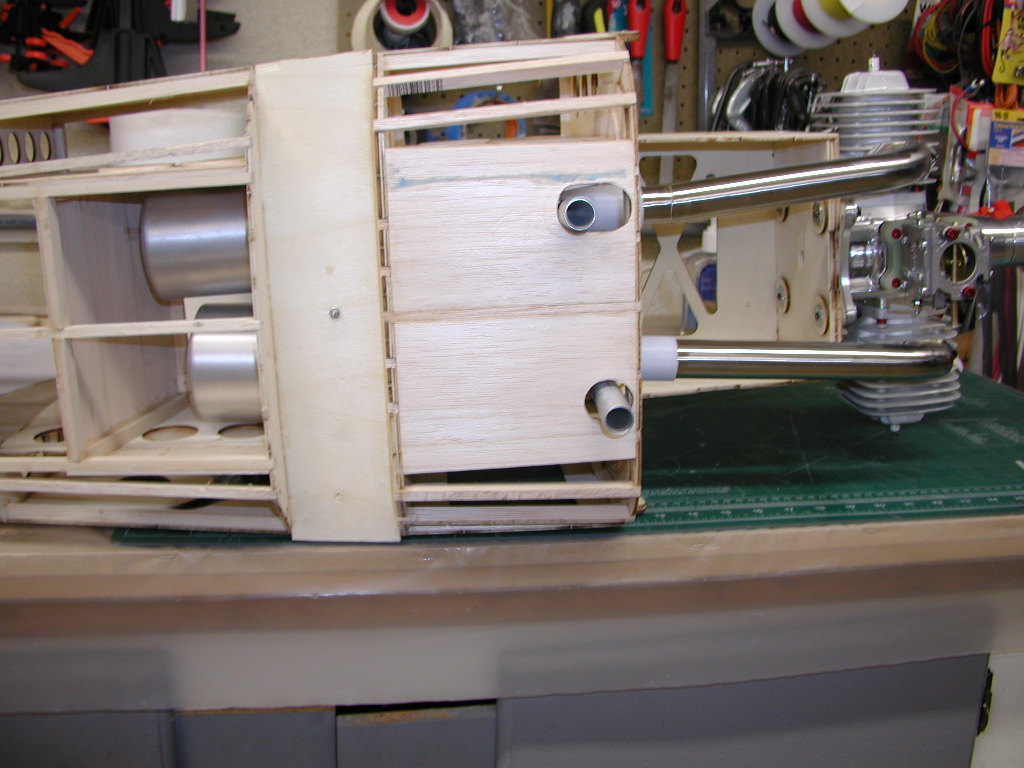
Bottom view, missed a bit on the top hole, will have to fill and re-cut.
Sheeted the outside of the fuse rather than the inside like the
instructions called for, will make for a cleaner exit for the exhaust.
Rectangular holes under the back of the cans are hot air exits.
|
|
|
|
|
|
|
|
| |
|
|
|
| |
|
|
|