|
|
||||
|
Projects/Reviews
Carl Goldberg Falcon 56
MkII
Updated!!
Car Stuff
Updated!!
Contact |
Year Built: |
2002-3 |
||
| Weight: |
26.2 lbs - missed my target by .2 lbs but planning some carbon fiber gear to remedy the situation... |
|||
| CG: |
Per Manual - 4.5 from leading edge at tip. |
|||
| Engine: |
DA-100 |
|||
| Prop: |
Mejzlik 24-12
3-blade - plane was pretty fast with this prop, could get 6400 RPM easily. |
|||
| Muffler: |
KS 84VS tuned cans |
|||
| Fuel: |
87 Octane Unleaded w/ Lawnboy Ashless at 32:1 |
|||
| Radio: |
Futaba
9zAPWCII |
|||
| Servos: |
JR 8411, JR 811 on throttle |
|||
| Battery |
3 Hobbico 2000mAh NiMh. It looks like these will be good for about 4-5 pretty aggressive flights between charges. May need to go Li-Ion someday... |
|||
| Color Scheme: |
Red, White, Blue Ultracote |
|||
| Initial Impressions: |
*This is the nicest ARF I have ever seen. |
|||
| Firsts for me: |
First gas engine, first canister install, first 33%, first use of 8411's, first use of fiberglass (cowl baffles), first PCM setup, first dual-battery setup. |
|||
| Flying Impressions: |
*Did the
maiden on 7/21/03. Flew two 10 minute flights before it got dark. |
|||
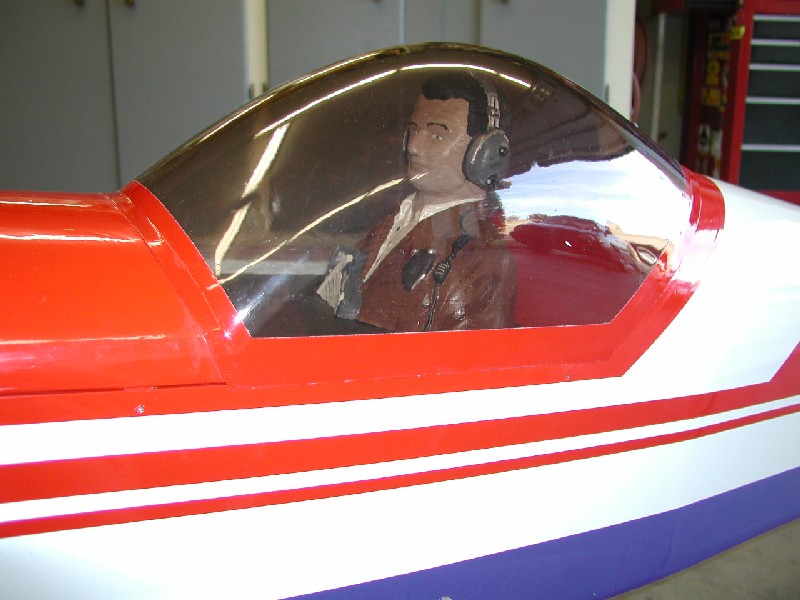
|
Painted pilot, Installed Canopy. Make sure you put the hatch on the fuse before gluing the canopy on! Otherwise it may distort the back part of the hatch and then it won't fit. Don't ask me how I know this. Also be sure to cover the mating surfaces between the hatch and the fuse with wax paper before gluing the canopy on. Don't ask me how I know this either. |
|
|||
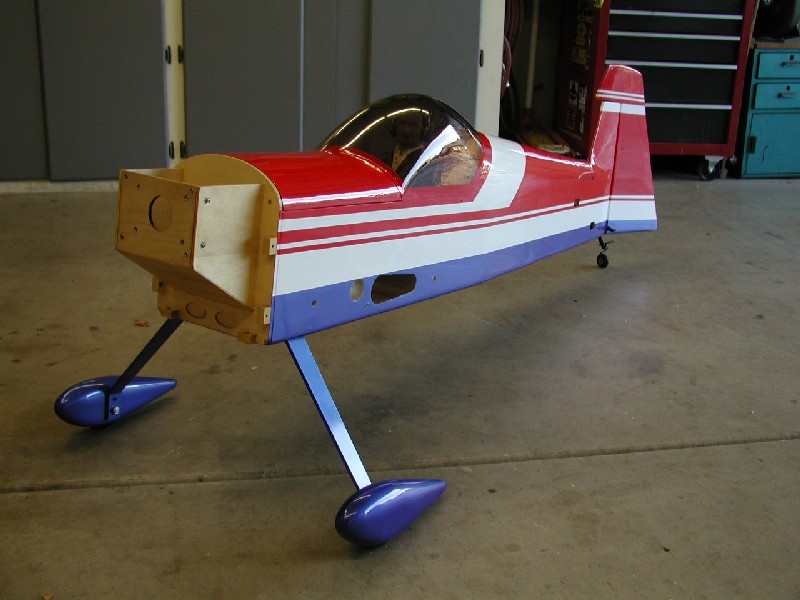
|
Installed landing
gear. |
|
|
||
|
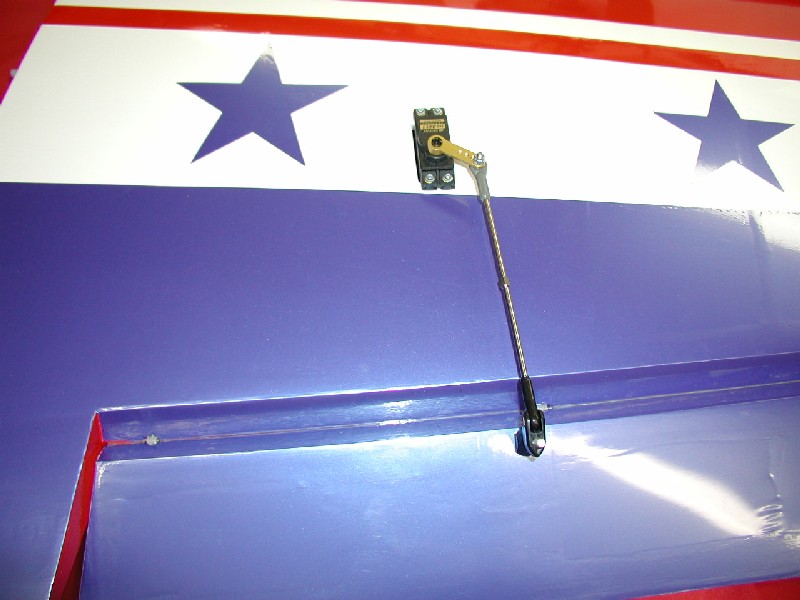
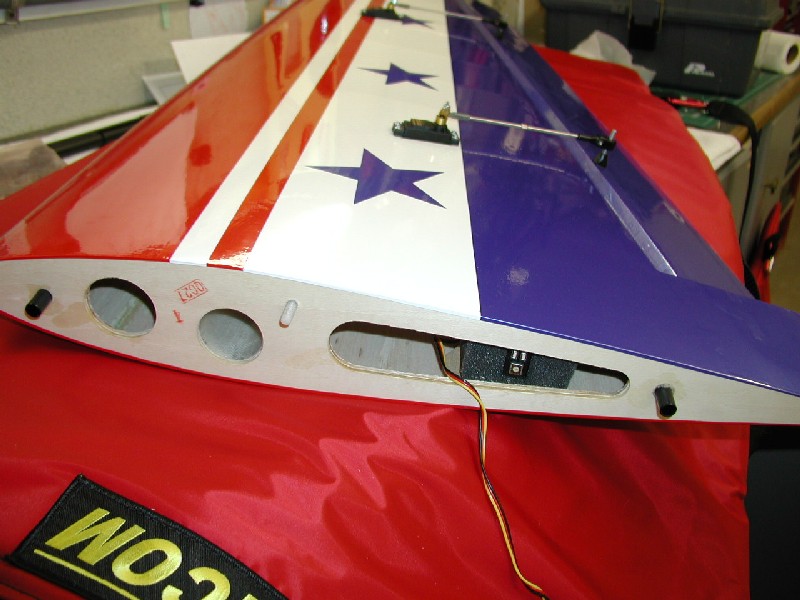
Put
a Matchbox in each wing root. Definitely the way to go for a hassle-free
linkage setup. |
|
|
||
|
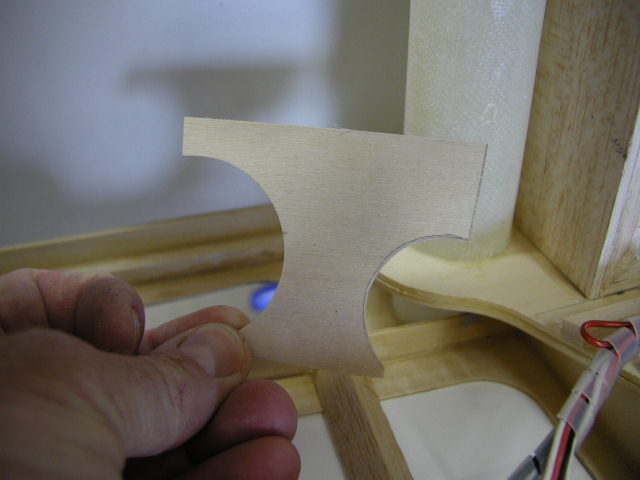
Here's where I add the doubler for the nylon bolt to go through. Glues to the phenolic tube, and the upper and lower stringers. |
|
|
||
|
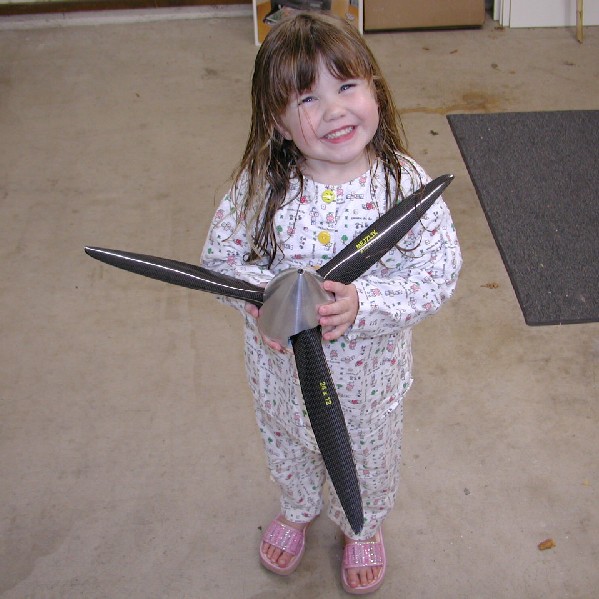
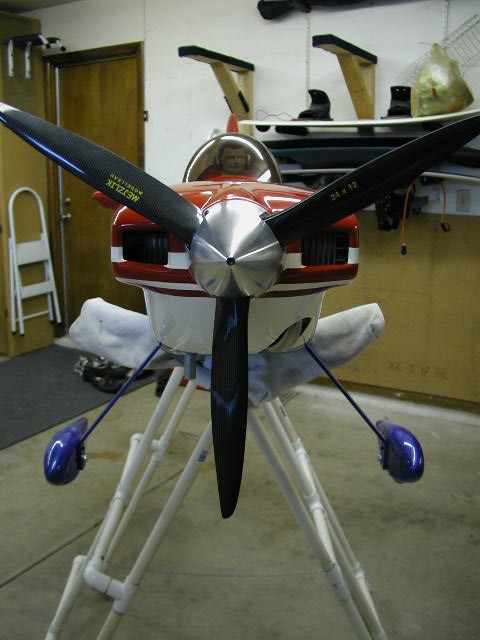
Mejzlik 24x12
and Dave Brown spinner w/ lightened backplate. Not an Ultimate style,
but about half the price of a Tru-Turn. Very pretty. Have switched to a Mejzlik 26x12N for the Cap #2.
Check Flight Reports page for latest. |
|
|
||
|
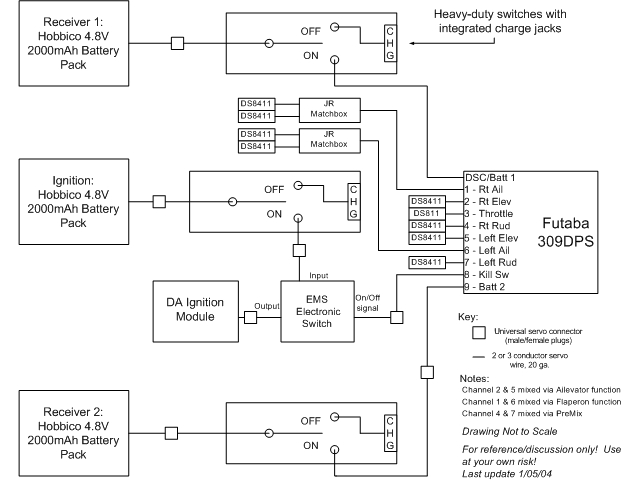
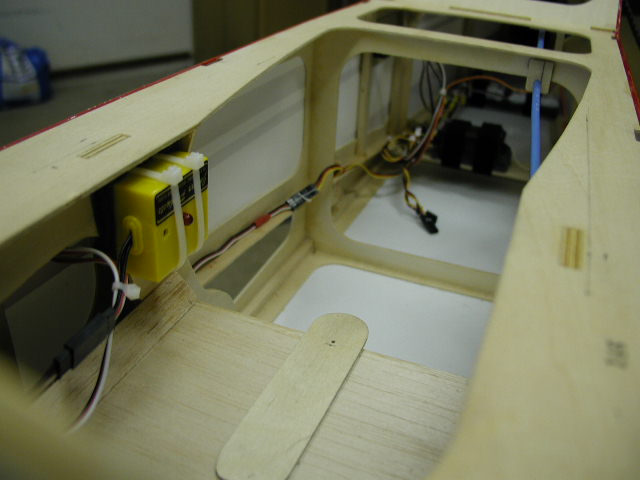
Drew up a wiring diagram to make sure I hadn't forgotten anything...
Batteries are installed and wired up. If
you plan to charge both batteries simultaneously, be sure you select
switches which disconnect both the positive and negative leads.
Otherwise, charging problems, like ruptured batteries, can result. |
|
|
||
|
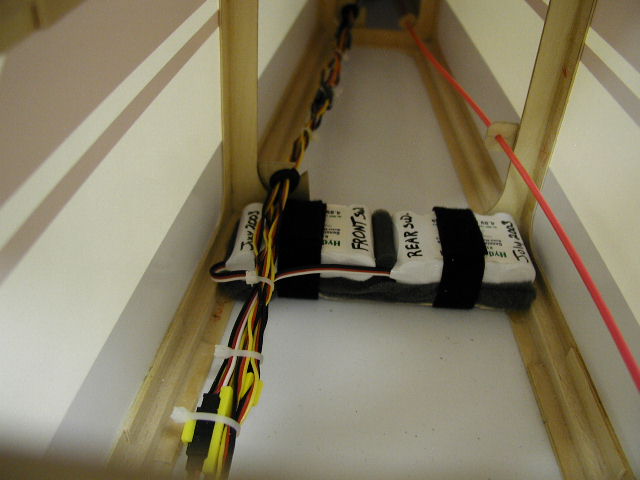
Looking back over the receiver and throttle servo and forward towards the firewall. |
|
|
||
|
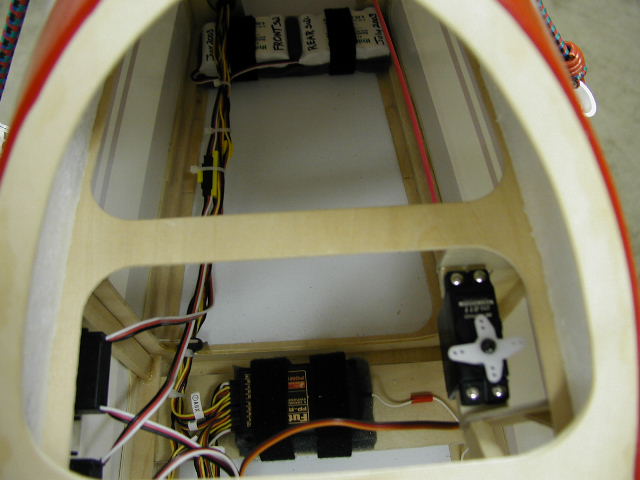
More wiring. You can see the Jomar electronic switch for ignition kill and the aileron plugs laying in the bottom of the fuse. |
 |
 |
||
|
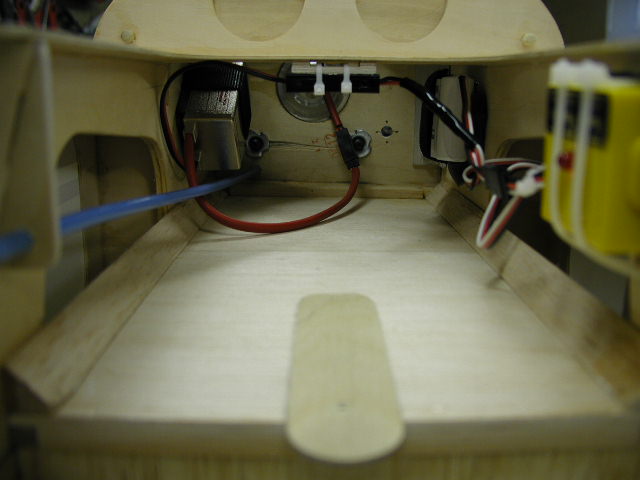
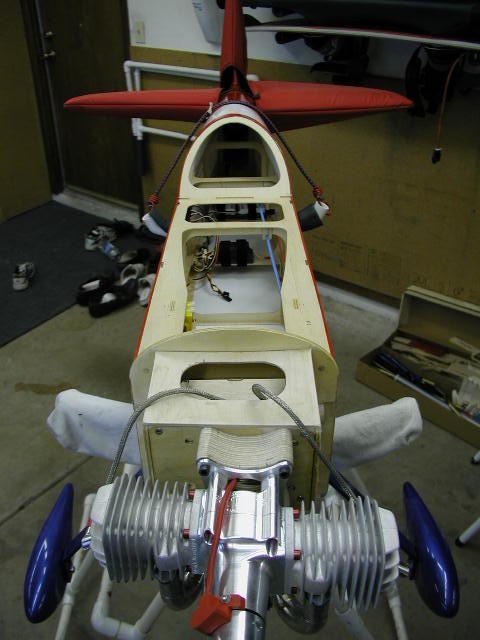
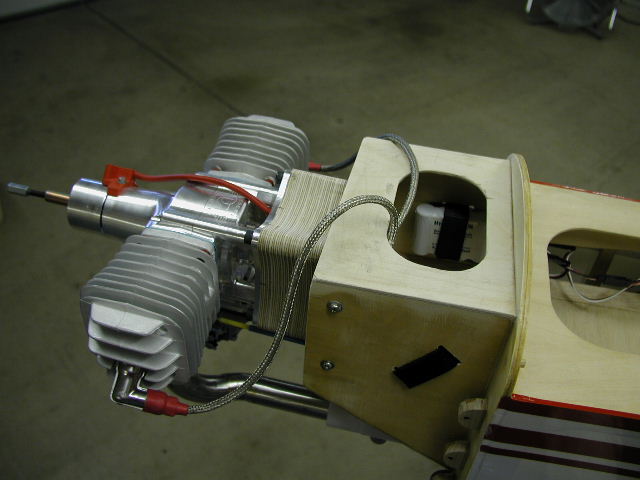
Ignition batteries are visible inside the motor box. After I took this shot I decided to re-route the plug wires thru the back of the motor mount, looks cleaner. |
 |
|||
| It's starting to look more and more like a complete airplane. I have spent a crazy amount of hours on this project... |
 |
 |
||
|
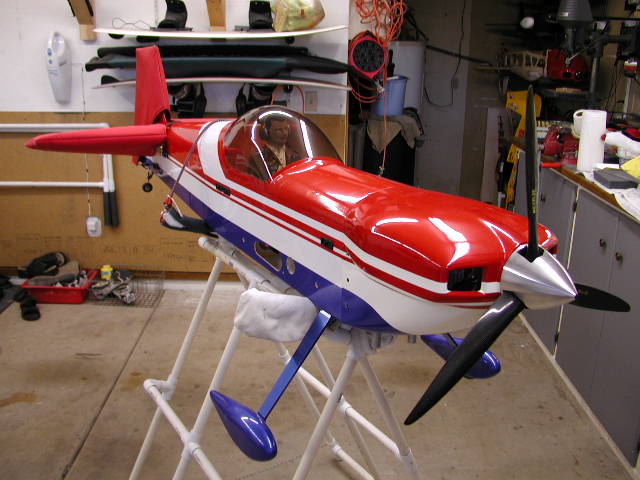
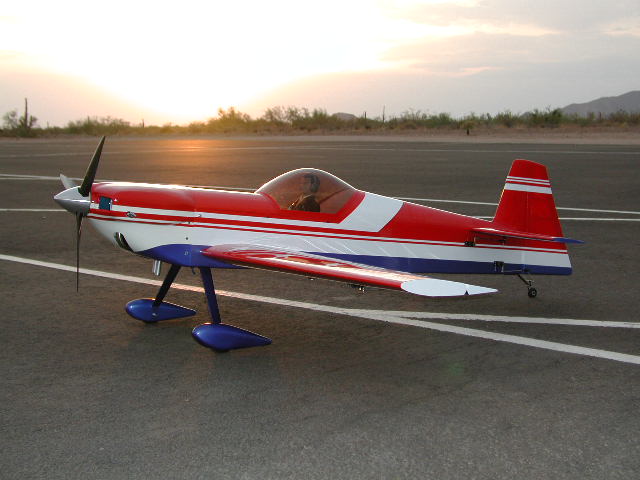
Maiden Flight! 7/21/03.. See Flying Impressions for details. |
 |
 |
|
|
|
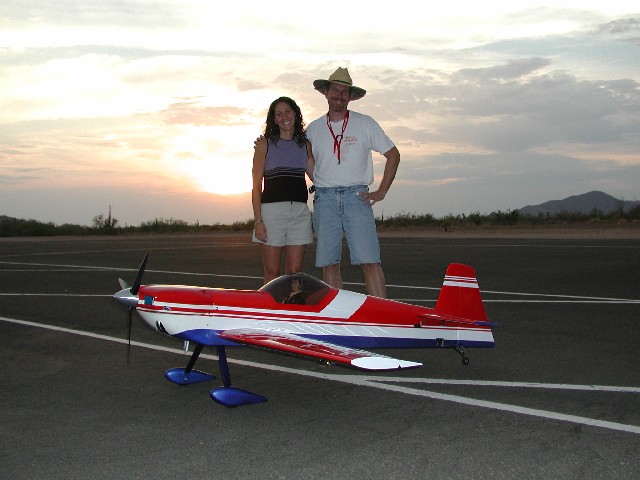
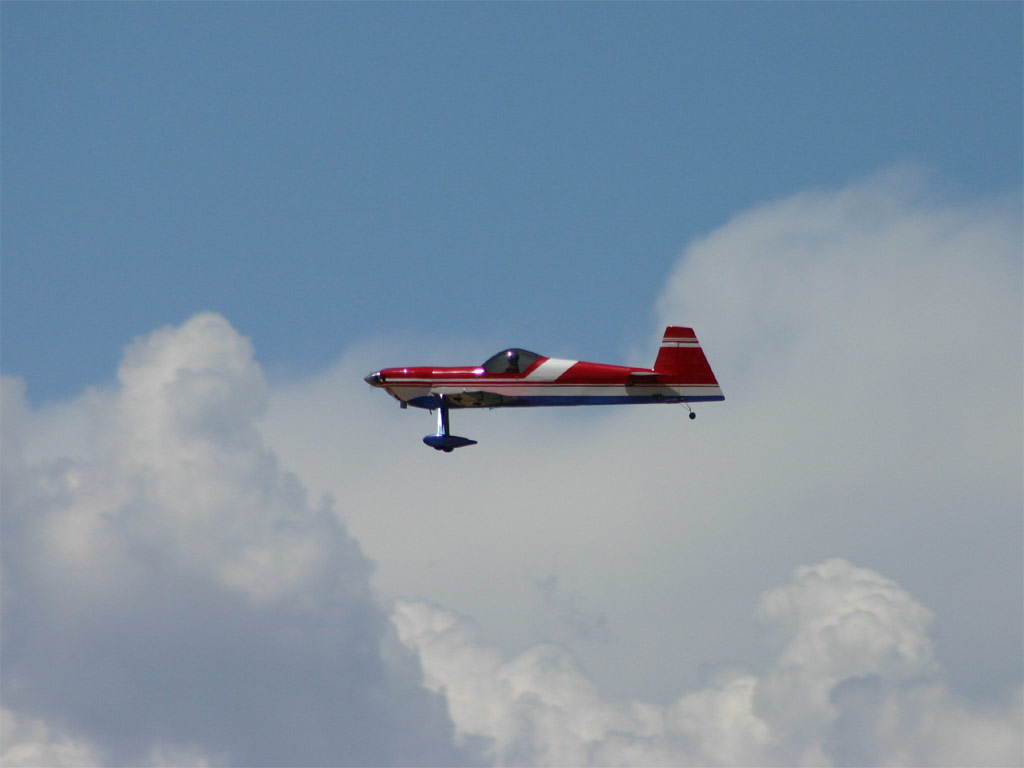
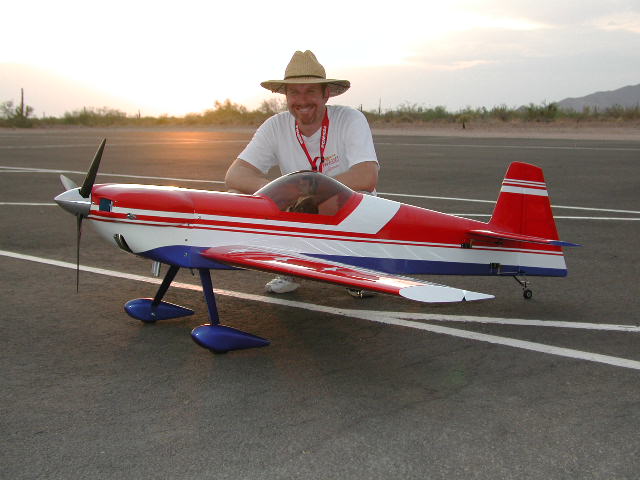
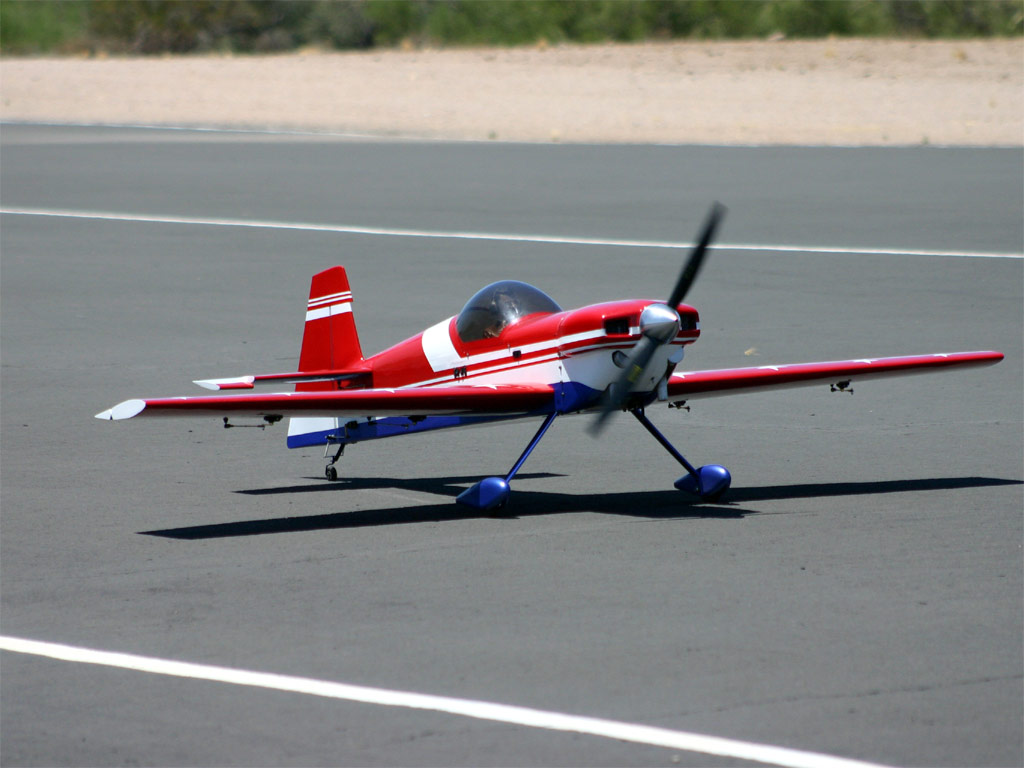
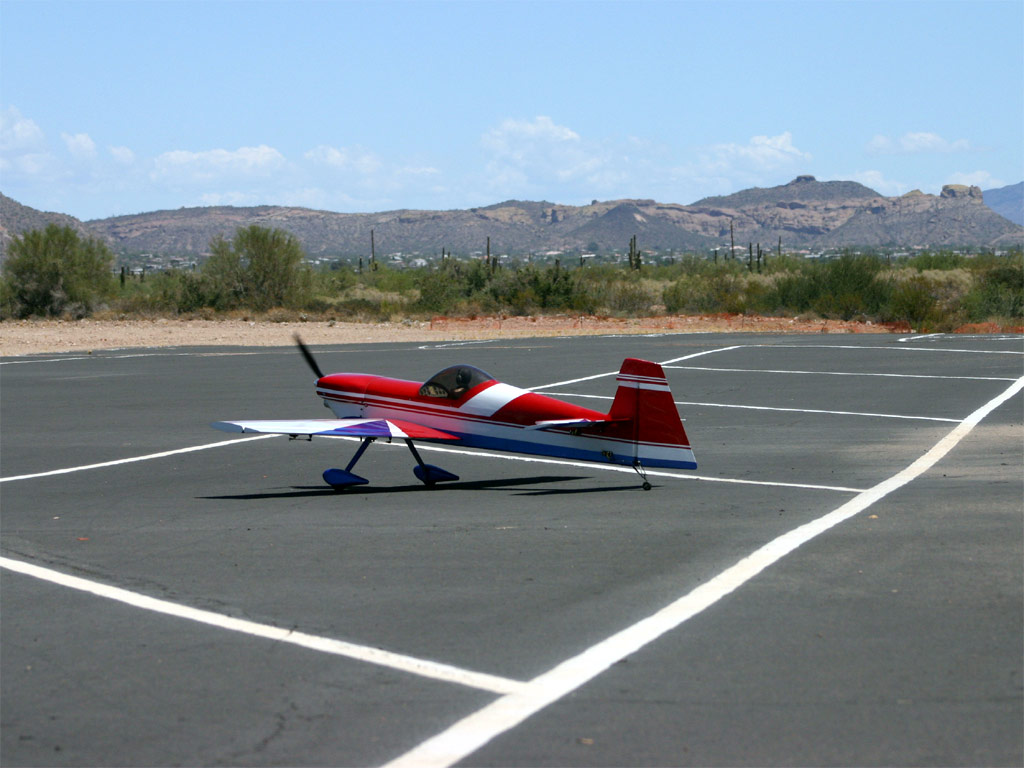
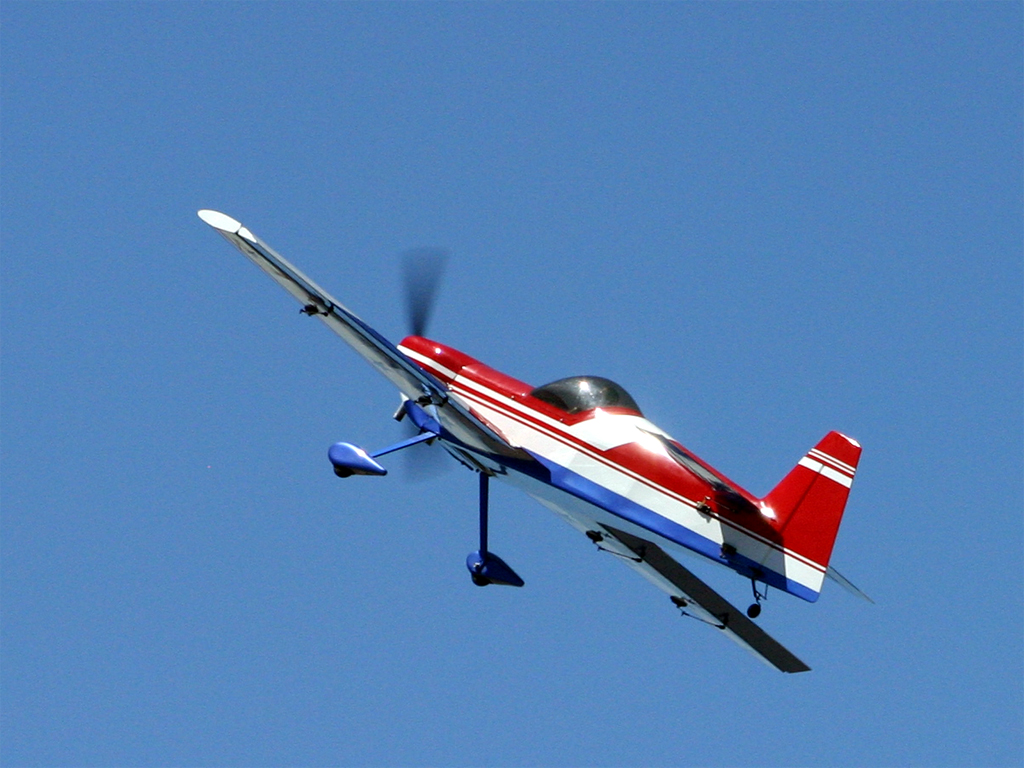
Summer 04, few Cap#2 pics courtesy of Phil...It was 110 degrees out. Not sure if we are hardcore or stupid... |
|
 |
 |
|
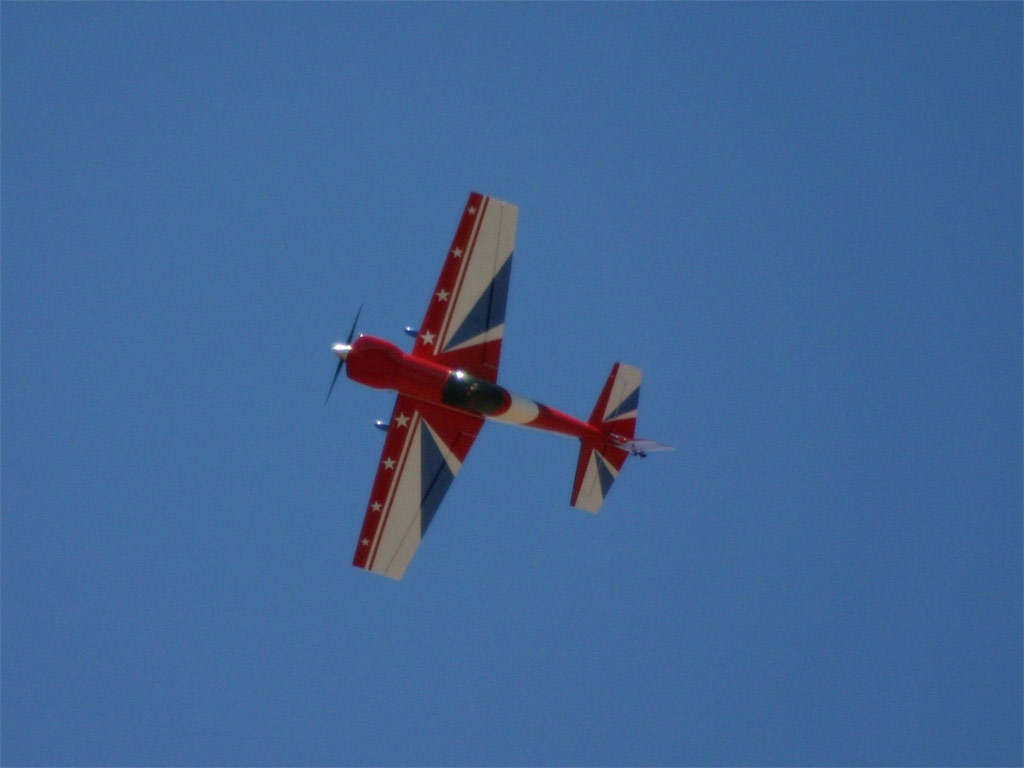
| This one is my favorite=> |
 |
 |
||