|
|
||
|
Projects/Reviews
Carl Goldberg Falcon 56
MkII
Updated!!
Car Stuff
Updated!!
Contact
|
  |
Here's the new fuse I bought from a friend. It started out as a Chapman scheme. In this shot I've stripped to covering, but have not started to lighten it. The wing panels are also brand new. |
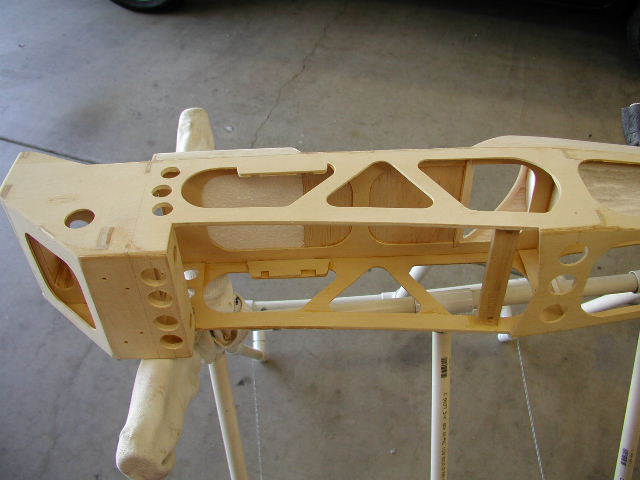  |
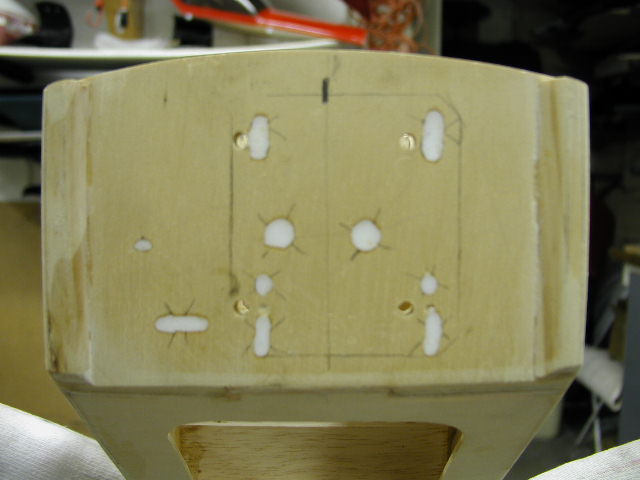
Round holes are cut with Forstner bits to lighten things up. In the bottom pic, servo rails are installed, and due to my previous unpleasant experience, they are pinned in with very small screws. Also shown is where I like the tank on these planes: Close to the CG, prevents trim changes as fuel is burned. It's difficult to see, but in the bottom pic I've also removed about half of the foam under the tank and servos. I used the hot wire technique from edge540.com. No sense in carrying around the foam if you don't need it. |
|
  |
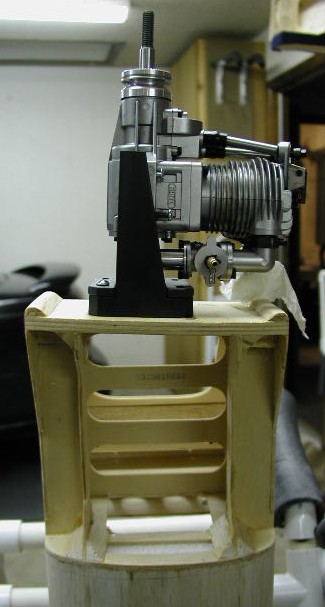
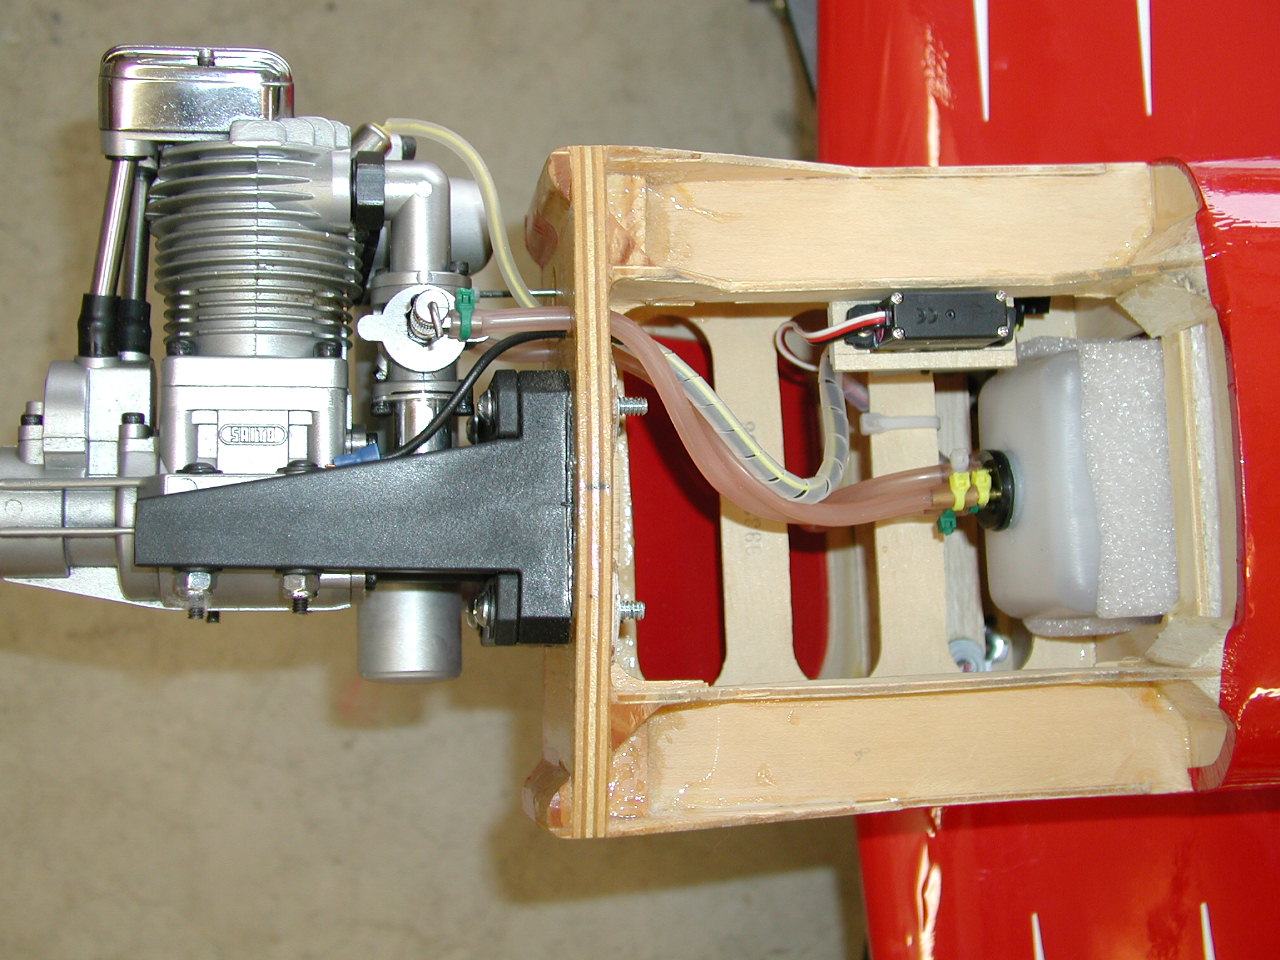
A few more lightening holes and a view of what the tank and GP mount look like from the front. The Great Planes 1.20 - 1.80 size motor mount (right) and the stock mount. I weighed the mounts today and was surprised at how close they were. The GP mount weighs 4.8 oz., the stock mount 5.6 oz. Every bit helps, but I had hoped to save more here. |
|
|
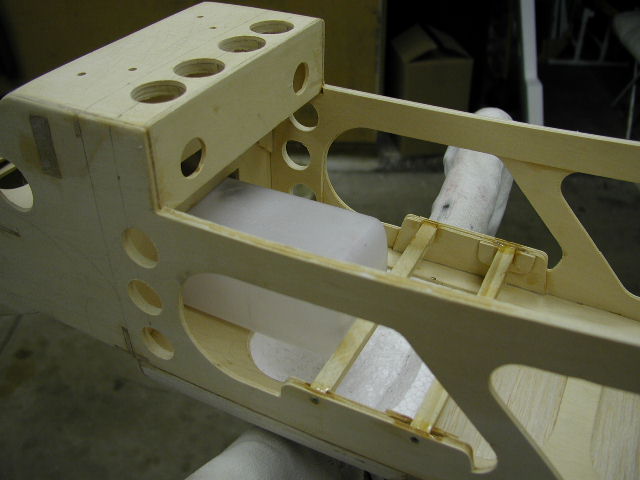
I measured the old metal mounts to figure out the distance from the firewall to the engine. I cut about half an inch off the front of the mount, centered up the motor and drilled thru for #8 bolts. When fully "collapsed", the mount is exactly the right width for the Saito 1.80, which is nice. Also, you can see that I cut off about half of the triangular stock on each side of the firewall, it was just extra weight. UPDATE: I had a bit of a do-over on the engine mount. If you've been reading regularly, you recall that I had everything all set and had re-used the top pair of stock mount holes. Everything was just ducky until I was setting up throttle linkage and noticed that the engine centerline looked like it was off about 1/4". It's obviously too far left in the top picture, don't know how I missed it. Well, turns out the engine centerline (the "pitch" centerline, which becomes the "yaw" centerline when the engine is mounted sideways) on the GP mount is centered between the mounting holes, while on the stock metal mounts it's 1/4" off center (high, or too the right, in this case). To fix my mistake, I used the stock mounts to mark the correct centerline (dark mark on the firewall), then used a string from the vertical stab to verify that I was at least close. The GP mount has a nice tic mark on the centerline. At the firewall, the centerline of the engine needs to be about 1/4" left to allow for the right offset and center the crank in the cowl. (I started out 1/2" left). Bottom line is that everything came out fine, and since my firewall was getting a bit swiss-cheesy, and some of the new holes were close to the stock ones, I filled everything I didn't need with epoxy and micro-balloons. Glad I caught that before I went any further! |
|
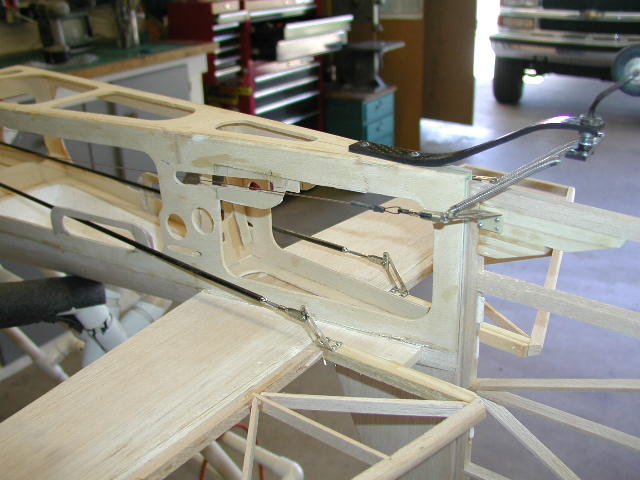  |
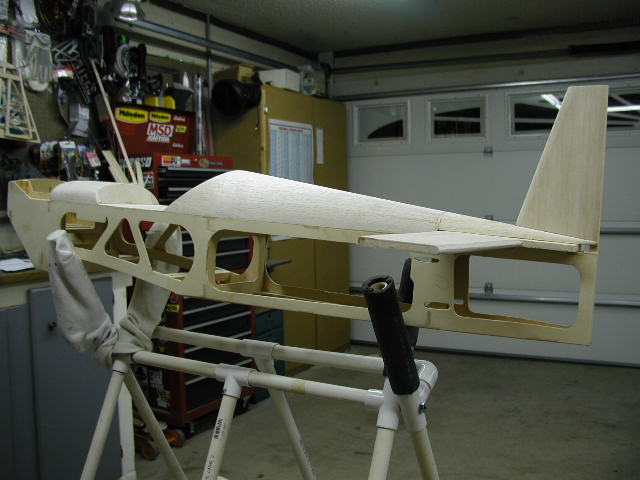
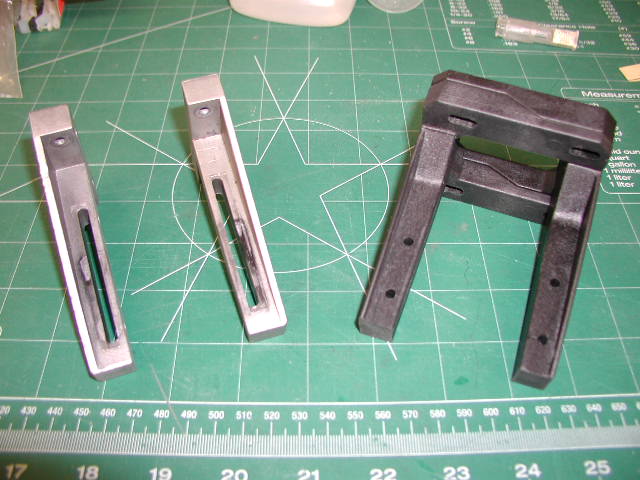
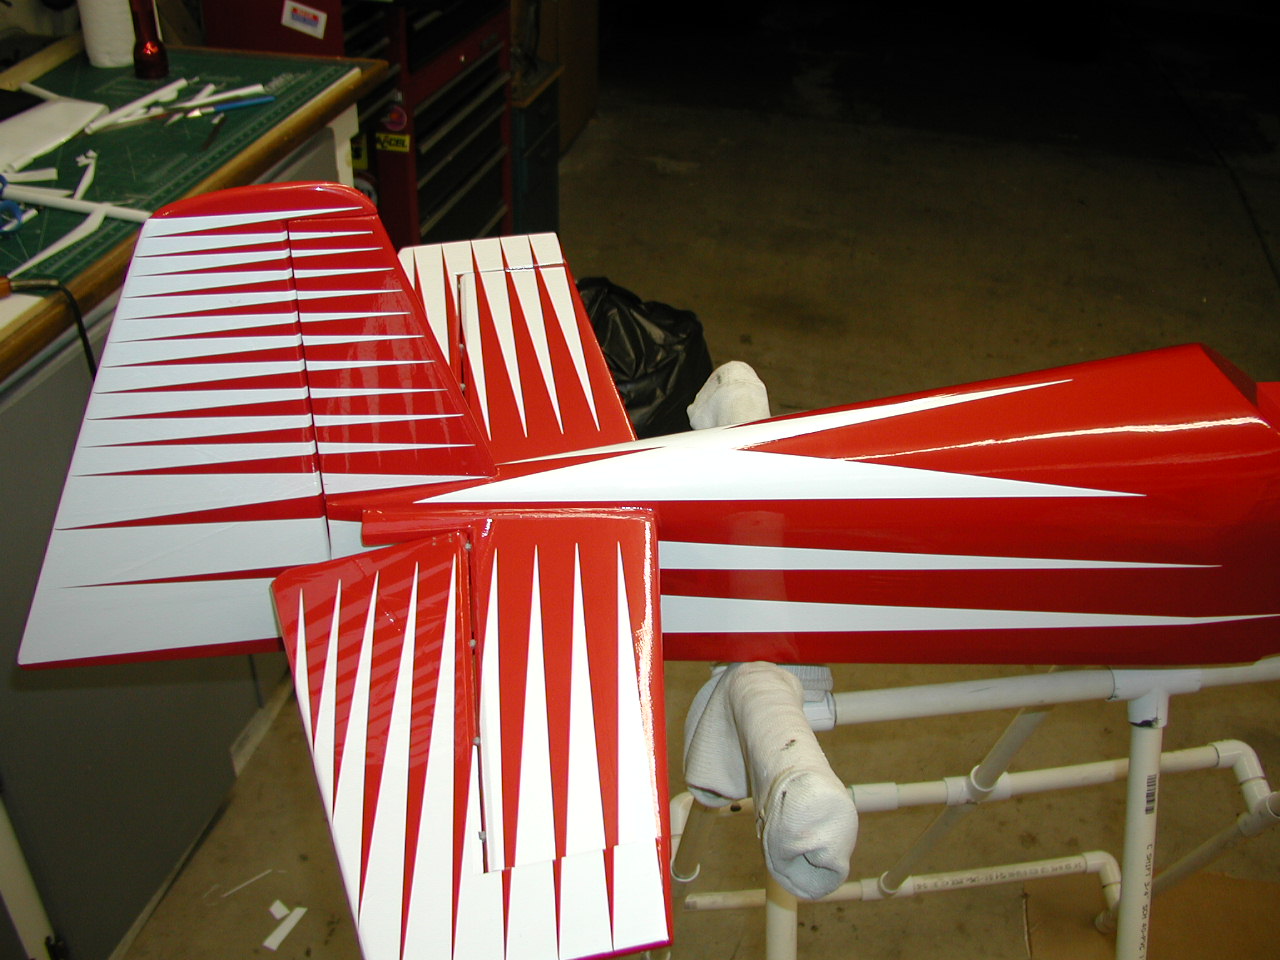
A shot of the tail. CF pushrods, CF tailwheel, new pushrod and pull-pull exits, and some lightening holes.
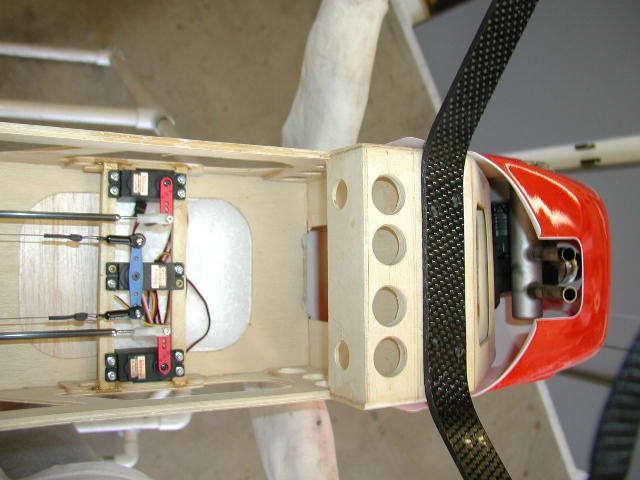
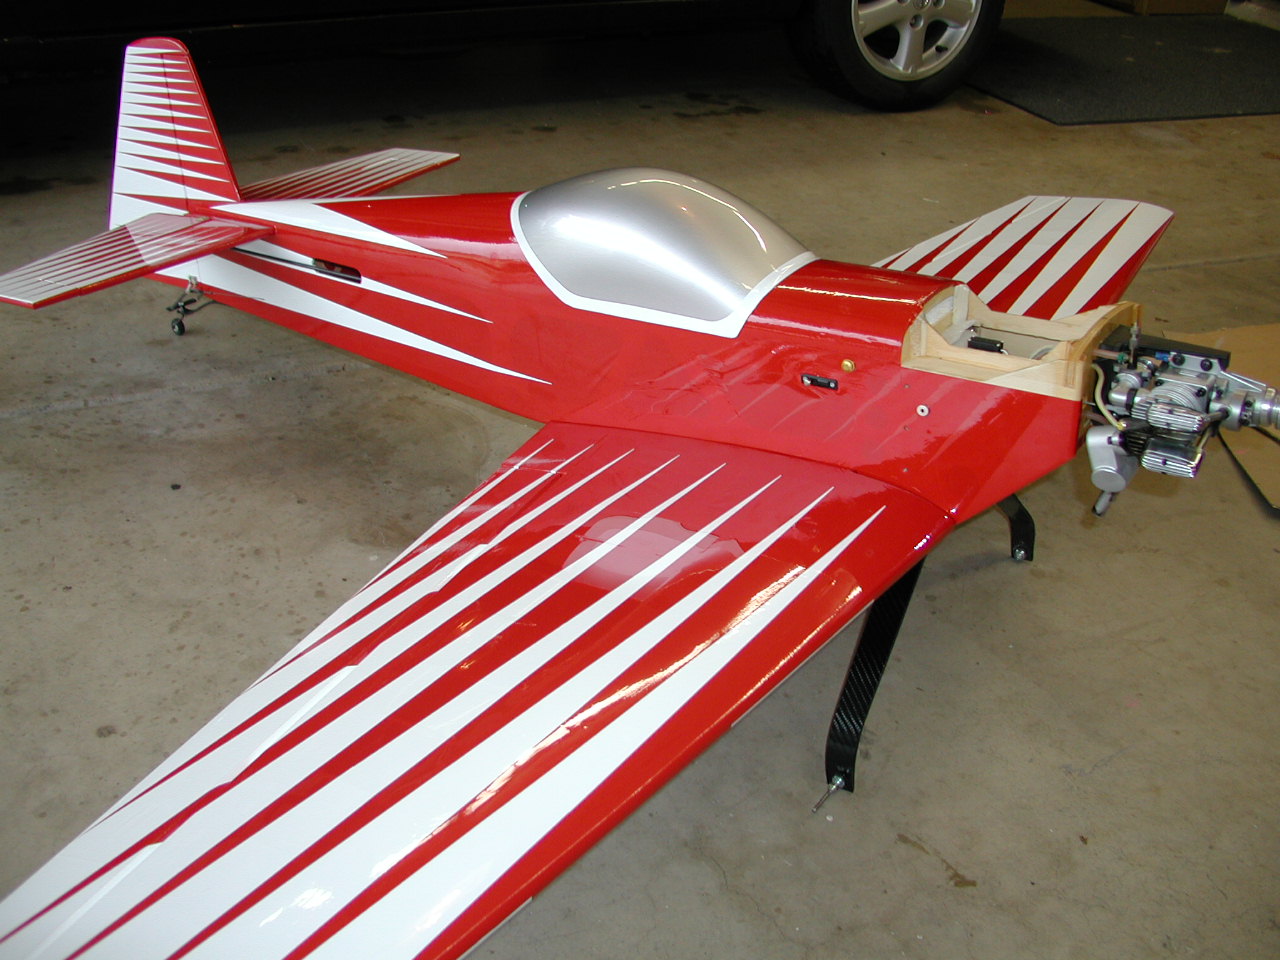
Servos installed, CF gear mounted, cowl cut for muffler clearance, hot air exit, and gear clearance. |
|
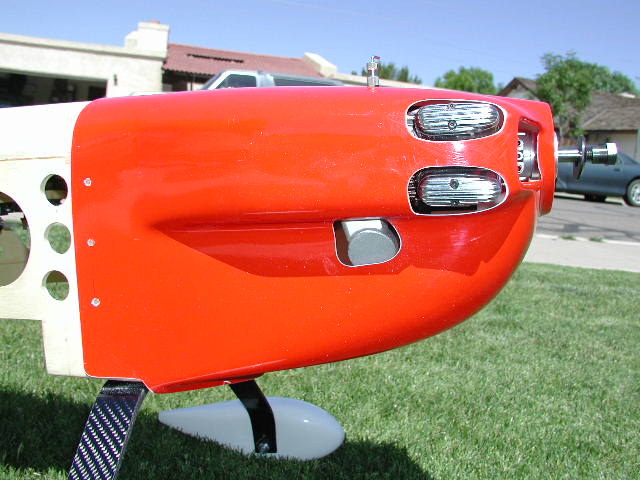  |
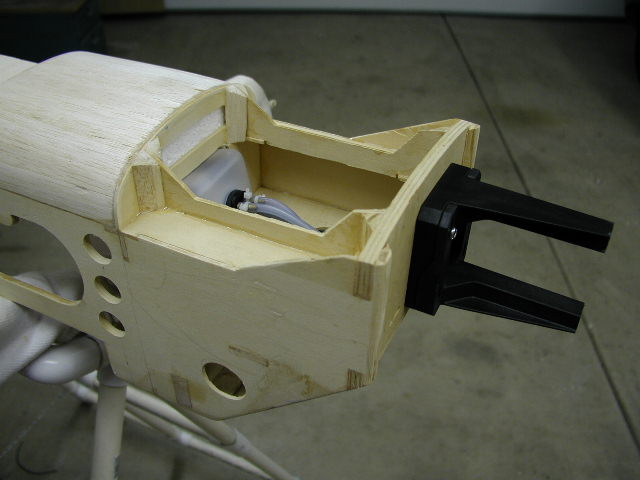
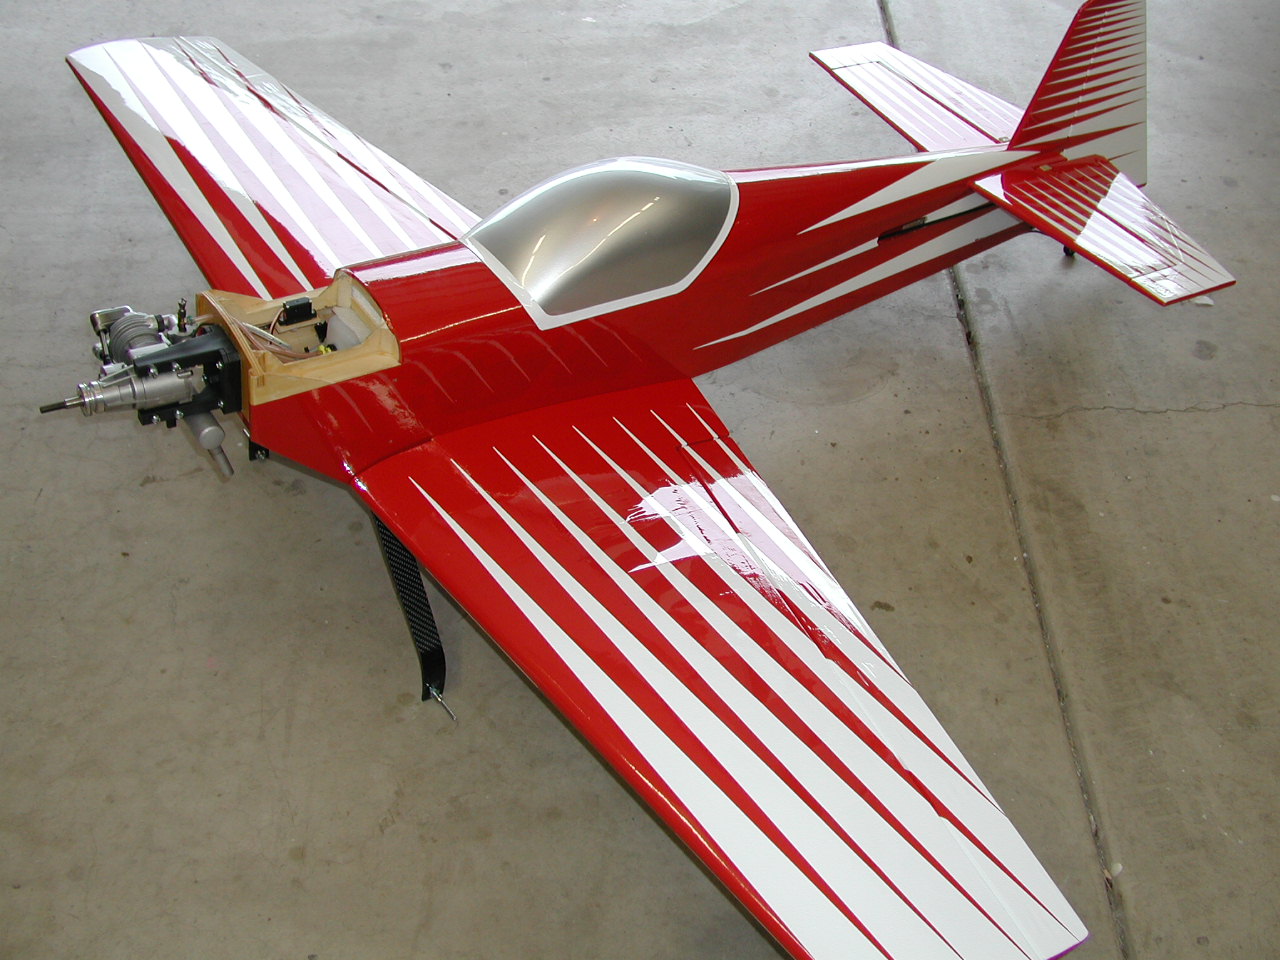
The new cowl, clearanced for the valve covers, Slimline muffler and landing gear. The trick to cutting the valve cover holes is to take the covers off and cover the top end with a baggie. Then, the cowl will slide on and you can see exactly where you need to cut. Cowl still needs to be wet sanded and painted. |
|
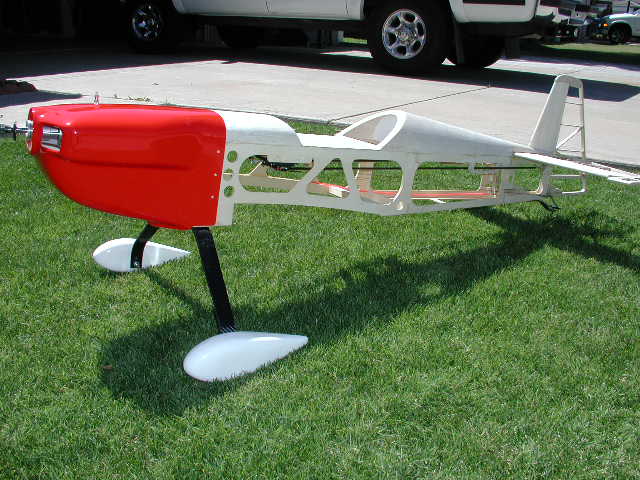  |
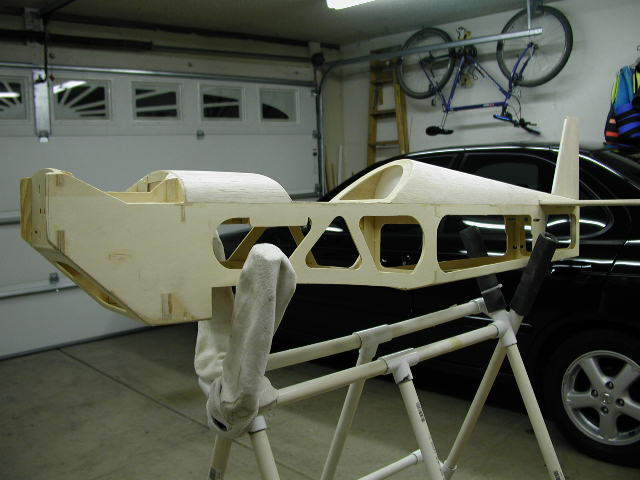
Here we have the finished fuse, ready to sand and cover. Carbon gear are from GraphTec, wheel pants and cowl are stock fiberglass. |
|
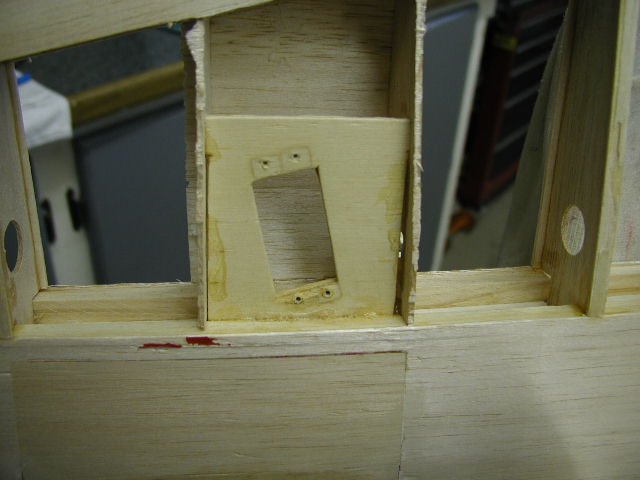 |
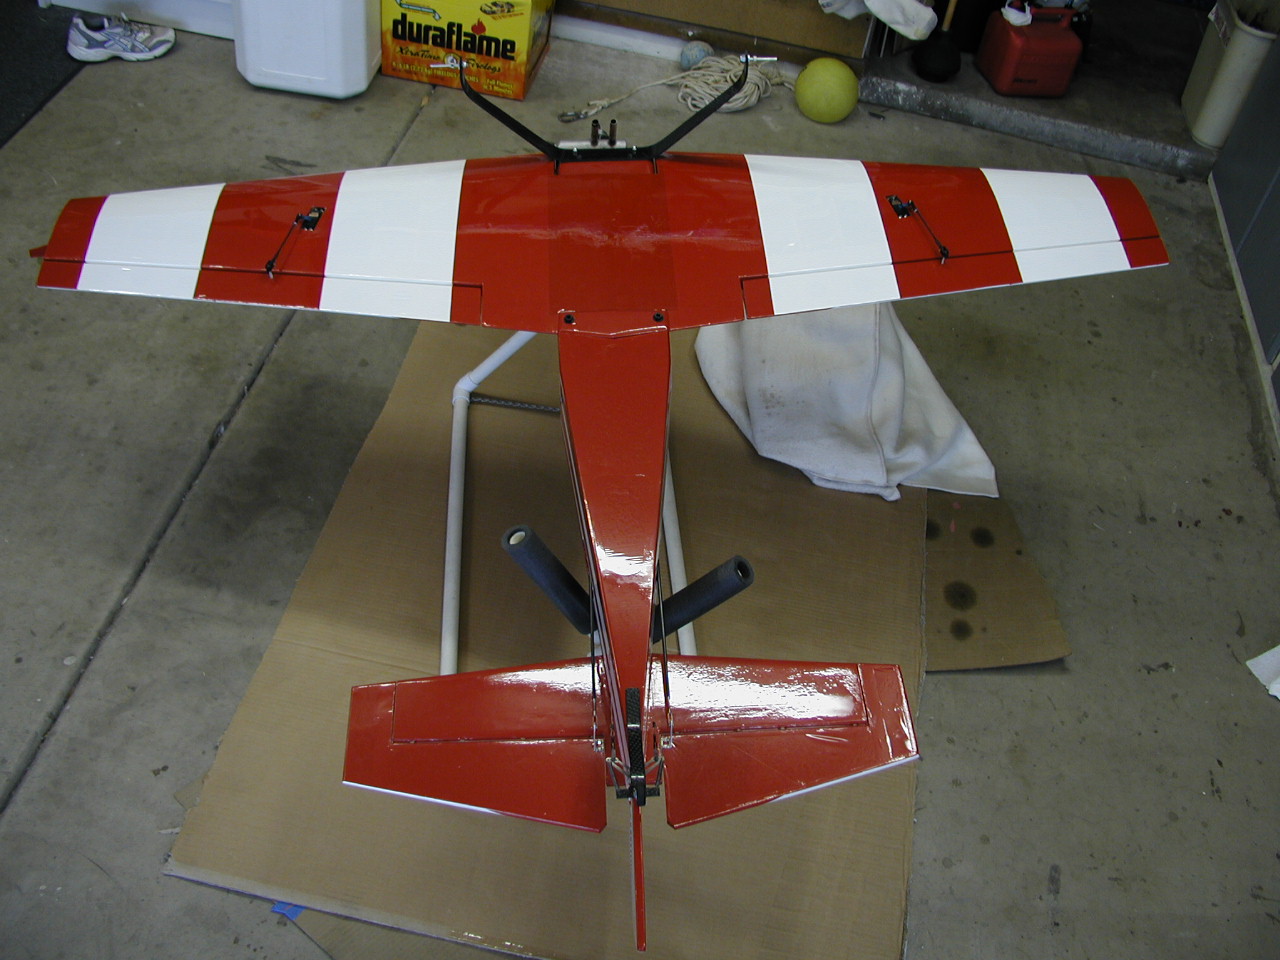
Because of all the problems I had with the servo mounts in the wings coming loose, I decided to remove the sheeting over the servo mount and investigate. You can see that there is a pretty poor fit up against the ribs and a lot of glue that does nothing. I'll grind out the excess glue and add a light balsa fillet. |
|
|
Well, I am back at it after a 1 year (?!!?) break. Here is how the little cap is shaping up...Hope to move fairly quickly now, please check back... 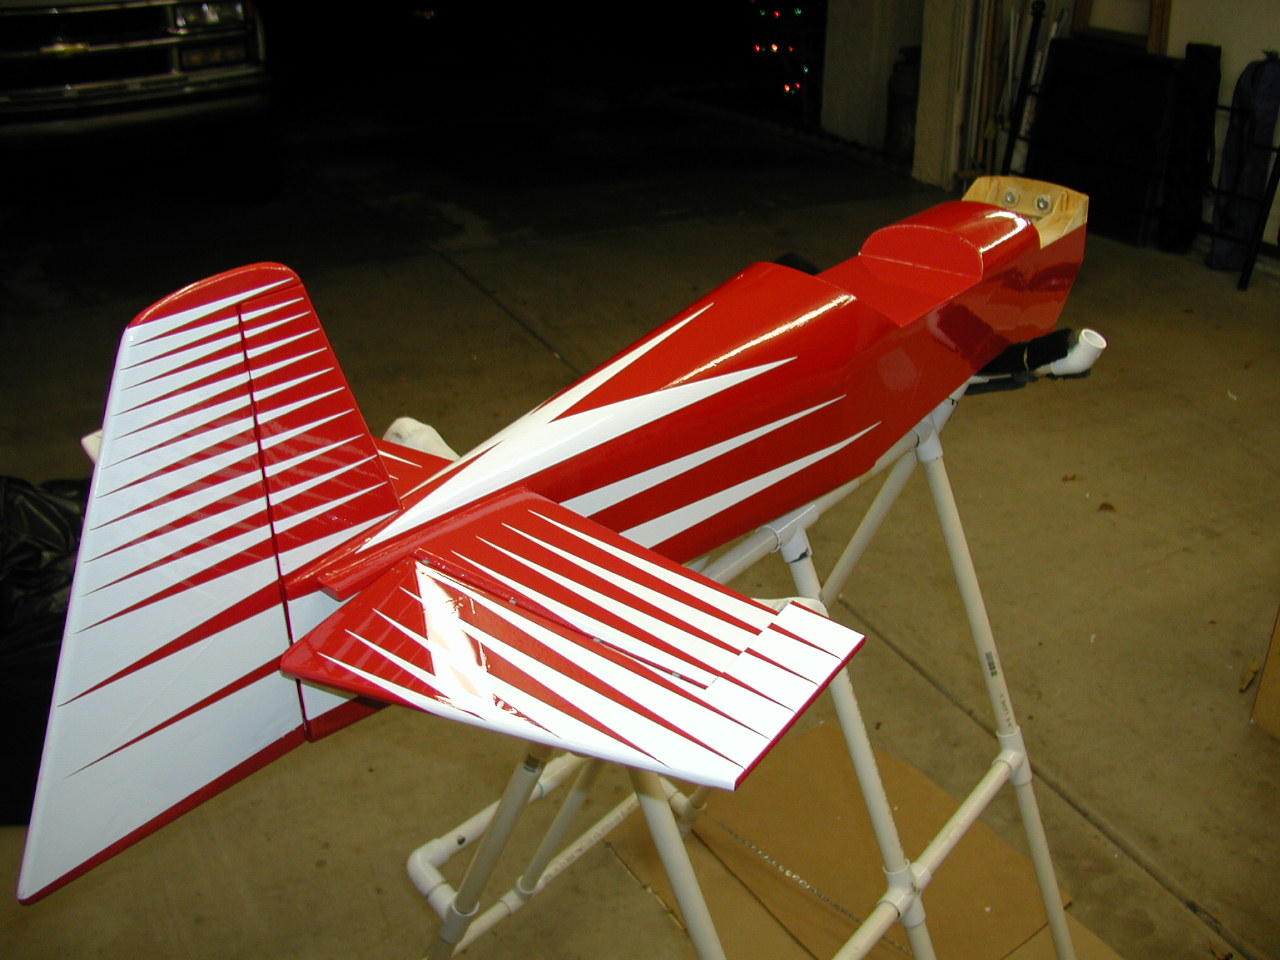
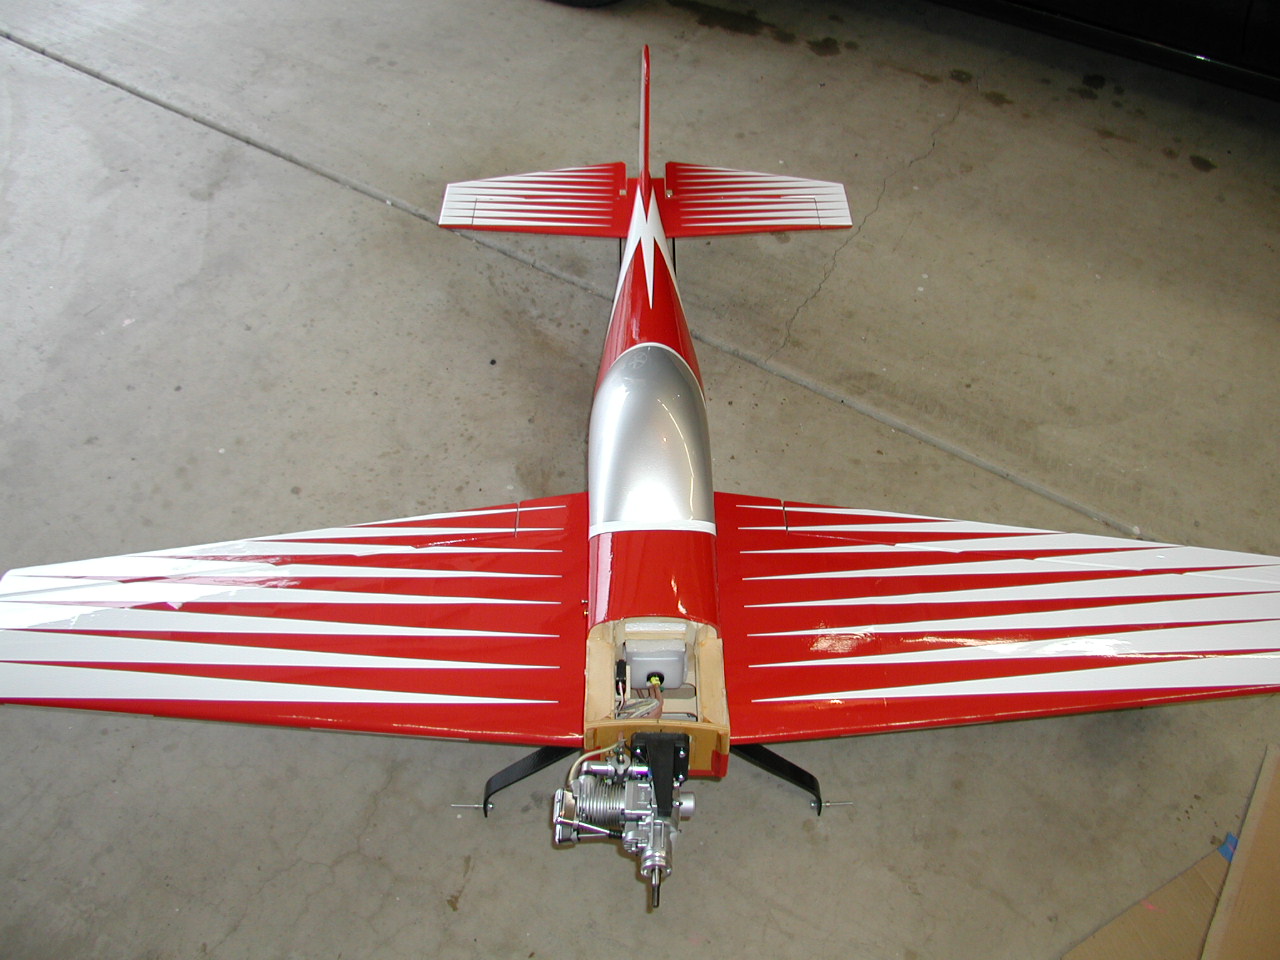 
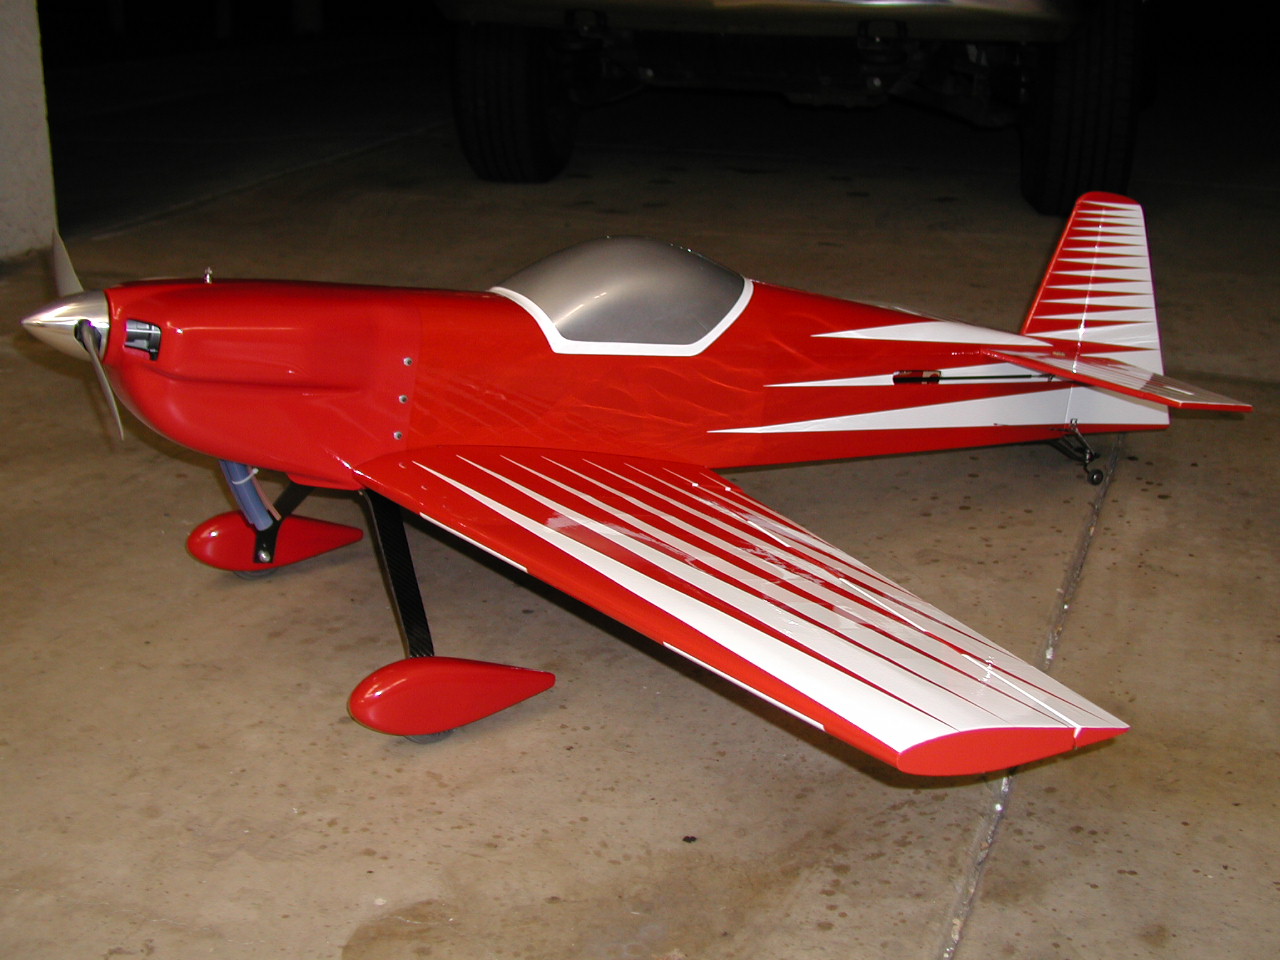
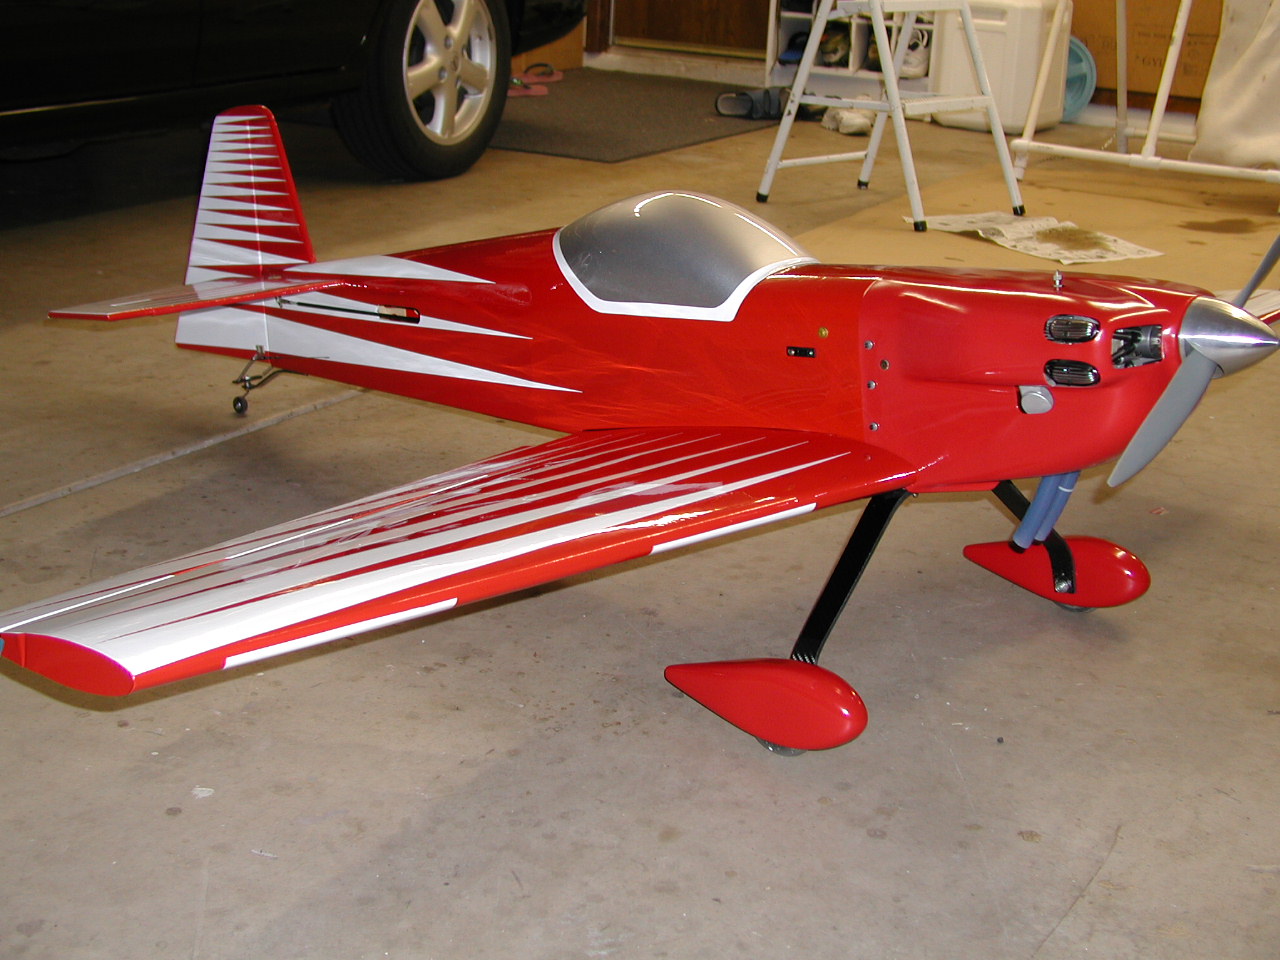
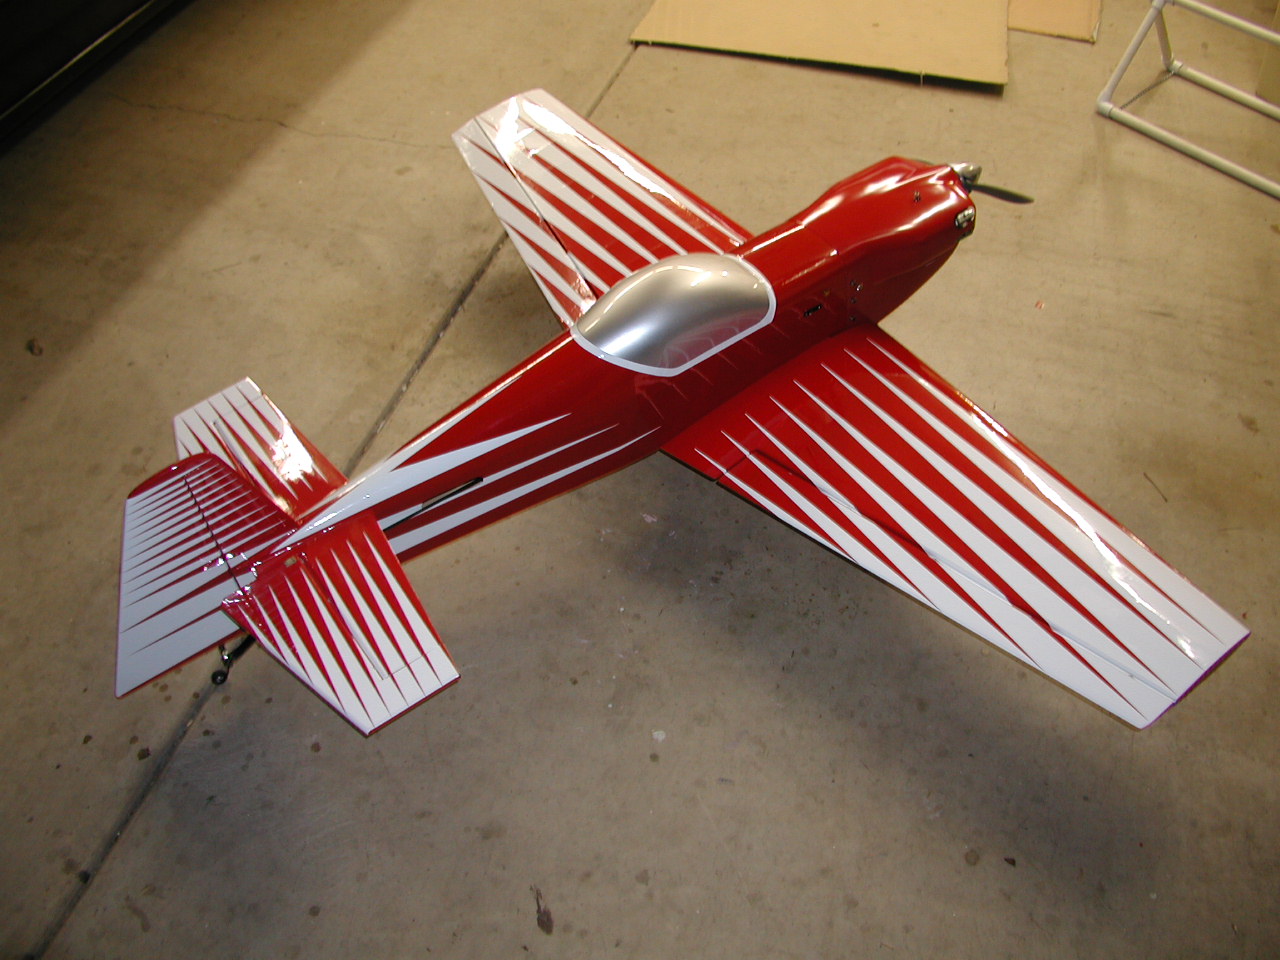
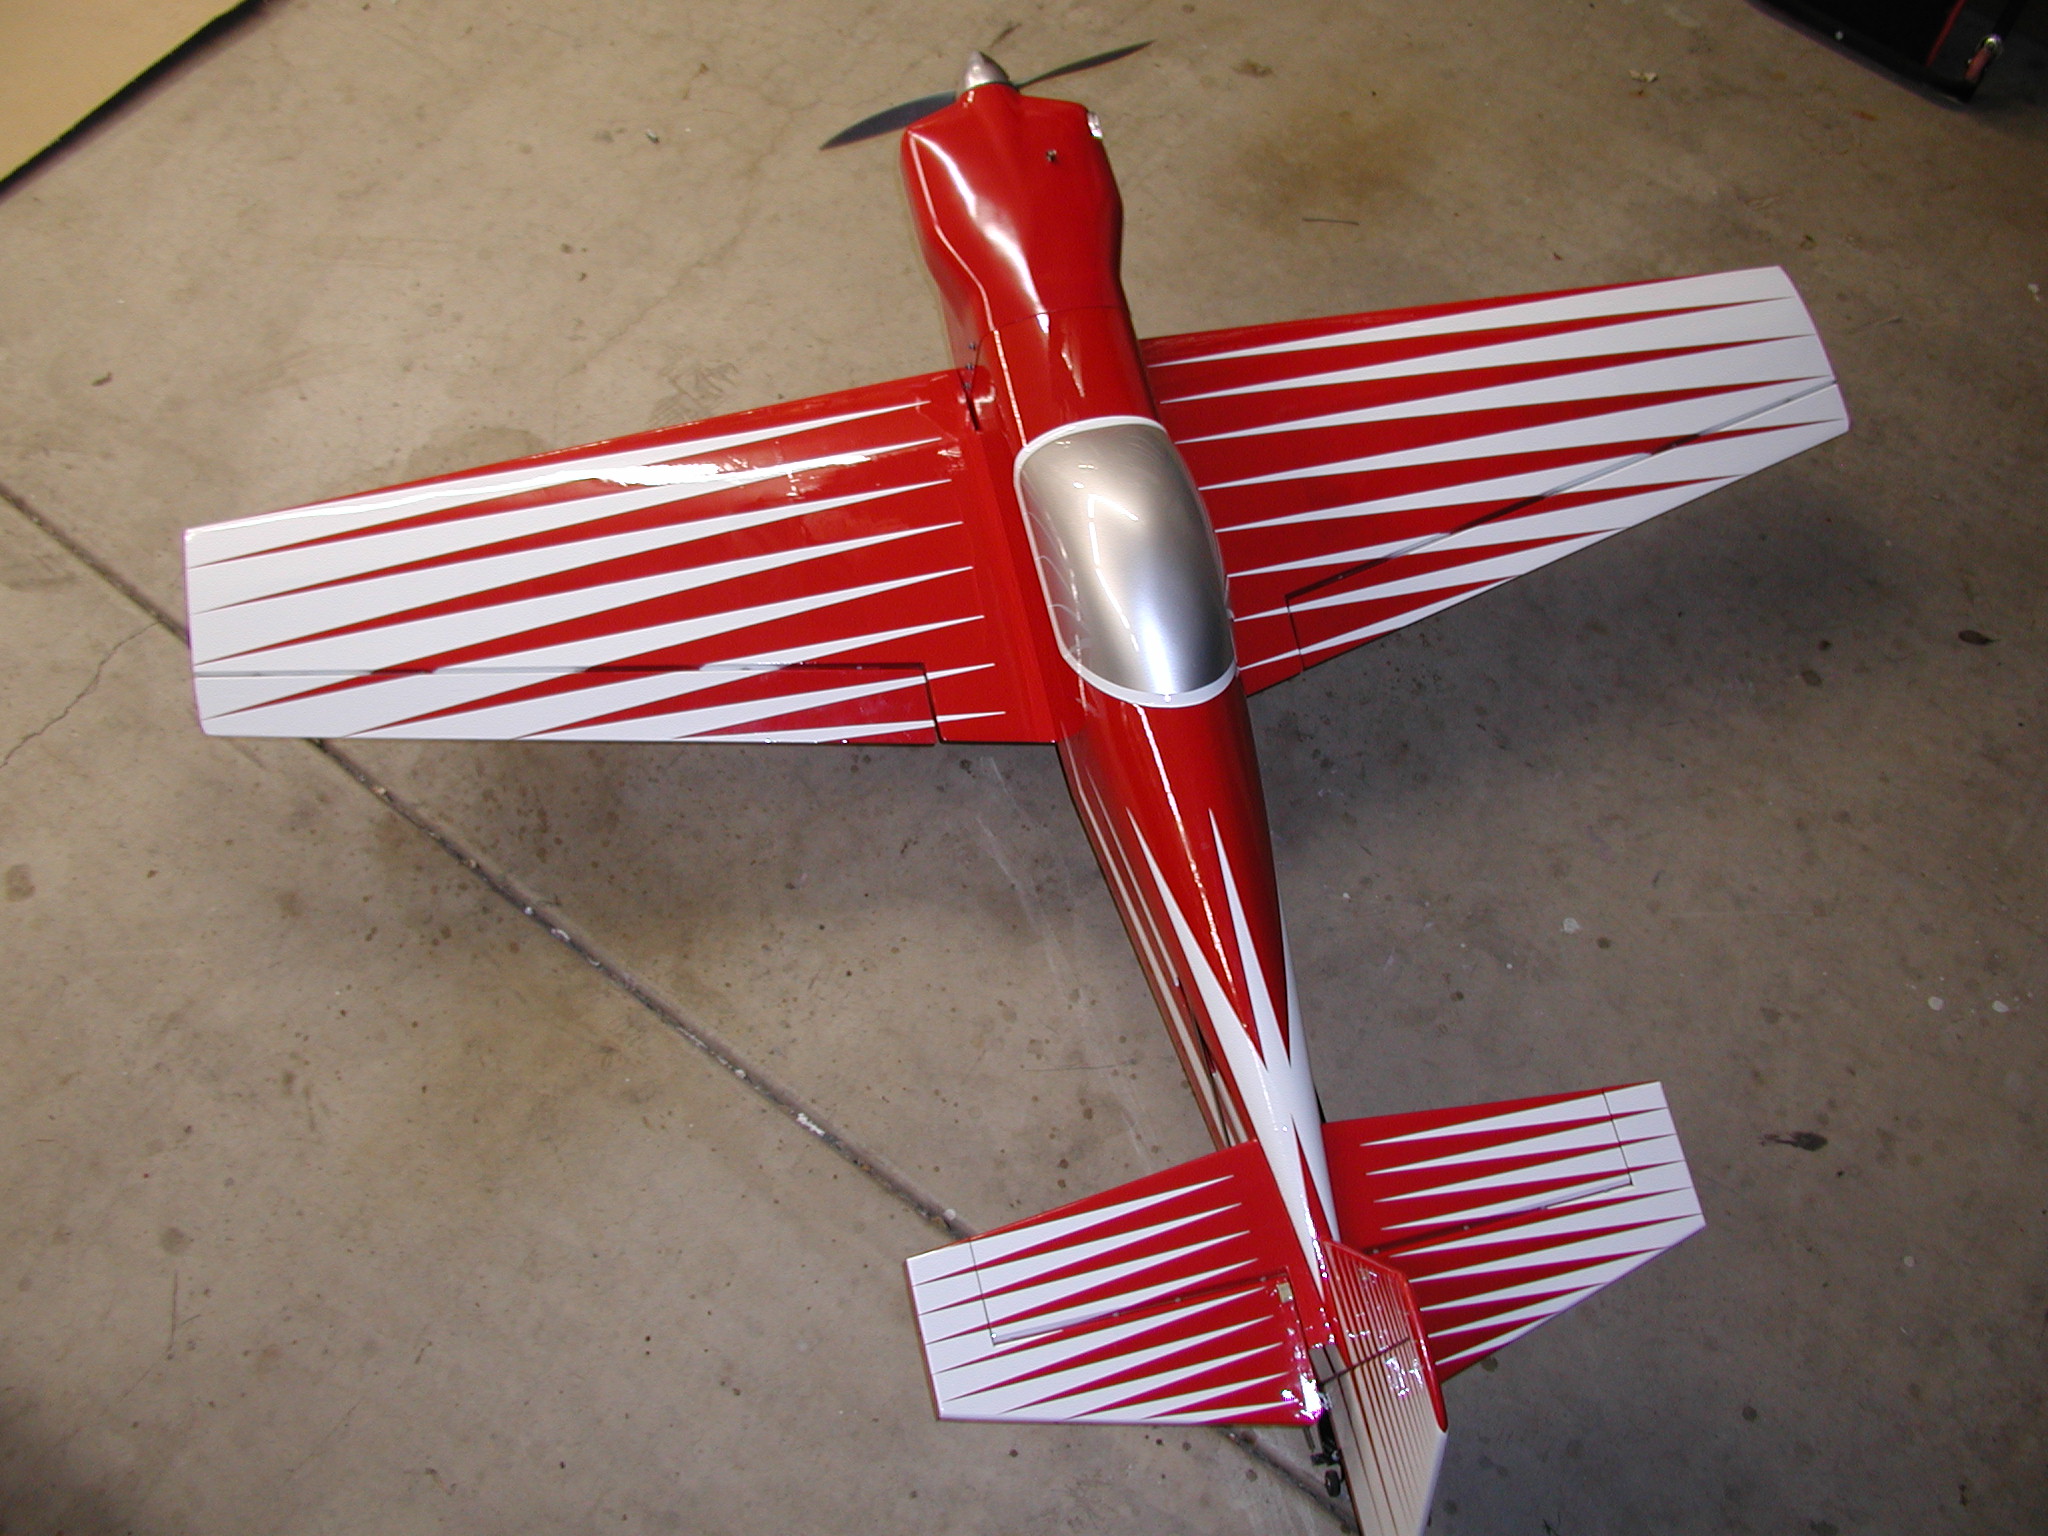
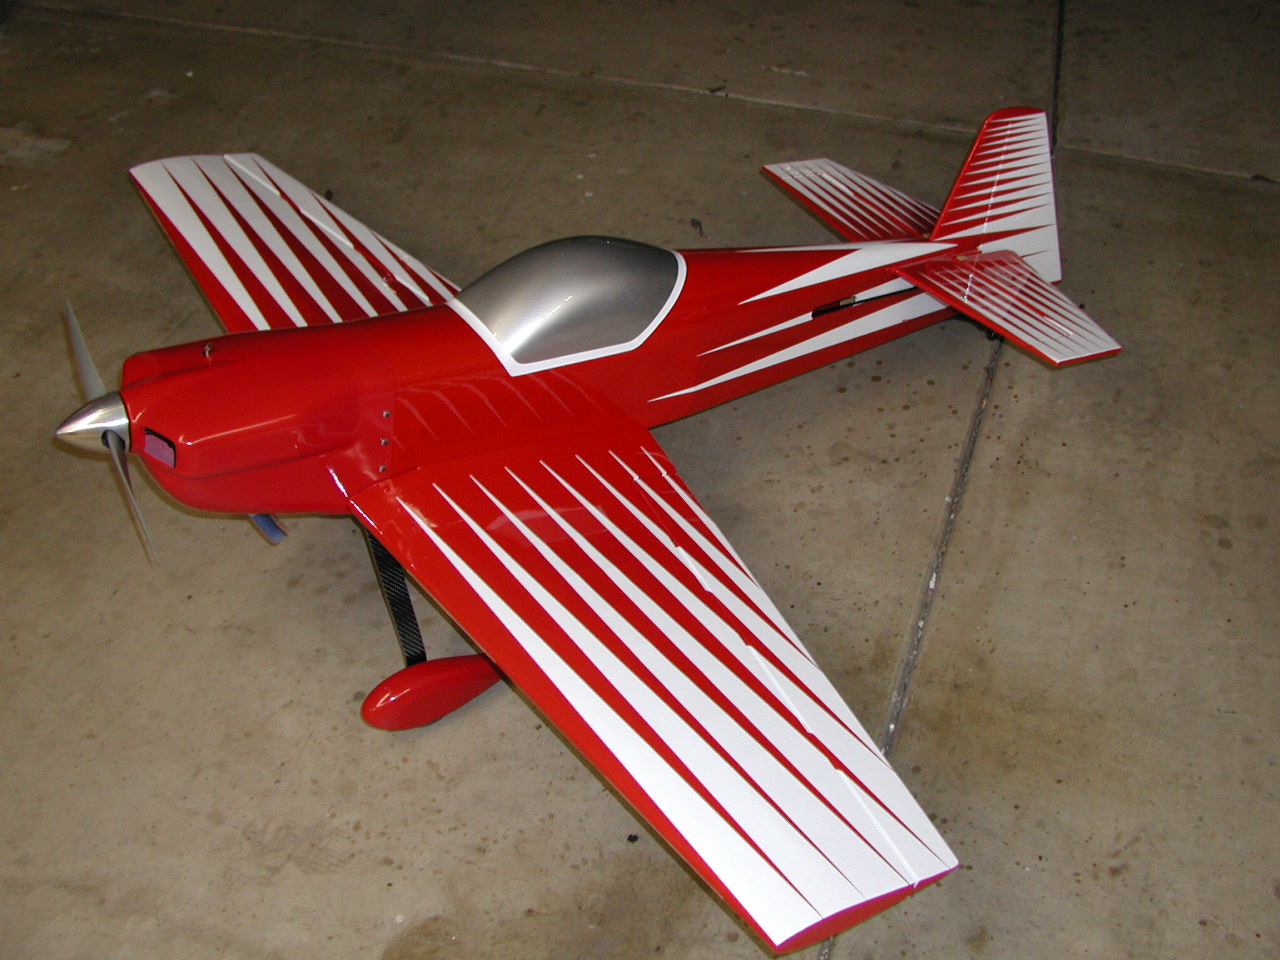
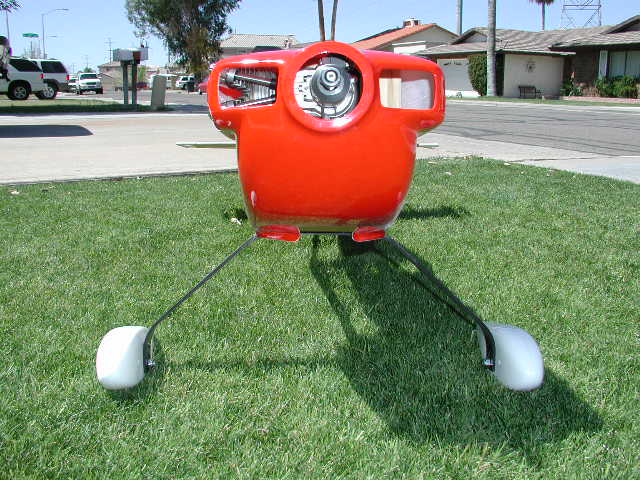
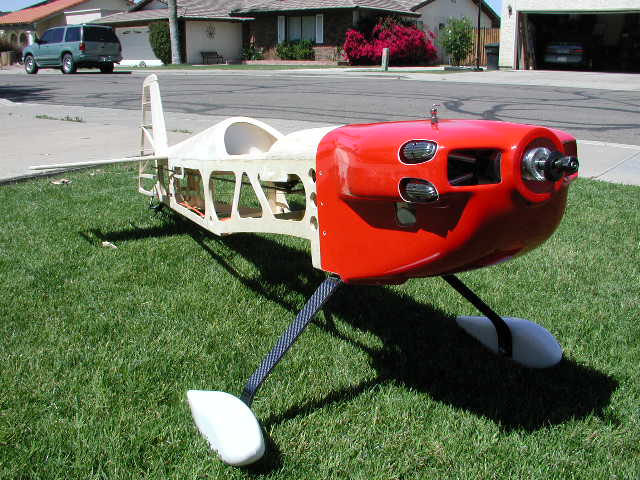
 Cowl and wheel pants have been sprayed red and color sanded, will clear coat as soon as it quits raining.. This plane may be for sale shortly, see the For Sale page for details. |
||
|
|
||